55
4.3 Configuring the Printer Drivers
Installing/Configuring the Printer Drivers
4
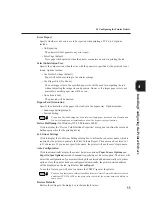
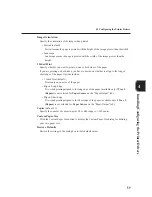
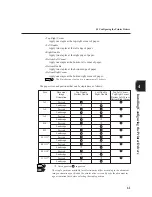
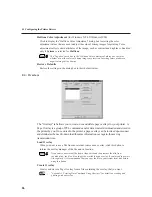
Error Report
Specify whether or not errors are to be reported when printing a PCL 6 job. Options
include:
• No Reporting
The printer will not generate any error report.
• Error Page (default)
Error page will be printed when the printer encounters an error in printing the job.
Select Substitution Tray
Specify the output action when the tray with the paper size specified by the print job is not
found. Options include:
• Use Printer Settings (default)
Paper will be fed according to the printer settings.
• Use Bigger Size (No Zoom)
The next bigger size to the specified paper size will be used for outputting the job
without adjusting the image size and position. However, if a larger paper size is not
available, a smaller paper size will be used.
• None (Abort Job)
The print job will be aborted.
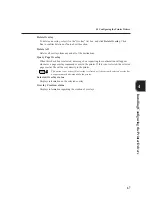
Bypass Feed Orientation
Specify the orientation of the paper to be loaded in the bypass tray. Options include:
• Landscape Setting (default)
• Portrait Setting
Even when Portrait Setting has been selected, some paper sizes need to be loaded and
fed only in landscape orientation because of the bypass tray specification.
Device Halftoning
(for Windows NT 4.0/Windows 2000)
Click to display the "Device Color/Halftone Properties" dialog box to define the color and
halftone properties for the printing device.
Job Owner Settings
Click to display the Job Owner Settings dialog box to define the job owner name, which is
required by the printer to generate the Print Volume Report. The name can be entered in 1
to 31 characters. If you do not specify the name, the printer will use the user's login name.
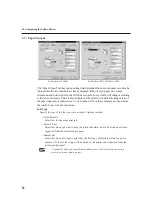
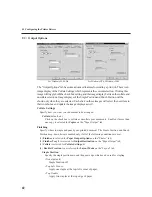
Auto Configuration
Click to automatically display the correct hardware options (
Paper Source Options
and
Paper Output Options
) instead of manually specifying each device option. The driver will
detect the configuration of your printer through the network and automatically set up these
options. Once the printer has been configured automatically, the printer network address
will be displayed on the tab, right below
Error Report
.
To use this feature, you will need to activate the SNMP Agent at the printer.
You may be prompted to select either Broadcast or Printer Network Address to search,
and either TCP/IP or IPX as the protocol to search for the printer network address in
some cases.
Restore Defaults
Restore the settings in the dialog box to their default values.
Summary of Contents for DA-PC700
Page 38: ...This page is intentionally left blank ...
Page 39: ...Setup 2 1 Connecting Interface Cables 26 2 2 Memory Allocation 28 ...
Page 53: ...This page is intentionally left blank ...
Page 54: ...This page is intentionally left blank ...
Page 55: ...This page is intentionally left blank ...
Page 56: ...This page is intentionally left blank ...
Page 88: ...This page is intentionally left blank ...
Page 106: ...This page is intentionally left blank ...
Page 144: ...This page is intentionally left blank ...
Page 163: ...Setting Print Mode 11 1 Print Mode Operation 150 11 2 PCL 6 Settings 151 ...
Page 172: ...This page is intentionally left blank ...
Page 173: ...Printing Reports Lists 12 1 Types of Reports Lists 160 12 2 How to Print Report List 180 ...
Page 176: ...162 12 1 Types of Report List ...
Page 179: ...Printing Reports Lists 165 12 1 Types of Report List 12 ...
Page 181: ...Printing Reports Lists 167 12 1 Types of Report List 12 ...
Page 183: ...Printing Reports Lists 169 12 1 Types of Report List 12 ...
Page 185: ...Printing Reports Lists 171 12 1 Types of Report List 12 ...
Page 187: ...Printing Reports Lists 173 12 1 Types of Report List 12 ...
Page 189: ...Printing Reports Lists 175 12 1 Types of Report List 12 ...
Page 191: ...Printing Reports Lists 177 12 1 Types of Report List 12 ...
Page 193: ...Printing Reports Lists 179 12 1 Types of Report List 12 ...
Page 195: ...Configuring by the Tools Mode Screen 13 1 Tools Mode 182 13 2 System Meter Settings 184 ...
Page 260: ...This page is intentionally left blank ...
Page 261: ...memo ...


