72
RQT9272
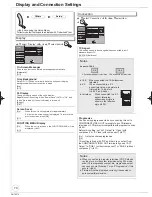
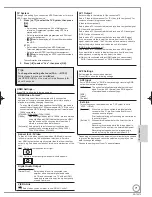
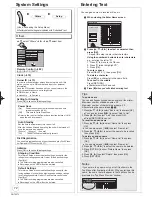
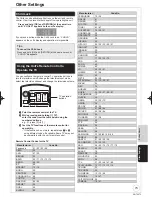
System Settings
FU
NC
TIO
N M
EN
U
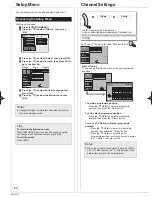
( 66, Accessing the Setup Menu)
All factory default settings are indicated with “Underlined” text.
Others
Setup
Others
Remote Control ( 82)
[DVD 1] [DVD 2] [DVD 3]
Clock ( 14)
Owner ID ( 13)
In order to prevent another person from using this unit if it is
stolen, you can set a PIN number and input your personal
information.
Once the PIN number has been set, you cannot return to the
factory preset. Make sure not to forget this.
PIN number
Name
House No.
Postcode
Setting for Standby
Press [OK] to show the following settings.
Power Save
[On]
Power consumption is minimized when the unit is
turned to standby
(
94)
[Off]
This sets to Quick Start Mode.
Refer to the chart for the Power Sa
v
e function features (
13)
when the unit is turned off.
Auto Standby
Set the time to automatically turn the unit off.
After the unit has
fi
nished operating, the unit will be turned off
once the set time has passed.
[2 hours] [4 hours]
[6 hours]
[Off]
The unit will not automatically turn off.
DivX Registration
You need this registration code to purchase and play DivX Video-
on-Demand (VOD) content ( 37).
Initialize
Press [OK] to show the following settings.
Shipping Condition
This returns Setup menus to default settings, except for the
ratings level, ratings password, Owner ID and clock settings.
[Yes] [No]
The timer recording programmes are also cancelled.
Recordings on the HDD will not be deleted.
Default Settings
This returns Setup menus to default settings, except for the
tuning settings, clock settings, disc language settings, ratings
level, ratings password, Owner ID and remote control code.
[Yes] [No]
The timer recording programmes are also cancelled.
Recordings on the HDD will not be deleted.
,
select “Others”
,
select item
OK
Setup
Picture
Sound
Display
Connection
Tuning
Others
RETURN
SELECT
TAB
Disc
Clock
Remote Control
DVD 1
Owner ID
Setting for Standby
DivX Registration
Initialize
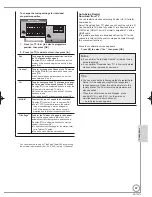
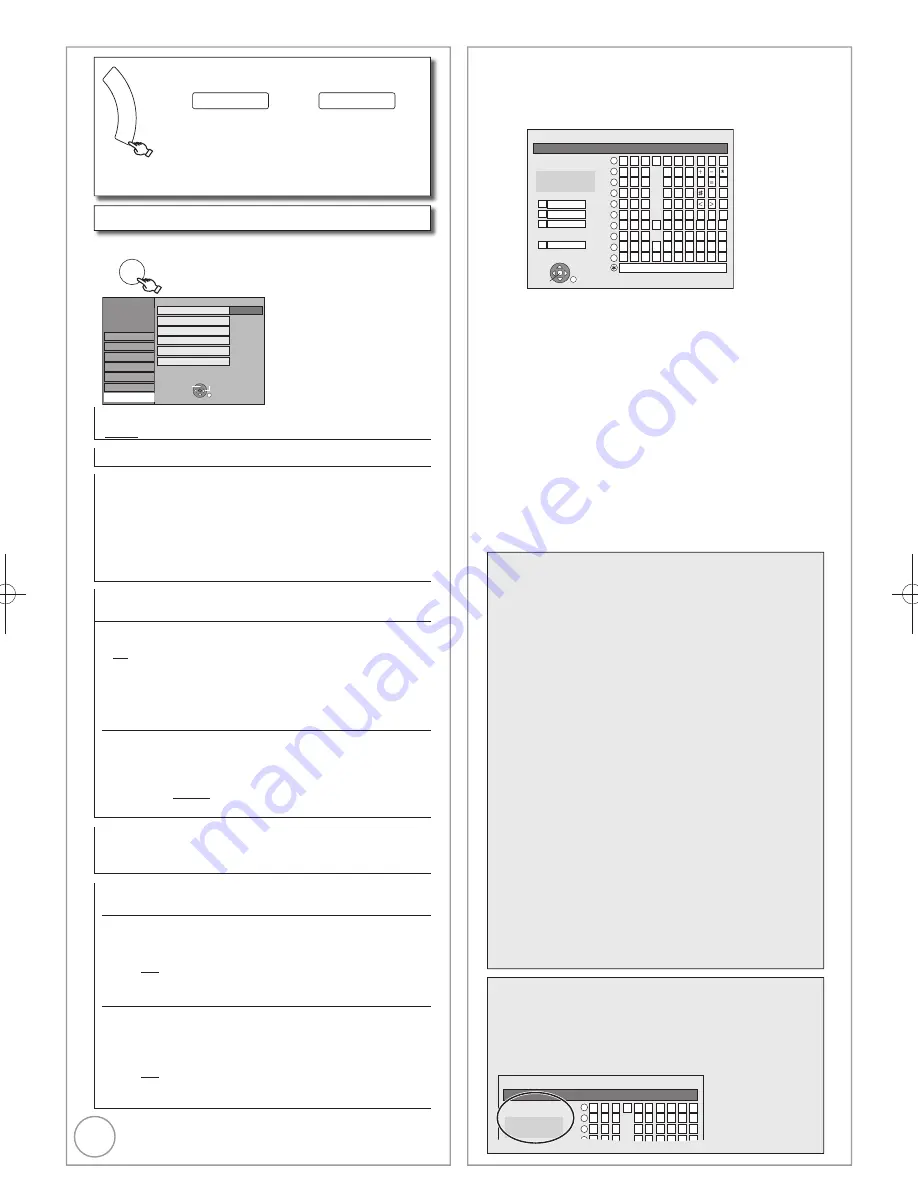
You can give names to recorded titles, etc.
When viewing the Enter Name screen.
_
Enter Name
1
2
3
4
5
A
B
C
a
D
E
F
d
G
H
I
N
O
g
J
K
L
j
M
m
6
7
8
9
0
b
c
e
f
/
%
h
i
$
&
k
l
@
n
]
_
o
[
Space
P
Q
R
S
p
T
U
V
t
W
X
Y
Z
w
q
r
s
(
)
u
v
{
}
-
x
y
z
`
^
|
!
?
\
. ,
"
'
:
;
OK
RETURN
SELECT
1
2
3
4
5
6
7
8
9
0
Top Menu Preview
Add to List
Delete
Name List
Set
Press [
,
,
,
] to select a character, then
press [OK].
– Repeat this step to enter other characters.
Using the numbered buttons to enter characters
e.g.: entering the letter “R”
1. Press [7] to move to the 7th row.
2. Press [7] twice to highlight “R”.
3. Press [OK].
To enter a space
Press [DELETE
], then press [OK].
To delete a character
Press [
] on a character in the name
fi
eld.
To cancel in the middle
Press [RETURN].
Characters will not be saved.
Press [
] when you’ve
fi
nished entering text.
Tips
To add a name
You can add frequently used names and recall them later.
Maximum number of added names: 20
Maximum number of characters per name: 20
After entering the name (steps
-
).
1.Press [
,
,
,
] to select “Add to List” then press [OK].
You can also press [
] to select “Add to List”.
2.Press [
,
] to select “Add” then press [OK].
Press [RETURN] to cancel.
To recall an added name
1.Press [
,
,
,
] to select “Name List” then press
[OK].
You can also press [
] to select “Name List”.
2.Press [
,
,
,
] to select the name to be recalled
then press [OK].
To delete an added name
1.Press [
,
,
,
] to select “Name List” then press
[OK].
You can also press [
] to select “Name List”.
2.Press [
,
,
,
] to select the name to be deleted.
3.Press [OPTION] to show “Delete Name” then press
[OK].
4.Press [
,
] to select “Delete” then press [OK].
5.Press [RETURN].
Notes
If you enter a long name, only part of it is shown in the
Top Menu after
fi
nalisation (
65). When entering a title
name, the name that will appear in the Top Menu can be
previewed in “Top Menu Preview” window.
_
1 2 3 4 5
A B C
a
D E F
d
G H I
g
6 7 8 9 0
b c
e f /
%
h i
$
*
&
Top Menu Preview
1
2
3
4
Chapter 1_
Chapter 1
Enter Name
Entering Text
DMR-EH59EM.indb 72
DMR-EH59EM.indb 72
2009/01/09 9:30:25
2009/01/09 9:30:25

