


- 13 -
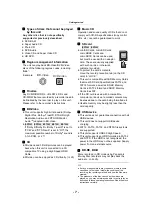
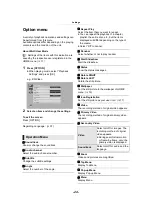
Settings
The following settings can be performed anytime
in the Setup menu. (
After connecting your new player for the first time
and pressing [
Í
], the basic settings screen will
appear.
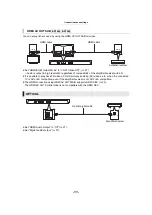
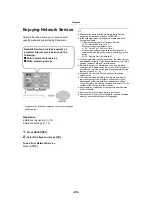
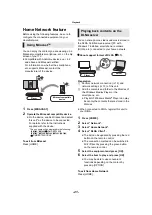
Preparation
Turn on the TV and select the appropriate
video input.
1
Press [
Í
].
Setup screen appears.
2
Follow the on-screen instructions to
continue with the settings.
After completing “Easy Settings”, you can perform
“Easy Network Setting”.
Select “Wired” or “Wireless” and press [OK].
Follow the on-screen instructions to establish
your connection settings.
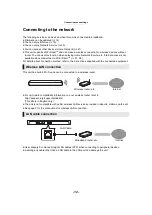
∫
About the wireless connection
Before beginning wireless connection setup
≥
Obtain your network name (SSID*).
≥
If your wireless connection is encrypted, please
be sure that you know your encryption key.
If your SSID is not displayed;
≥
Search again by pressing the red button on the
remote control.
≥
Stealth SSIDs will not be displayed; in this case,
enter manually by using “Manual setting”.
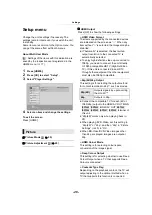
Press [HOME]
>
press [OK] to select “Setup”
>
select “Player Settings”
>
select “Network” and press [OK]
>
select “Network Settings” and press [OK]
>
select “Wireless Settings” and press [OK]
>
select “Connection Setting” and press [OK]
>
select “Manual setting” and press [OK]
If your wireless network is encrypted;
Encryption Key input screen will be displayed.
Input the encryption key of your network.
If your wireless router is supports WPS (Wi-Fi
Protected Setup
TM
);
You can easily set up a connection by pressing
the green button on the remote control.
≥
Refer to the operating instructions of the hub or router.
≥
Do not use this unit to connect to any wireless network for
which you do not have usage rights.
Using these networks may be regarded as illegal
access.
≥
If you have trouble getting online on your PC after
performing network settings on this unit, perform the
network settings on your PC.
≥
Please be aware that connecting to a network without
encryption may result in the leaking of data such as
personal or secret information.
* SSID:
An SSID (Service Set IDentification) is a name used by
wireless LAN to identify a particular network. Transmission
is possible if the SSID matches for both devices.
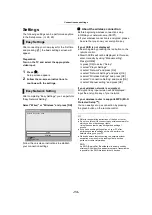
Easy Settings
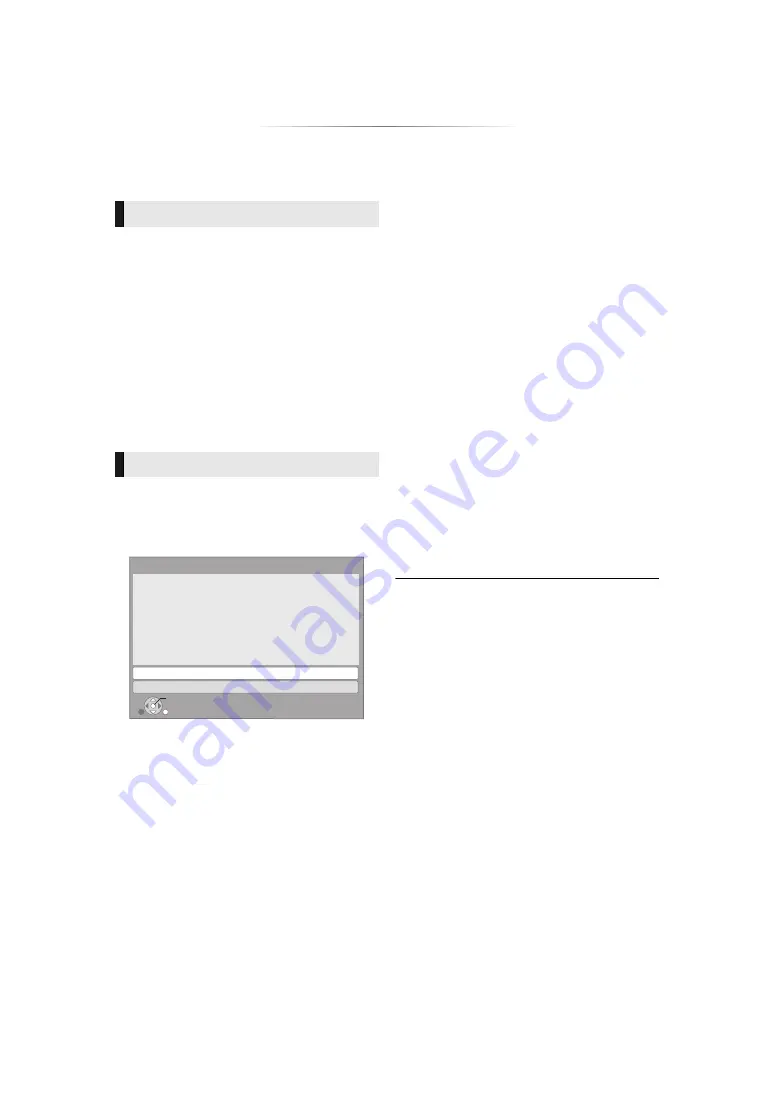
Easy Network Setting
Easy Network Setting
Wired
Wireless
Select a connection mode.
OK
RETURN


