146
5. USING THE EDITING FUNCTIONS
13. JOB BUILD (Cont.)
5
4
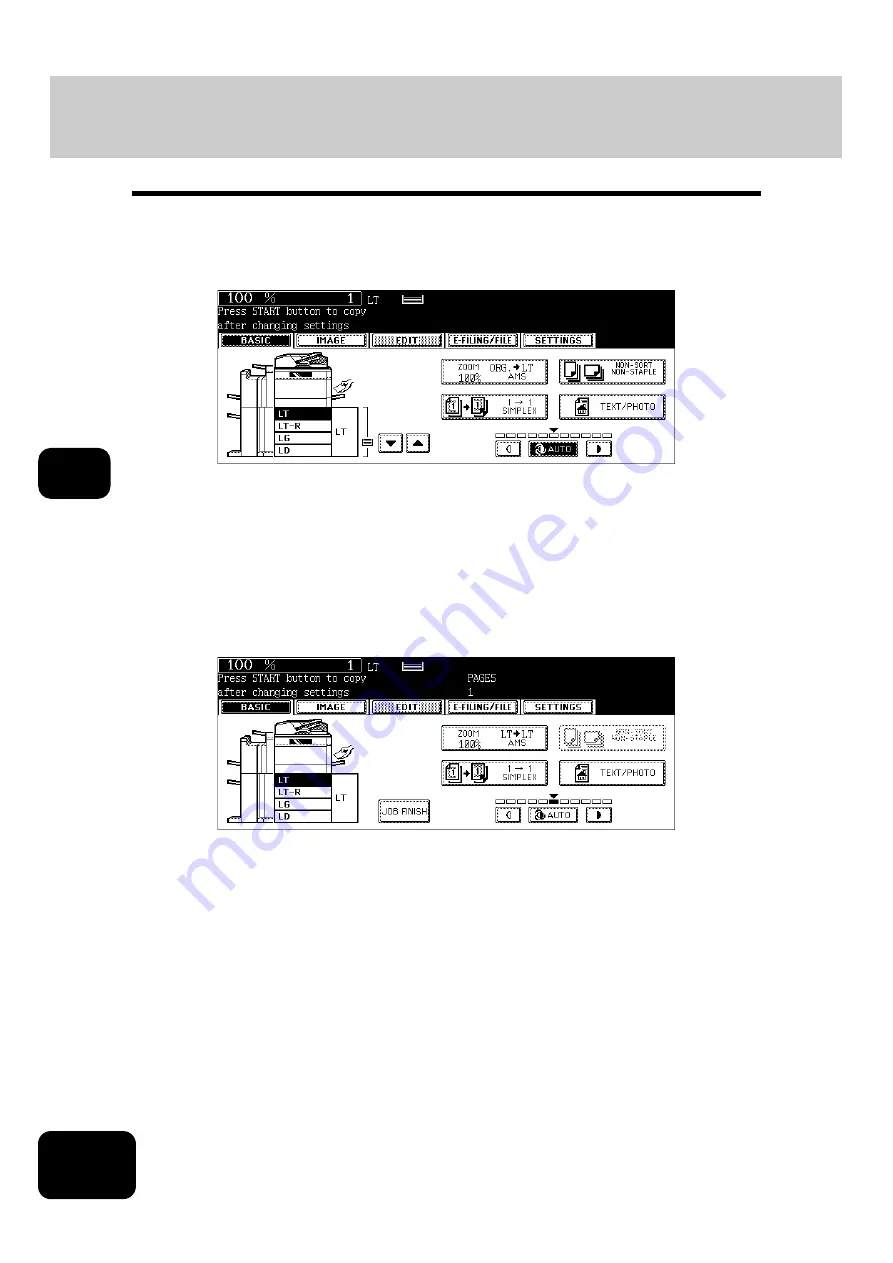
After “Press START button to copy after changing settings” appears,
perform the settings for the 1st job and the common settings for all
jobs.
• Press the [SETTINGS] button to confirm the settings.
• To change the settings, press the [FUNCTION CLEAR] button, and then start the procedure again from step 1.
5
Press the [START] button.
• The scanning of the originals for the 1st job starts.
6
After “Press START button to copy after changing settings” appears,
place the originals of the 2nd job. Perform the settings for the 2nd job.
• Note that copying will be performed in the same modes as those of the 1st job if the settings are not changed.
• Press the [SETTINGS] button to confirm the settings.
7
Press the [START] button.
• The scanning of the originals for the 2nd job starts.
• Repeat steps 6 to 7 until all the originals have finished being scanned.
8
After all the originals have finished being scanned, confirm the num-
ber of copies on the menu and change if needed.
Summary of Contents for DP-7240
Page 6: ...4 CONTENTS Cont ...
Page 73: ...71 3 2 Press the APS button 4 Press the START button ...
Page 109: ...107 4 4 IMAGE ADJUSTMENT 1 Background Adjustment 108 2 Sharpness 109 ...
Page 112: ...4 110 4 IMAGE ADJUSTMENT ...
Page 151: ...149 5 5 Press the ENTER button Select other copy modes as required 6 Press the START button ...
Page 153: ...151 5 5 Press the ENTER button Select other copy modes as required 6 Press the START button ...
Page 192: ...6 190 6 e FILING ...
Page 222: ...7 220 7 TEMPLATE ...
Page 260: ...8 258 8 JOB STATUS ...
Page 315: ...313 11 11 MAINTENANCE 1 Daily Inspection 314 2 Simple Troubleshooting 315 ...
Page 320: ...11 318 11 MAINTENANCE ...
Page 335: ......


