31
1
3. Energy Saving Mode
This equipment is designed to enter into the energy saving mode automatically to lower its power con-
sumption when a specified period of time has passed since the last use of the equipment (automatic
energy saving mode). In this mode, “Saving energy - press START button” appears. Then after a certain
period of time, the display on the touch panel disappears and the [ENERGY SAVER] button lights in green.
This mode is automatically cleared upon reception of printer data, a FAX, Internet FAX or Email.
The period to enter into the energy saving mode is set at 15 minutes by default at the time of installation of
the equipment. See the Operating Instructions (For User Functions) for change of this setting.
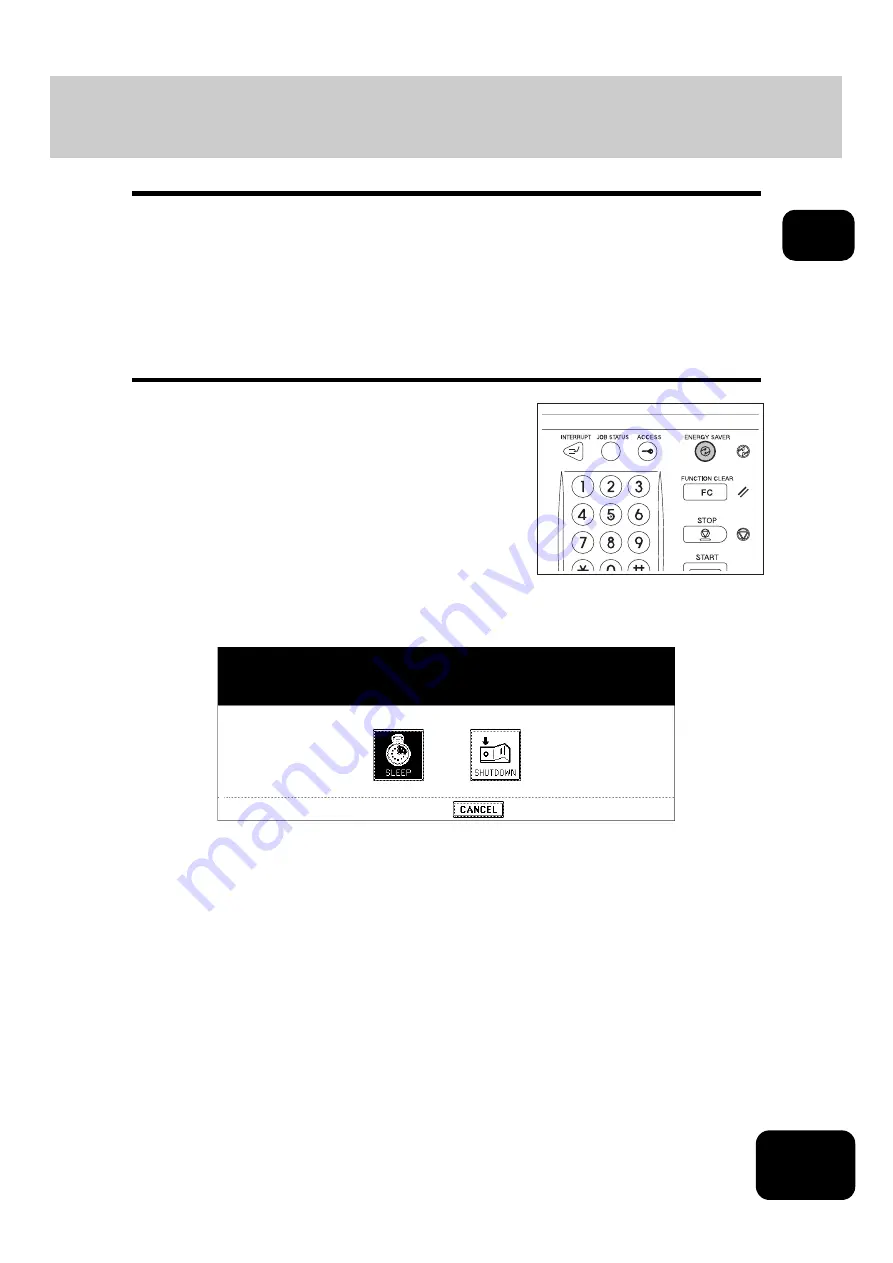
The equipment can also be made to enter the energy saving mode manually by means of the following
procedure.
2
Press the [SLEEP] button on the touch panel.
• The equipment enters into the energy saving mode. During this mode, the display on the touch panel disap-
pears and the [ENERGY SAVER] button lights in green.
To canceling the energy saving mode
Press the [ENERGY SAVER] button on the control panel again. The energy saving mode is cleared and
the equipment will be ready for copying.
The energy saving mode is also cleared by pressing any button of [COPY], [SCAN], [FAX], [e-FILING] and
[START].
•
The [SCAN] button is enabled only when the Printer/Scanner Kit (optional) is installed.
•
The [FAX] button is enabled only when any of the FAX Unit and Printer/Scanner Kit (both optional) is
installed.
1
Press the [ENERGY SAVER] button on
the control panel.
Summary of Contents for DP-7240
Page 6: ...4 CONTENTS Cont ...
Page 73: ...71 3 2 Press the APS button 4 Press the START button ...
Page 109: ...107 4 4 IMAGE ADJUSTMENT 1 Background Adjustment 108 2 Sharpness 109 ...
Page 112: ...4 110 4 IMAGE ADJUSTMENT ...
Page 151: ...149 5 5 Press the ENTER button Select other copy modes as required 6 Press the START button ...
Page 153: ...151 5 5 Press the ENTER button Select other copy modes as required 6 Press the START button ...
Page 192: ...6 190 6 e FILING ...
Page 222: ...7 220 7 TEMPLATE ...
Page 260: ...8 258 8 JOB STATUS ...
Page 315: ...313 11 11 MAINTENANCE 1 Daily Inspection 314 2 Simple Troubleshooting 315 ...
Page 320: ...11 318 11 MAINTENANCE ...
Page 335: ......


