


15
English
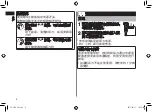
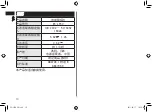
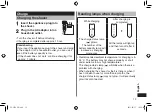
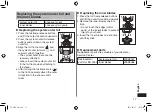
Reading lamps when using
While using
Approximate amount of battery charge
is displayed as 20 - 100.
•
The charge status lamp (
) glows when using cord
shaving.
It will turn off approximately 5 seconds after
operating the switch.
•
•
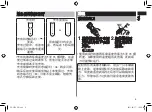
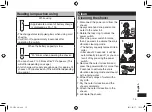
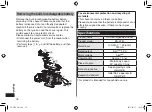
When the battery capacity is low
“20” blinks when operating the shaver.
You can shave 2 to 3 times after “20” appears. (This
will differ depending on usage.)
A full charge will supply enough power for approx. 14
shaves of 3 minutes each. (This will differ depending
on usage.)
•
•
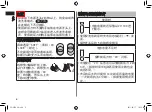
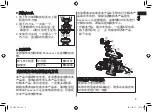
Clean
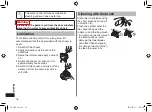
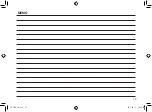
Cleaning the shaver
1. Disconnect the power cord from the
shaver.
2. Apply some hand soap and some
water to the outer foil.
3. Rotate the lock ring to unlock the
power switch.
4. Press the power switch for more
than 2 seconds to activate the sonic
vibration cleaning mode.
The battery capacity lamps blink in
order.
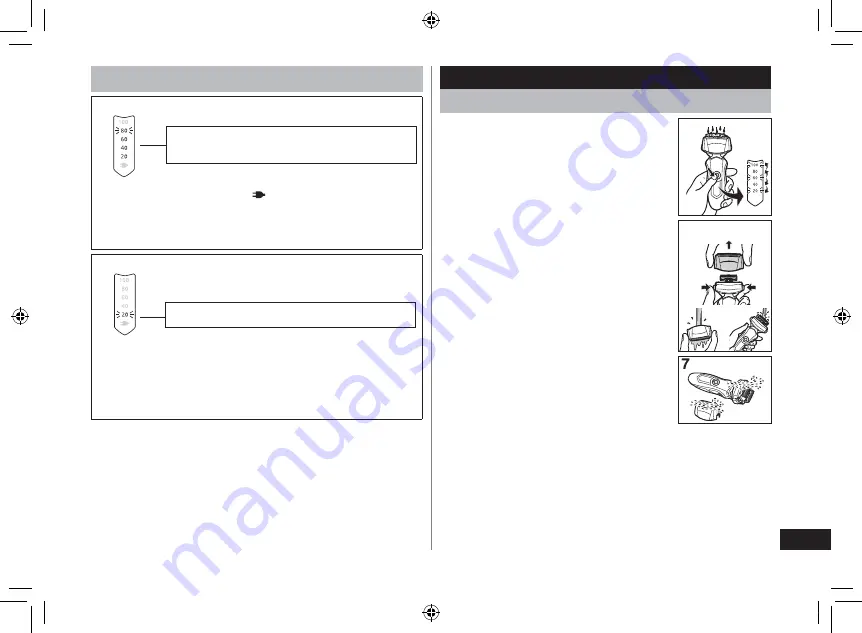
After about 20 seconds, it will be
automatically turned off, or you can
turn it off by pressing the power
switch.
5. Remove the outer foil section and
press the power switch for more than
2 seconds to activate the sonic
vibration cleaning mode and clean it
with running water.
6. Wipe off any drops of water with a
dry cloth.
7. Dry the outer foil section and the
shaver completely.
8. Attach the outer foil section to the
shaver.
9. Lubricate the shaver.
•
•
4
5
'5.(A%*KPFD
Summary of Contents for ES-LF50
Page 2: ...2 3DQDVRQLF 6 5 5 A KPFD...
Page 3: ...3 5 5 A KPFD...
Page 4: ...4 1 1 2 2 5 A KPFD...
Page 5: ...5 1 1 2 2 5 A KPFD...
Page 6: ...6 62 7 2 5 A KPFD...
Page 7: ...7 4 5 5 A KPFD...
Page 8: ...8 A B 5 A KPFD...
Page 9: ...9 3DQDVRQLF 6 6 6 3DQDVRQLF 3DQDVRQLF 5 A KPFD...
Page 10: ...10 6 9 P 9 9 5 A KPFD...
Page 19: ...19 MEMO 5 A KPFD...


