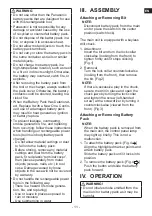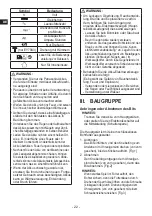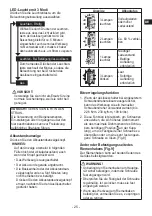
- 11 -
EN
WARNING
•
Do not use other than the Panasonic
battery packs that are designed for use
with this rechargeable tool.
•
Panasonic is not responsible for any
damage or accident caused by the use
of recycled or counterfeit battery pack.
•
Do not dispose of the battery pack in a
fire, or expose it to excessive heat.
•
Do not allow metal objects to touch the
battery pack terminals.
•
Do not carry or store the battery pack in
the same container as nails or similar
metal objects.
•
Do not charge the battery pack in a
high-temperature location, such as next
to a fire or in direct sunlight. Otherwise,
the battery may overheat, catch fire, or
explode.
•
After removing the battery pack from
the tool or the charger, always reattach
the pack cover. Otherwise, the battery
contacts could be shorted, leading to a
risk of fire.
•
When the Battery Pack Has Deteriorat
-
ed, Replace It with a New One. Contin
-
ued use of a damaged battery pack
may result in heat generation, ignition
or battery rupture.
•
To prevent leakage, overheating,
smoke generation, fire, and rupturing
from occurring, follow these instructions
when handling our rechargeable power
tools (tool main body/battery pack/
charger).
-
Do not allow material cuttings or dust
to fall onto the battery pack.
-
Before storing, remove any material
cuttings and dust from the battery
pack, fit red plastic “terminal cover”,
then place separately from metal
objects (screws, nails, etc.) in tool
case. Damage caused by loose
objects in the case will not be covered
by warranty.
•
Do not handle the rechargeable power
tools in the following way.
(There is a hazard of smoke genera-
tion, fire, and rupturing)
-
Use or leave in places exposed to
rain or moisture
-
Use submerging in water
III.
ASSEMBLY
Attaching or Removing Bit
NOTE:
Disconnect battery pack from the main
unit or place the switch in the center
position (switch lock).
The main unit is equipped with a keyless
drill chuck.
1. Attachment
Insert the bit and turn the lock collar
clockwise (looking from the front) to
tighten firmly until it stops clicking.
[Fig.1]
2. Removal
Turn the lock collar counterclockwise
(looking from the front), then remove
the bit. [Fig.2]
NOTE:
If there is excessive play in the chuck,
secure the drill in place and open the
chuck jaws by turning the lock collar
and tighten the screw (left-handed
screw) with a screwdriver by turning it
counterclockwise (viewed from the
front). [Fig.3]
Attaching or Removing Battery
Pack
NOTE:
When the battery pack is removed from
the main unit, the control panel lamp
may light up briefly. This is not a
malfunction.
1. To attach the battery pack: [Fig.4 ]
Align the highlighted marker points and
attach battery pack.
Slide the battery pack until it locks into
position.
2. To remove the battery pack: [Fig.4 ]
Push the button and slide the battery
pack forward.
IV. OPERATION
WARNING!
•
Do not inhale smoke emitted from the
main unit or battery pack as it may be
harmful.


