- 7 -
. ASSEMBLY
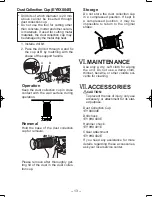
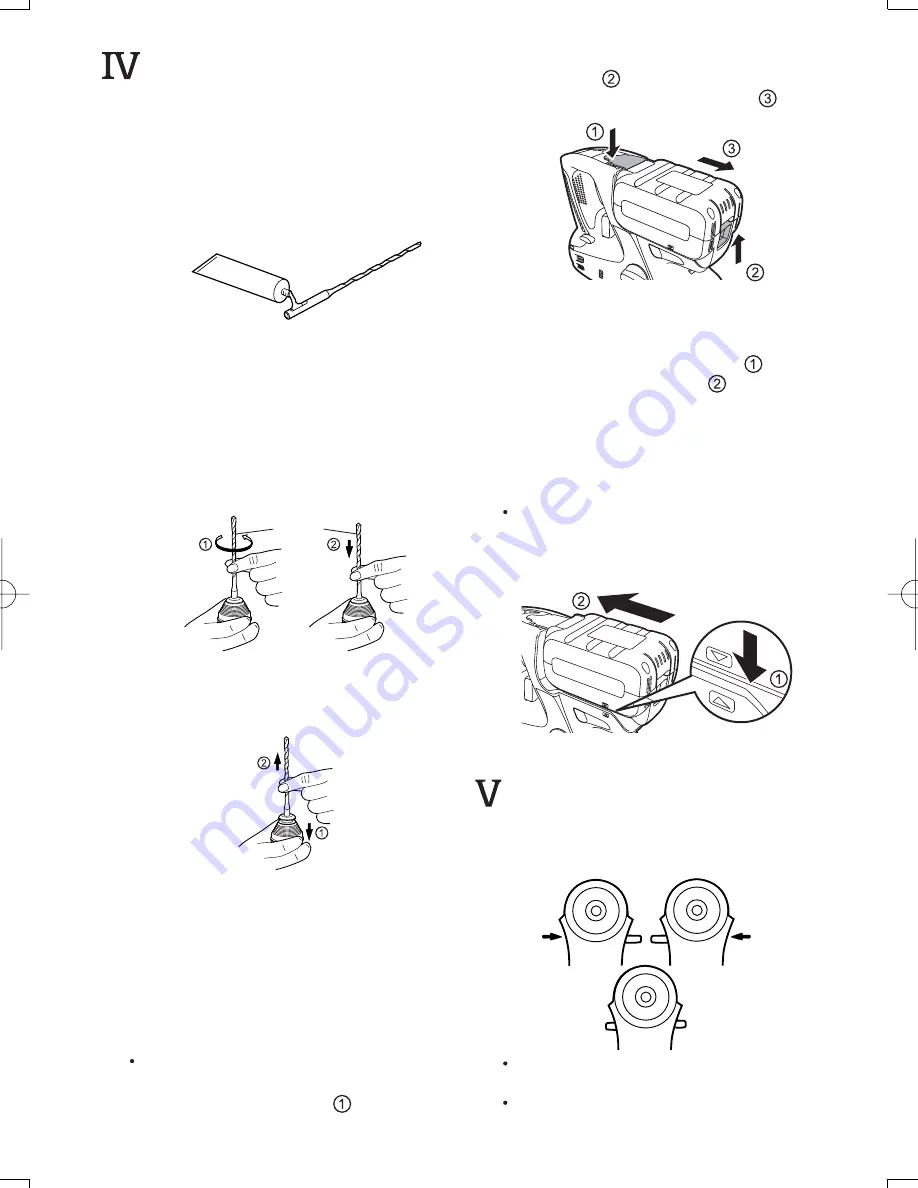
Attaching or Removing Bit
Chuck
NOTE:
Grease for bit
Grease the oval indentation
on the bit with the supplied
grease at least once a month.
1. To mount the bit
1-1. Insert a bit into the mounting hole,
and turn it slightly to locate an en-
gaged position.
1-2. At the engaged position, push the
bit as far as it goes. Make sure that
the bit is fixed by pulling it.
SDS PLUS type
shank
2. To dismount the bit
2-1. Depress the chuck cover and pull
the bit.
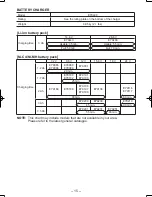
Attaching or Removing Bat-
tery pack
Battery holder
The battery pack is designed to be in-
stalled by proceeding two steps for safety.
Make sure the battery pack is installed
properly to the main body before use.
Battery pack Installation and Removal
-For removal-
Push the battery holder (
).
While the battery pack release button
is held up, (
) move the battery pack
laterally and pull out the pack. (
)
Battery
holder
Release
lever
-For installation-
To attach the battery pack, line up the
alignment marks on the body of the
tool and the battery pack, (
) and
insert the battery pack. (
)
• After you hear the battery pack
clicks when inserting it, keep in-
serting it firmly until the lever locks
it to click once more.
NOTE:
The overheat warning lamp and
the battery low warning lamp will
flash when the battery pack is not
inserted firmly.
. OPERATION
[Main Body]
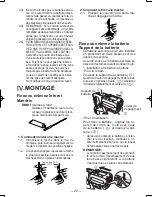
Forward/Reverse lever
Reverse
Forward
Be sure to set the switch in the cent-
er to lock it after use.
Operate the Forward/Reverse lever
after the motor rotation is completely
stopped.
!EY7880.indb 7
!EY7880.indb 7
2007/08/07 12:14:52
2007/08/07 12:14:52


