- 15 -
- 15 -
[Battery Pack]
For Appropriate Use of
Battery pack
• For optimum battery life, store the Li-
ion battery pack following use without
charging it.
• When charging the battery pack,
confirm that the terminals on the
battery charger are free of foreign
substances such as dust and water
etc. Clean the terminals before
charging the battery pack if any for-
eign substances are found on the
terminals.
The life of the battery pack terminals
may be affected by foreign sub-
stances such as dust and water etc.
during operation.
• When battery pack is not in use,
keep it away from other metal objects
like: paper clips, coins, keys, nails,
screws, or other small metal objects
that can make a connection from one
terminal to another.
Shorting the battery terminals together
may cause sparks, burns or a fire.
• When operating the battery pack,
make sure the work place is well ven-
tilated.
• When the battery pack is removed
from the main body of the tool, replace
the battery pack cover immediately in
order to prevent dust or dirt from con-
taminating the battery terminals and
causing a short circuit.
Battery Pack Life
The rechargeable batteries have a
limited life. If the operation time be-
comes extremely short after recharg-
ing, replace the battery pack with a
new one.
Battery Recycling
ATTENTION:
For environmental protection and
recycling of materials, be sure that
it is disposed of at an officially as-
signed location, if there is one in
your country.
[Battery Charger]
Charging
Cautions
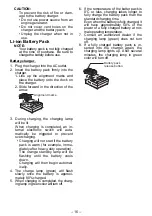
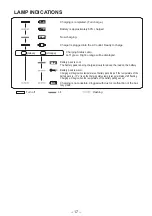
• If the temperature of the battery
pack falls approximately below
−
10°C (14°F), charging will auto-
matically stop to prevent degrada-
tion of the battery.
• The ambient temperature range is be-
tween 0°C (32°F) and 40°C (104°F).
If the battery pack is used when the
battery temperature is below 0°C
(32°F), the tool may fail to function
properly.
• Use the charger at temperatures be-
tween 0°C and 40°C, and charge the
battery at a temperature similar to that
of the battery itself. (There should be
no more than a 15°C difference be-
tween the temperatures of the battery
and the charging location.)
• When charging a cool battery pack
(below 0°C (32°F)) in a warm place,
leave the battery pack at the place
and wait for more than one hour to
warm up the battery to the level of
the ambient temperature.
•
Cool down the charger when
charging more than two battery
packs consecutively.
• Do not insert your fingers into contact
hole, when holding charger or any
other occasions.
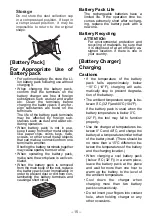
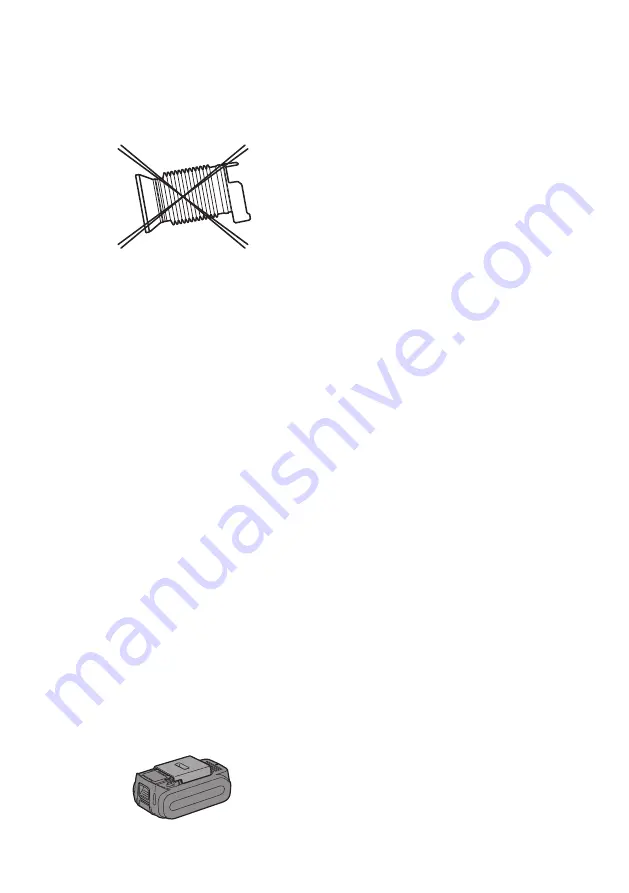
Storage
Do not store the dust collection cup
in a compressed position. If kept in
a compressed position, it may be
impossible to return to the original
shape.
- 14 -
• If both the battery low warning lamp
and LED light flash, reduce the force
with which you are pushing on the
driver or, if using a drill driver, adjust
the speed switch to a lower setting.
(EY78A1)
Installing the Shoulder Strap
CAUTION:
• Install the shoulder strap firmly
to the main unit of the tool and
check the length of the strap
before use.
• Check the condition of the strap
and do not use if it is cut or torn
etc.
There is a risk of injury or dam-
age if used while improperly in-
stalled.
• Please wear the shoulder strap
securely on the shoulder.
There is a risk of injury or dam-
age if it is accidentally dropped.
1. Pass the strap through the strap
holders. ( )
2. Pass the strap through the buckles
and adjust the length. ( )
• The shoulder strap can be adjusted
according to the individual.
• Adjust the shoulder pad to the
shoulder.
• Pull the shoulder strap to make sure
it is firmly attached to the main unit of
the tool.
Shoulder pad
(Available as an optional accessory)
Dust Collection Cup (EY9X005E)
* Drill bits of which diameter is 20 mm
above cannot be inserted through
dust collection cup.
* Do not use the tool for cutting other
than concrete, mortar and other ceram-
ic materials. If used for cutting metal
materials, the dust collection cup may
be damaged by the metal chip heat.
1. Install a drill bit.
2. Pass the drill bit through A and fix
the cup at B by matching with the
shape of the cluch handle.
A
Operation
Keep the dust collection cup in close
contact with the wall surface during
operation.
Removal
Hold the base of the dust collection
cup for removal.
Base
Please remove after thoroughly get-
ting rid of the dust in the dust collec-
tion cup.
* Do not use this tool with any drill bit
which is shorter than 130 mm in length.
B
Summary of Contents for EY78A1LJ2G
Page 154: ... 154 147 MEMO ...
Page 155: ... 155 147 MEMO ...
Page 156: ...EN GR FR IT ND ES DN SW NR FN TR EY971078408 2016 04 F Printed in China ...

