23
7 Service Fixture & Tools
7.1.
Service Fixture and Tools
The following Service Fixture and tools are used for checking and servicing this unit.
(* When Installing the MOS Unit )
7.2.
When Replacing the Main P.C.B.
After replacing the MAIN P.C.B., be sure to achieve adjustment.
7.3.
Service Position
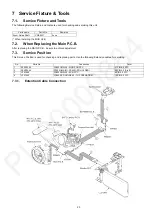
This Service Position is used for checking and replacing parts. Use the following Extension cables for servicing.
7.3.1.
Extention Cable Connection
Parts name
Parts No.
Remarks
Zoom Guide Shaft
VMS8231
2 use
No.
Parts No.
Connection
Form
1
RFKZ0354
FP6001(MAIN) - MONITOR FPC
37PIN 0.3 FFC
2
RFKZ0444
PP6001(MAIN) - PS6401(SD HOLDER)
50PIN 0.5 B to B
3
VFK1480
FP6003(MAIN) - ECM FPC
6PIN 0.5 FFC
4
VFK1440
FP6402(SD HOLDER) - TOP OPERATION
10PIN 0.5 FFC
Summary of Contents for HC-V270PP
Page 12: ...12 ...
Page 14: ...14 ...
Page 15: ...15 ...
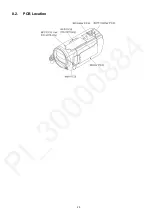
Page 25: ...25 8 2 PCB Location ...
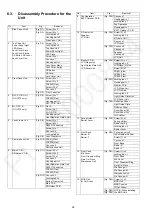
Page 28: ...28 8 3 1 Removal of the Side Case L Unit Fig D1 Fig D2 ...
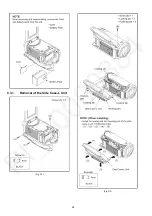
Page 31: ...31 8 3 6 Removal of the Lens Frame Unit Fig D8 Fig D9 ...
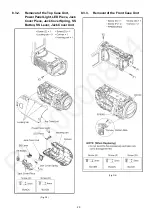
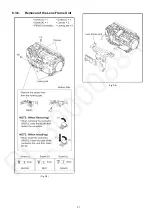
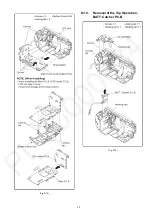
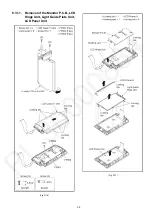
Page 33: ...33 Fig D12 8 3 9 Removal of the Top Operation BATT Catcher P C B Fig D13 ...
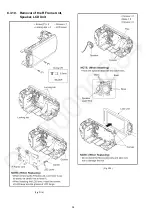
Page 34: ...34 8 3 10 Removal of the R Frame Unit Speaker LCD Unit Fig D14 Fig D15 ...
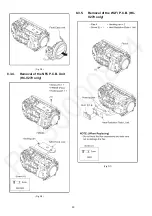
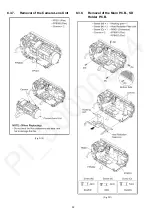
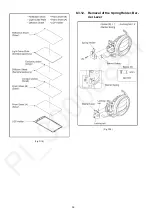
Page 36: ...36 Fig D18 8 3 12 Removal of the Spring Holder Bar rier Lever Fig D19 ...
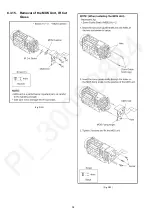
Page 38: ...38 8 3 15 Removal of the MOS Unit IR Cut Grass Fig D22 Fig D23 ...
Page 39: ...39 Fig D24 8 3 16 Removal of the 2nd Stepping Motor Fig D25 ...
Page 40: ...40 Fig D26 8 3 17 Removal of the 3rd Stepping Motor Fig D27 ...
Page 41: ...41 Fig D28 8 3 18 Removal of the Focus Motor Fig D29 ...
Page 42: ...42 Fig D30 ...
Page 46: ...46 9 1 2 Adjustment Items Adjustment item as follows ...
Page 49: ...49 ...
Page 50: ...50 ...
Page 51: ...51 ...
Page 52: ...52 ...
Page 53: ...53 ...
Page 54: ...54 ...

