- 198 -
To use the last connected smartphones
≥
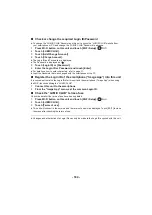
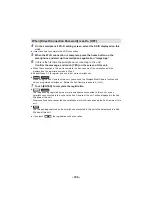
If the connection cannot be established or no image appears on the Sub Window, follow the steps
below to set up the connection again:
1
Touch the recording screen of this unit and touch
.
2
Touch [Change Device] on the screen of this unit.
3
Close the smartphone application “Image App”, and then touch [Reset] on the device
registration screen.
4
Touch [YES].
After completing the steps above, follow the procedure from Step 2 onwards in “Selecting this unit’s
SSID on the smartphone to set up a connection” in “When connecting a smartphone to this unit as a
Wireless Sub Camera for the first time (To use the Wireless Multi-Camera function)”. (
)
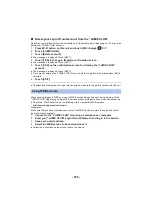
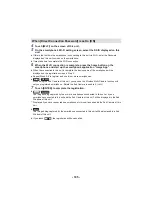
To replace the registered smartphones
To clear all of the registered smartphones
Close the smartphone application “Image App”, and then touch [Reset] on the device
registration screen.
≥
A message will be displayed. Touching [YES] will clear all the registered information, and device
names will be indicated as [Unregistered].
≥
Wi-Fi connections made with the Wireless Multi-Camera function are not saved as records in
[History].
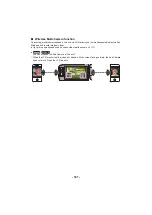
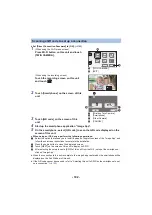
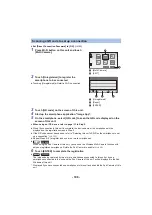
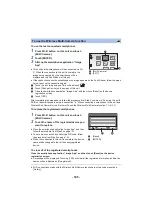
To use the Wireless Multi-Camera function
1
Press Wi-Fi button on this unit and touch
[Multi Camera].
2
Touch [ENTER].
3
Start up the smartphone application “Image
App”.
≥
This unit and the smartphone will be connected via Wi-
Fi. When the connection to this unit is complete, the
image being captured by the smartphone will be
displayed on the Sub Window of this unit.
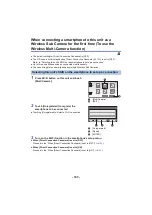
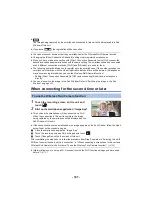
1
Press Wi-Fi button on this unit and touch
[Multi Camera].
2
Touch the name of the registered device you
want to replace.
≥
Close the smartphone application “Image App”, and then
follow the procedure from Step 3 on page
≥
To set up a connection by scanning a QR code, follow
the procedure from Step 3 on page
≥
When the connection to this unit is complete, the device
name will be changed to that of the newly-registered
device.
1/2
A
[Multi Camera]
B
[EXIT]
C
[Reset]
D
[ENTER]

