22
6.1.
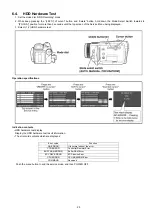
Drive Information Display
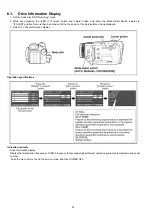
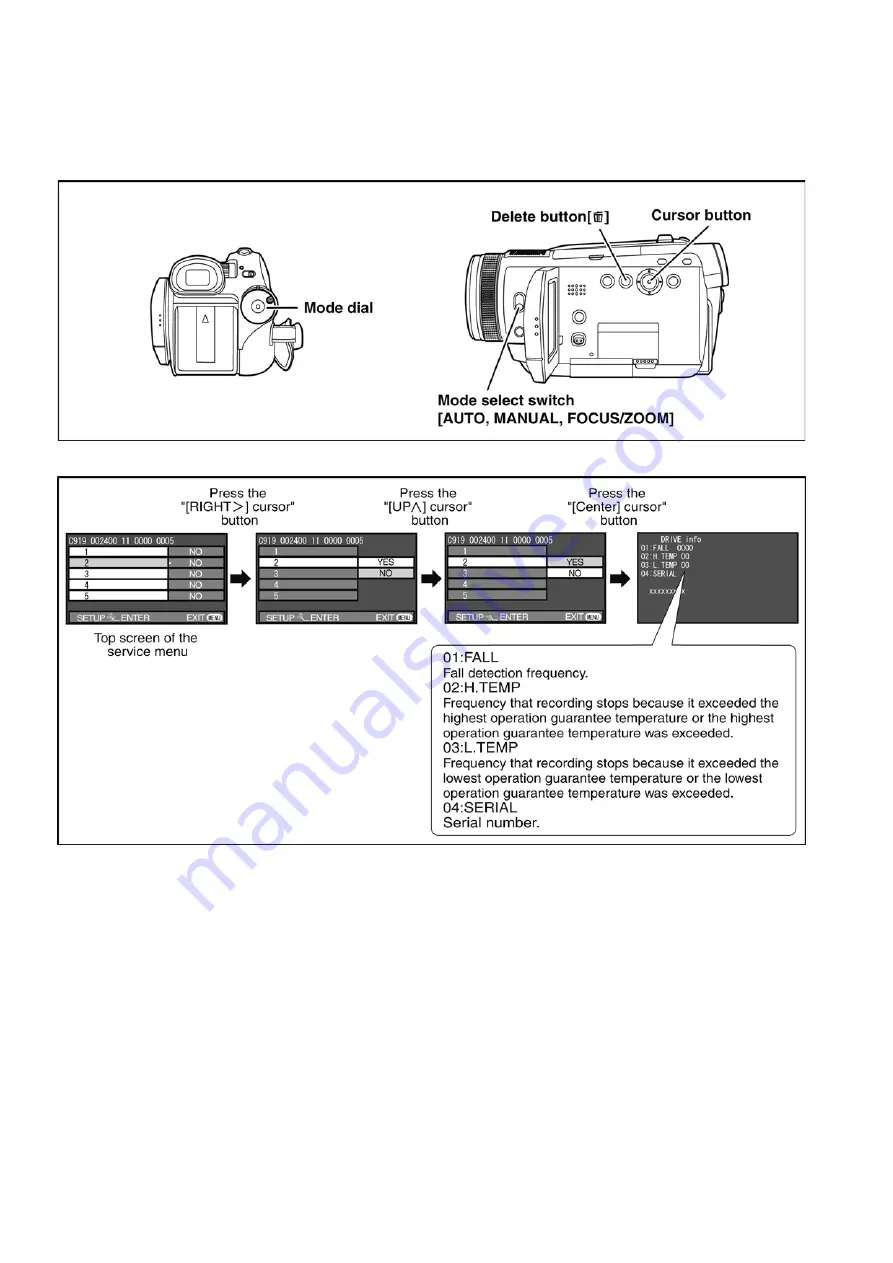
1. Set the mode dial “HDD Recording” mode.
2. While keep pressing the “[LEFT<] of cursor” button and “delete” button, hold down the Mode Select Switch towards to
“[FOCUS]” position for more than 3 seconds until the top screen of the Service Menu being displayed.
3. Select [ 2 ] Drive Information display.
Operation specifications
Indication contents
• Drive Information display
Display the fall detection frequency of HDD, Frequency that exceeds highest/lowest operation guarantee temperature and serial
number.
Push the menu button to end the service mode, and then POWER OFF.
Summary of Contents for HDC-HS100P
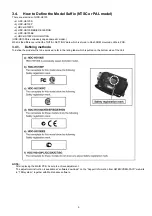
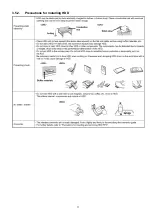
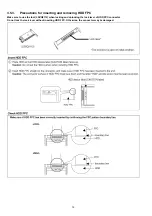
Page 11: ...11 3 5 2 Precautions for installing HDD...
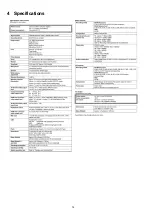
Page 14: ...14 4 Specifications...
Page 15: ...15...
Page 16: ...16 5 Location of Controls and Components...
Page 17: ...17...
Page 18: ...18...
Page 19: ...19...
Page 20: ...20...
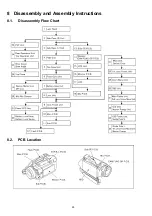
Page 28: ...28 8 Disassembly and Assembly Instructions 8 1 Disassembly Flow Chart 8 2 PCB Location...
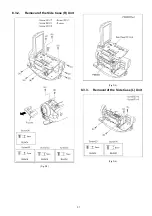
Page 32: ...32 Fig D5 8 3 4 Removal of the HDD Unit Fig D6...
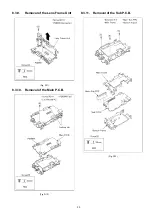
Page 33: ...33 8 3 5 Removal of the Top Case Unit Fig D7 8 3 6 Removal of the Front Case Unit Fig D8...
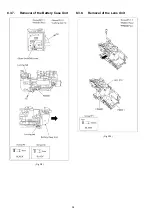
Page 34: ...34 8 3 7 Removal of the Battery Case Unit Fig D9 8 3 8 Removal of the Lens Unit Fig D10...
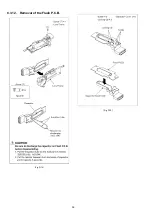
Page 36: ...36 8 3 12 Removal of the Flash P C B Fig D14 Fig D15...
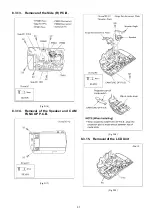
Page 38: ...38 Fig D20 8 3 16 Removal of the Monitor P C B Fig D21 Fig D22...
Page 39: ...39 8 3 17 Removal of the LCD Fig D23 8 3 18 Removal of the Mic P C B Fig D24...
Page 40: ...40 8 3 19 Removal of the Barrier Motor Unit and MF Unit Fig D25 Fig D26...
Page 41: ...41 8 3 20 Removal of the Mic Mic Damper Fig D27 8 3 21 Removal of the Power FPC Unit Fig D28...
Page 45: ...45 Fig D39 8 3 30 Removal of the IRIS Unit Fig D40 Fig D41...
Page 79: ...S 30...
Page 90: ...S7 3 LCD Section S 41 158 157 154 155 156 153 B151 B152 151 159 160 152 161 162...


