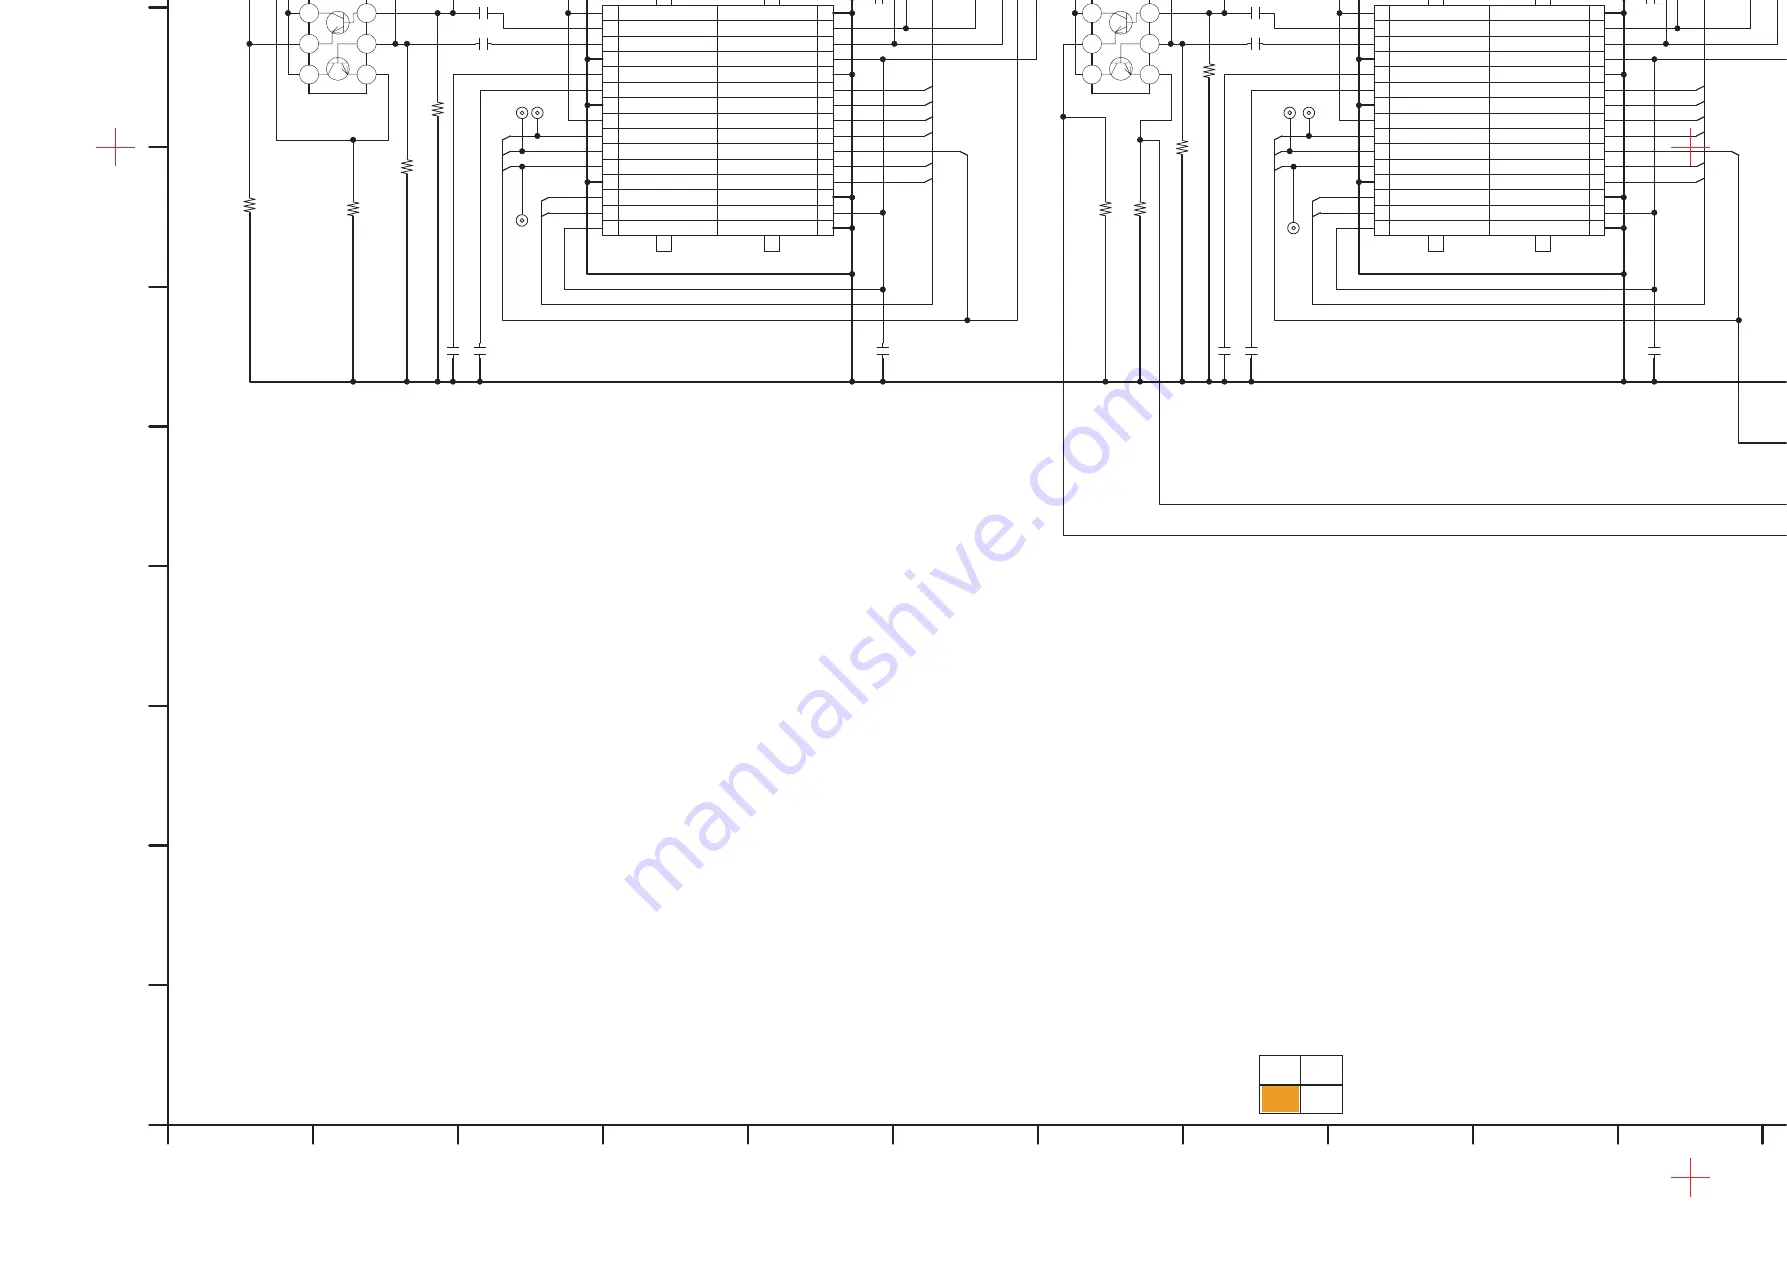
S-16
% W
W
%
%
W
%
W
W
%
W
%
W
%
%
W
(,,
%
(,,
%
4
-
4
-
4
-
4
-
4
4
4
4
)
)
)
)
--;##
)
)
)
)
--;##
%. %.
%. %.
%.
%.
4560
4560
8
8
8
8
856
856
5#
5#
5%.-
5%.-
#..456
#..456
5*6
5*6
*A4
5+)45A4
*A$
%5A$
*A4
%5A4
*A$
5+)45A$
4560
4560
5%.-
5%.-
5#
5#
8
8
8
8
856
856
#..456
#..456
5*6
5*6
%5
%5
855
855
855
855
855
855
8&&
8&&
8&&
8&&
8&&
8&&
#/2176
#/2176
8&&#
8&&#
8&&#
8&&#
*8219
*8219
855#
855#
855#
855#
855#
855#
*
*
*
*
.)#/2
.)#/2
5+)45
5+)45
%.&%0%
%.&%0%
.8219
.8219
#/2176
#/2176
6'56/1&'
6'56/1&'
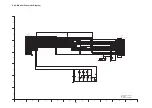
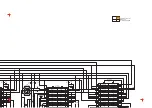
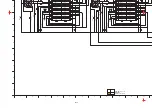
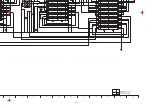
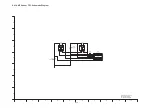
HDC-HS100 Series
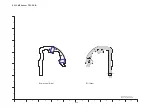
MOS FPC
Schematic Diagram
11
10
9
8
7
6
5
4
3
2
1
H
G
F
E
D
C
B
A
3/4
Summary of Contents for HDC-HS100P
Page 11: ...11 3 5 2 Precautions for installing HDD...
Page 14: ...14 4 Specifications...
Page 15: ...15...
Page 16: ...16 5 Location of Controls and Components...
Page 17: ...17...
Page 18: ...18...
Page 19: ...19...
Page 20: ...20...
Page 28: ...28 8 Disassembly and Assembly Instructions 8 1 Disassembly Flow Chart 8 2 PCB Location...
Page 32: ...32 Fig D5 8 3 4 Removal of the HDD Unit Fig D6...
Page 33: ...33 8 3 5 Removal of the Top Case Unit Fig D7 8 3 6 Removal of the Front Case Unit Fig D8...
Page 34: ...34 8 3 7 Removal of the Battery Case Unit Fig D9 8 3 8 Removal of the Lens Unit Fig D10...
Page 36: ...36 8 3 12 Removal of the Flash P C B Fig D14 Fig D15...
Page 38: ...38 Fig D20 8 3 16 Removal of the Monitor P C B Fig D21 Fig D22...
Page 39: ...39 8 3 17 Removal of the LCD Fig D23 8 3 18 Removal of the Mic P C B Fig D24...
Page 40: ...40 8 3 19 Removal of the Barrier Motor Unit and MF Unit Fig D25 Fig D26...
Page 41: ...41 8 3 20 Removal of the Mic Mic Damper Fig D27 8 3 21 Removal of the Power FPC Unit Fig D28...
Page 45: ...45 Fig D39 8 3 30 Removal of the IRIS Unit Fig D40 Fig D41...
Page 79: ...S 30...
Page 90: ...S7 3 LCD Section S 41 158 157 154 155 156 153 B151 B152 151 159 160 152 161 162...

