10
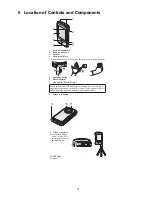
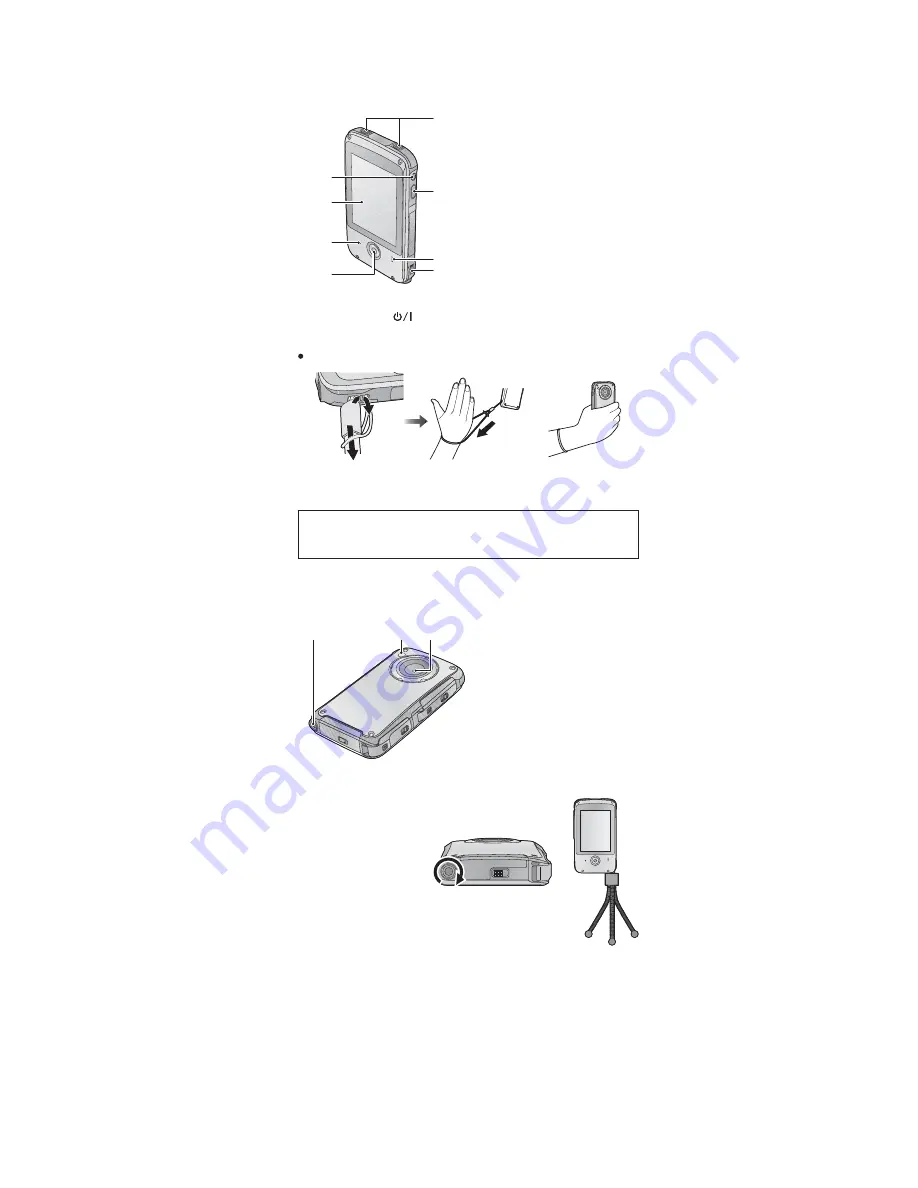
5 Location of Controls and Components
1
Internal microphones
2
Power button [
]
3
Speaker
4
Hand strap fixture
Attach the hand strap to this unit and adjust its length using the stylus pen.
5
Recording button
6
Status indicator
7
LCD monitor (Touch screen)
8
Screen lock button
Due to limitations in LCD production technology, there may be some
tiny bright or dark spots on the LCD monitor screen. However, this is
not a malfunction and does not affect the recorded picture.
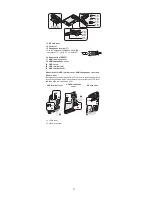
1
8
2
3
4
6
7
5
9
Tripod receptacle
●
If you attach a tripod
with a 5.5 mm (0.22
S
)
screw or larger, it may
damage this unit.
10 LED light
11 Lens
9
10 11
Summary of Contents for HM-TA20EB
Page 8: ...8 4 Specifications ...
Page 9: ...9 ...
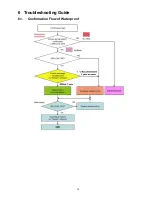
Page 12: ...12 6 Troubleshooting Guide 6 1 Confirmation Flow of Waterproof ...
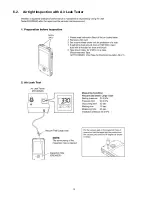
Page 13: ...13 6 2 Airtight Inspection with Air Leak Tester ...
Page 14: ...14 6 3 Air Leak Tester RFKZ0528 Operating Instruction ...
Page 15: ...15 ...
Page 16: ...16 ...
Page 17: ...17 ...
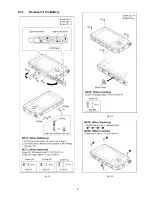
Page 21: ...21 8 3 1 Removal of the Battery Fig D1 Fig D2 Fig D3 ...
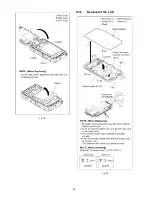
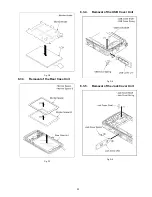
Page 22: ...22 Fig D4 8 3 2 Removal of the LCD Fig D5 ...
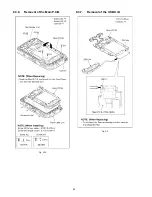
Page 24: ...24 8 3 6 Removal of the Main P C B Fig D10 8 3 7 Removal of the USB Unit Fig D11 ...
Page 26: ...26 Fig D14 Fig D15 ...
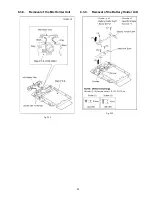
Page 27: ...27 8 3 10 Removal of the CCD Unit Fig D16 Fig D17 ...
Page 28: ...28 8 3 11 Removal of the Front Case Unit Fig D18 Fig D19 ...
Page 31: ...31 10 Maintenance 10 1 Regular Maintenance Flow ...
Page 32: ...32 10 2 Component Kits of Waterproof ...
Page 35: ...35 12 Exploded View and Replacement Parts List 12 1 Exploded Views ...
Page 36: ...36 ...


