Setup
29
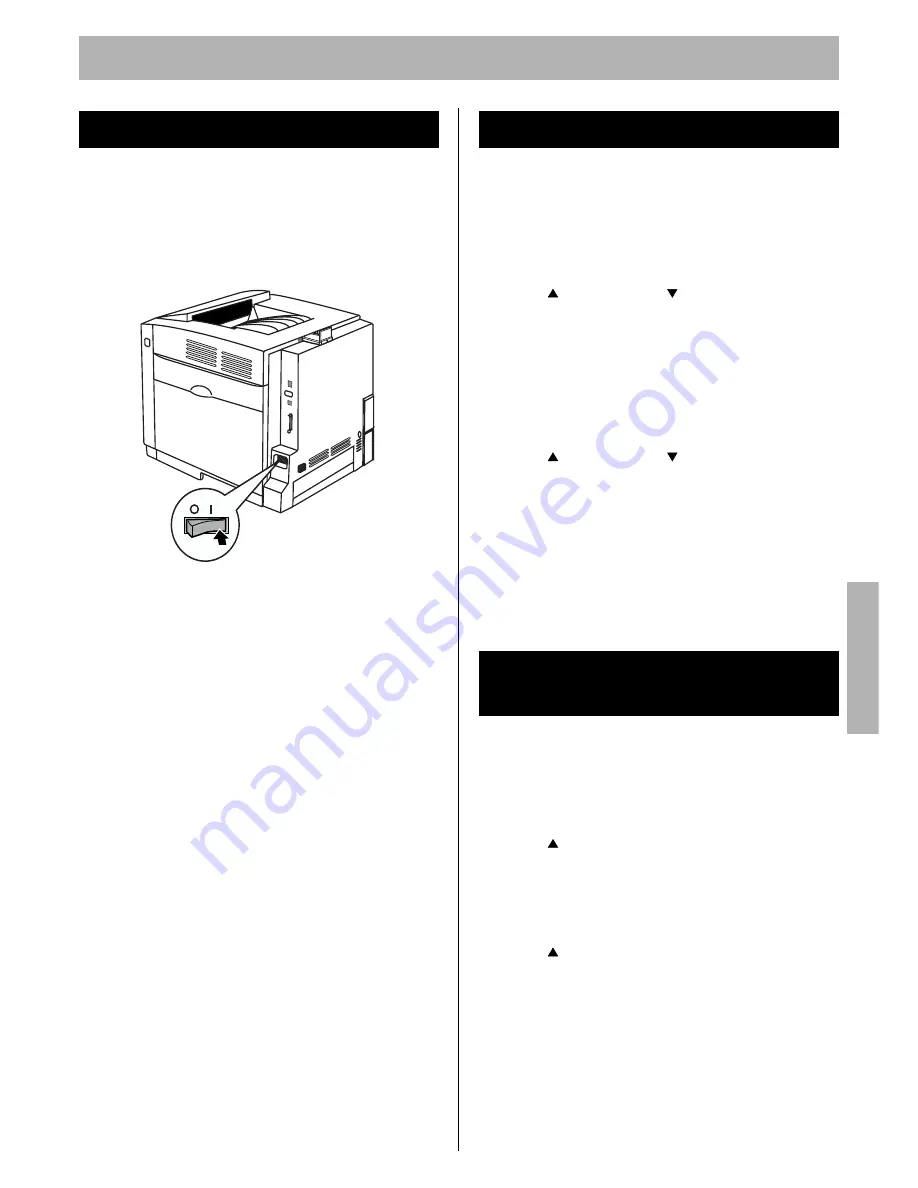
Turn the printer on, then the computer.
The READY indicator on the printer starts blinking.
After approximately 30 seconds [Standard Memory
without the printer’s hard disk drive at 20°C (68°F) /
65%RH / 120V], “Ready” is displayed on the printer LCD
panel.
NOTE:
•
If the Self Calibration is done, it will take much time.
•
When the printer enters the Power Save mode, the
POWER indicator will start blinking and “Power Save”
will be displayed on the printer LCD panel.
•
When you turn on the printer for the first time, it will take
about 5 minutes to fill the printer with toner. When the
process is completed, the printer's LCD will display
“Ready”.
•
Select English, German, French, Spanish or Italian as
the language which is to appear on the LCD panel.
•
English is the default language.
1
Press
MENU/EXIT (PAUSE)
button to enter the
Menu mode.
2
Press
(CONTINUE)
or
(CANCEL)
button until
the
Other
menu appears.
3
Press
ENTER
button.
Language
item menu appears.
4
Press
ENTER
button.
English
selection menu appears.
5
Press
(CONTINUE)
or
(CANCEL)
button until
the desired language is displayed.
6
Press
ENTER
button to activate your selection.
NOTE:
•
Adhere the enclosed “Supplies Re-order Label” near the
printer’s LCD panel to assist you in interpreting the
supplies related messages that may appear on the
printer’s LCD display.
It is possible to confirm the printer's settings by printing a
configuration page.
1
Press
MENU/EXIT (PAUSE)
button to enter the
Menu mode.
2
Press
(CONTINUE)
button until
Test Page
menu
appears.
3
Press
ENTER
button.
Menu Map
item menu appears.
4
Press
(CONTINUE)
button until
Configuration
Page
item menu appears.
5
Press
ENTER
button.
The printer will start printing a configuration page.
Power On
Setting the LCD Language
Printing a Test Page from
the Printer Panel
Set
u
p


