Installing Software
15
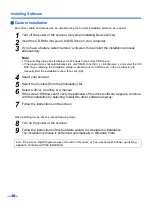
All Drivers & Utilities installation
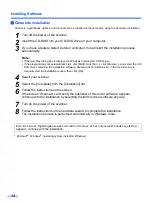
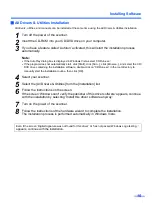
All drivers, utilities, and manuals can be installed at the same time using the All Drivers & Utilities installation.
1
Turn off the power of the scanner.
2
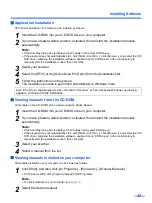
Insert the CD-ROM into your CD/DVD drive on your computer.
3
If you have a feature called ’Autorun’ activated, this will start the installation process
automatically.
Note:
•
If the AutoPlay dialog box is displayed in Windows Vista, select ’CDRun.exe’.
•
If the program does not automatically start, click [Start], click [Run...], click [Browse...], and select the CD/
DVD drive containing the installation software, double-click on “CDRun.exe” in the root directory to
manually start the installation routine, then click [OK].
4
Select your scanner.
5
Select the [All Drivers & Utilities] from the [Installation] list.
6
Follow the instructions on the screen.
If the screen 'Windows can't verify the publisher of this driver software' appears, continue
with the installation by selecting 'Install this driver software anyway'.
7
Turn on the power of the scanner.
8
Follow the instructions of the hardware wizard to complete the installation.
The installation process is performed automatically in Windows Vista.
Even if the screen
‘
Digital Signature was not found for this driver
’ or ‘
has not passed Windows Logo testing···
’
appears, continue with the installation.


