(3)
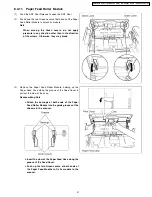
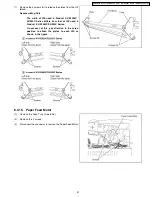
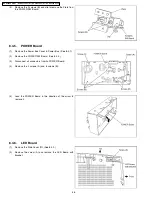
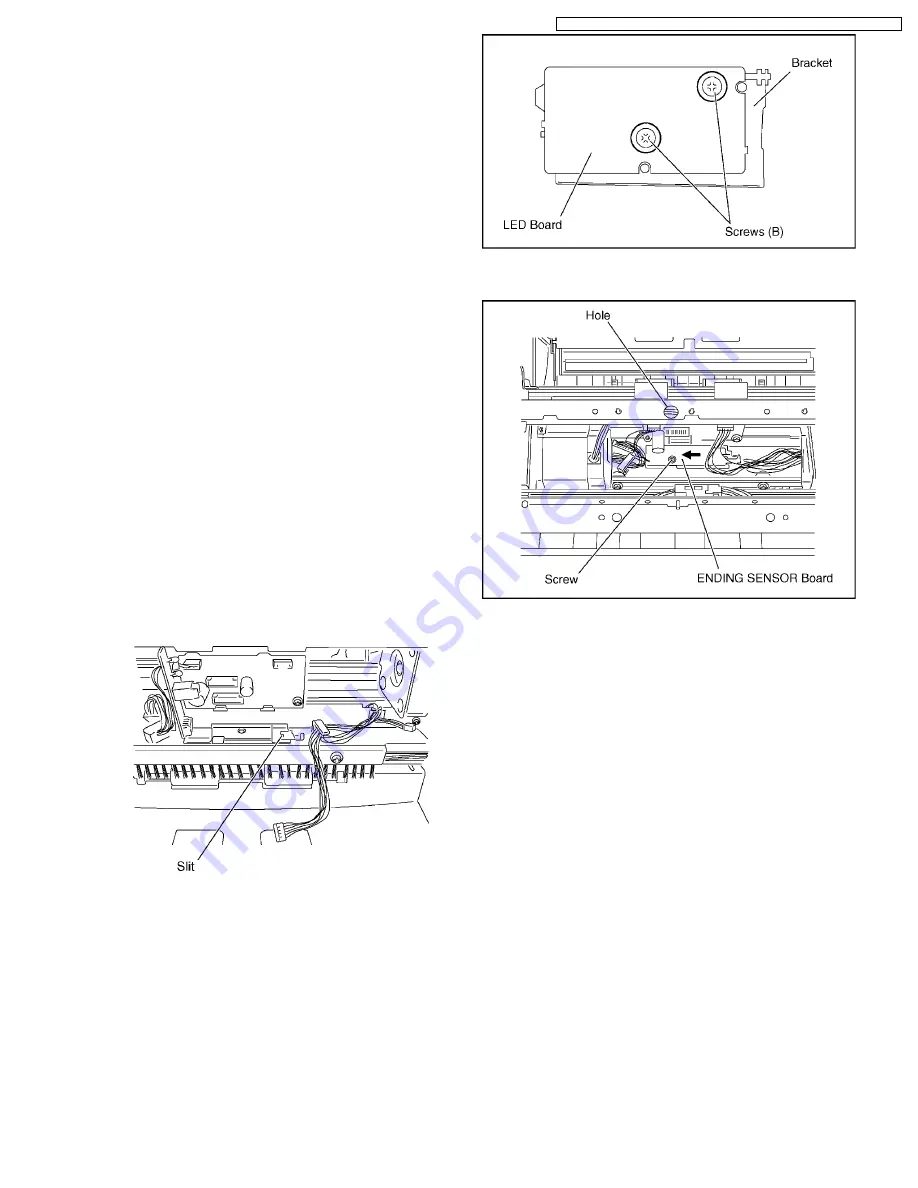
Remove the 2 screws (B) to release the Bracket from the
LED Board.
8.4.7.
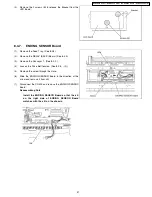
ENDING SENSOR Board
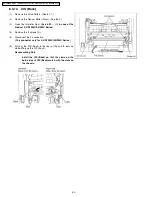
(1)
Remove the Feed Tray. (See 8.2.8.)
(2)
Remove the RELAY (BACK) Board. (See 8.4.3.)
(3)
Remove the Conveyor 1. (See 8.3.2.)
(4)
Loosen the Drive Belt tension. (See 8.3.6. - (2))
(5)
Remove the screw through the Hole.
(6)
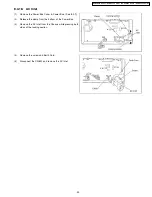
Slide the ENDING SENSOR Board in the direction of the
arrow and remove it from slit.
(7)
Disconnect the CN503 and remove the ENDING SENSOR
Board.
Reassembling Note
Install the ENDING SENSOR Board so that the slit
on the right side of ENDING SENSOR Board
matches with the slit on the chassis.
57
KV-S2025C Series / KV-SU225C Series / KV-S2045C Series / KV-SU245C Series
Summary of Contents for KV-S2045C
Page 96: ...96 KV S2025C Series KV SU225C Series KV S2045C Series KV SU245C Series ...
Page 114: ...KV S2025C Series KV SU225C Series KV S2045C Series KV SU245C Series 114 ...
Page 116: ...14 1 Exterior 116 KV S2025C Series KV SU225C Series KV S2045C Series KV SU245C Series ...
Page 118: ...14 2 Chassis and Base 118 KV S2025C Series KV SU225C Series KV S2045C Series KV SU245C Series ...
Page 120: ...14 3 Hopper Unit 120 KV S2025C Series KV SU225C Series KV S2045C Series KV SU245C Series ...
Page 122: ...14 4 Power Unit 122 KV S2025C Series KV SU225C Series KV S2045C Series KV SU245C Series ...

