9.3.7.
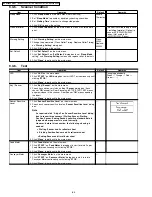
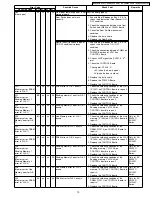
Adjust
Item
Operation
Default
Remarks
Shading
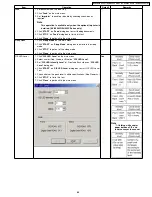
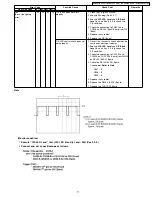
1. Set shading paper (Part No.: PBQX90113Z-J) on the feed tray.
2. Click “
Shading
“ on the main menu to execute shading correction.
3. Check the result.
4. Click “
OK
” to get back to the main menu.
—
Do not stop during this execution,
and do not open any doors.
All Position
1. Set 2 pcs of test chart A (Part No.: PBQX90095Z-J Size: A4) on the
feed tray.
2. Click “
All Position
“ on the main menu to execute scanning position &
length adjustment.
3. Check the result.
4. Click “
OK
“ to get back to the main menu.
—
Set 2 pcs of test chart A in order.
1
st
page: Front side
2
nd
page: Back side
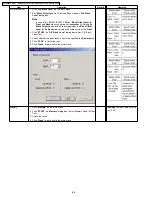
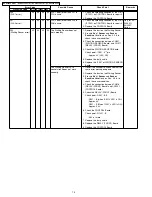
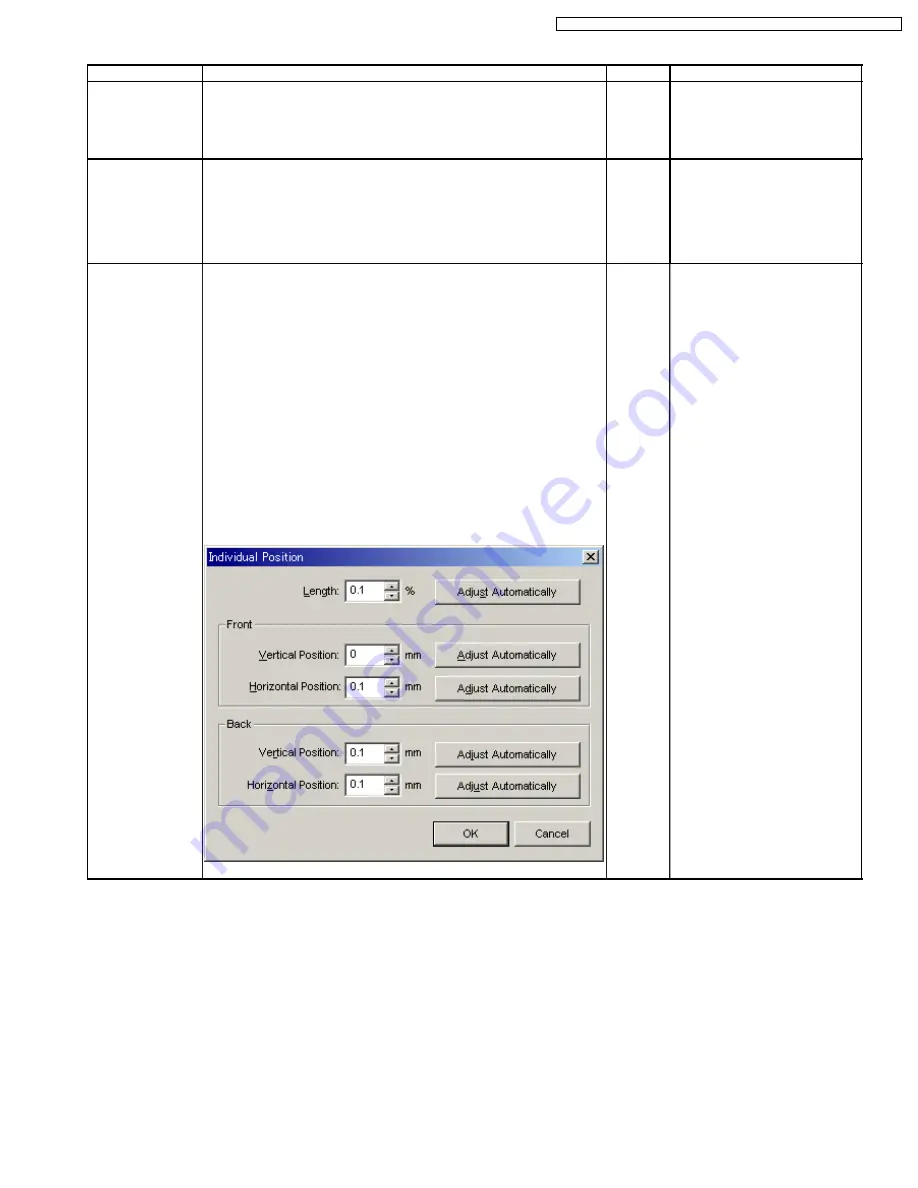
Individual Position
1. Adjust Automatically.
a. Set test chart A (Part No.: PBQX90095Z-J Size: A4) on the feed
tray.
b. Click “
Individual Position
“ on the main menu.
c. Click one of 5 automatic adjustment menu on “
Individual
Position
“ dialog box to execute adjustment.
d. Check the result.
e. Click “
OK
” to finish this adjustment.
f. Click “
OK
“ to get back to the main menu.
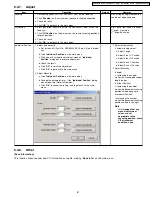
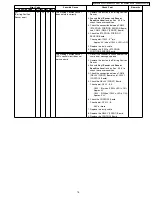
2. Adjust Manually.
a. Click “
Individual Position
“ on the main menu.
b. Change the parameter (mm, %)on “
Individual Position
“ dialog
box as required. (Refer to Remarks.)
c. Click “
OK
“ to renew the setting, and to get back to the main
menu.
—
1. Adjust Automatically
5 automatic adjustment
a. Adjust Length
b. Adjust Front V. Position
c. Adjust Front H. Position
d. Adjust Back V. Position
e. Adjust Back H. Position
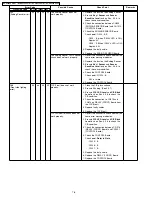
2. Adjust Manually
(Length)
+: Increasing the number
makes the scanning document
length longer.
(Vertical Position)
+: Increasing the number
makes the document scanning
position shifted downward
(Horizontal Position)
+:Increasing the number
makes the document scanning
position shifted to the right.
Note
If it is judged that any
manual adjustment
values are not
appropriate to the
scanning position, check
CIS attachment
condition, again.
9.3.8.
Other
(Save Information)
This function saves scanner and PC information as log file, clicking “
Save Info”
on the main menu.
67
KV-S2025C Series / KV-SU225C Series / KV-S2045C Series / KV-SU245C Series
Summary of Contents for KV-S2045C
Page 96: ...96 KV S2025C Series KV SU225C Series KV S2045C Series KV SU245C Series ...
Page 114: ...KV S2025C Series KV SU225C Series KV S2045C Series KV SU245C Series 114 ...
Page 116: ...14 1 Exterior 116 KV S2025C Series KV SU225C Series KV S2045C Series KV SU245C Series ...
Page 118: ...14 2 Chassis and Base 118 KV S2025C Series KV SU225C Series KV S2045C Series KV SU245C Series ...
Page 120: ...14 3 Hopper Unit 120 KV S2025C Series KV SU225C Series KV S2045C Series KV SU245C Series ...
Page 122: ...14 4 Power Unit 122 KV S2025C Series KV SU225C Series KV S2045C Series KV SU245C Series ...

