2.
Remove all packing tape.
3.
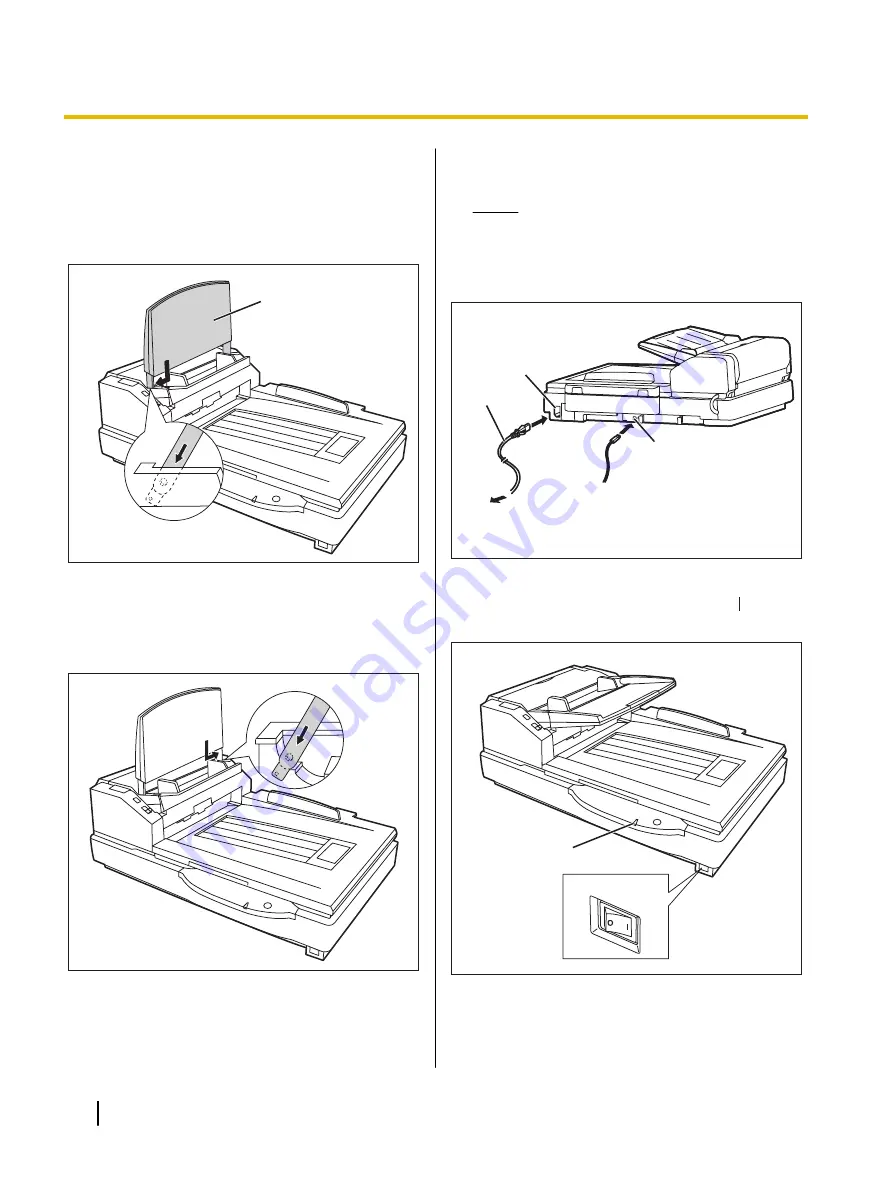
Attach the hopper tray.
•
Install the front side of the hopper tray by
inserting the pin located in the front of the feeder
into the hole located on the front of the hopper
tray.
Hopper tray
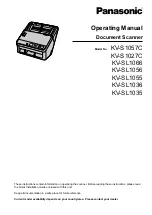
•
Install the rear side of the hopper tray by
inserting the pin located at the rear of the feeder
into the hole in the rear of the hopper tray. A
minimal amount of pressure will be required to
get the pin and hole aligned.
4.
Connect the power cord and the USB cable to the
unit.
Notice
•
Use only the power cord that is provided
with the unit.
•
Use the included USB cable or a certified
Hi-Speed USB 2.0 cable.
AC inlet
USB
connector
To the computer
Power cord
To the AC outlet
5.
6.
Set the power switch of the scanner to " " (ON).
•
The power indicator (LED) lights green.
Power indicator (LED)
Power switch
12
Installation Manual
Installation
Summary of Contents for KV-S7075C
Page 18: ...18 Installation Manual Notes ...
Page 19: ...Installation Manual 19 Notes ...


