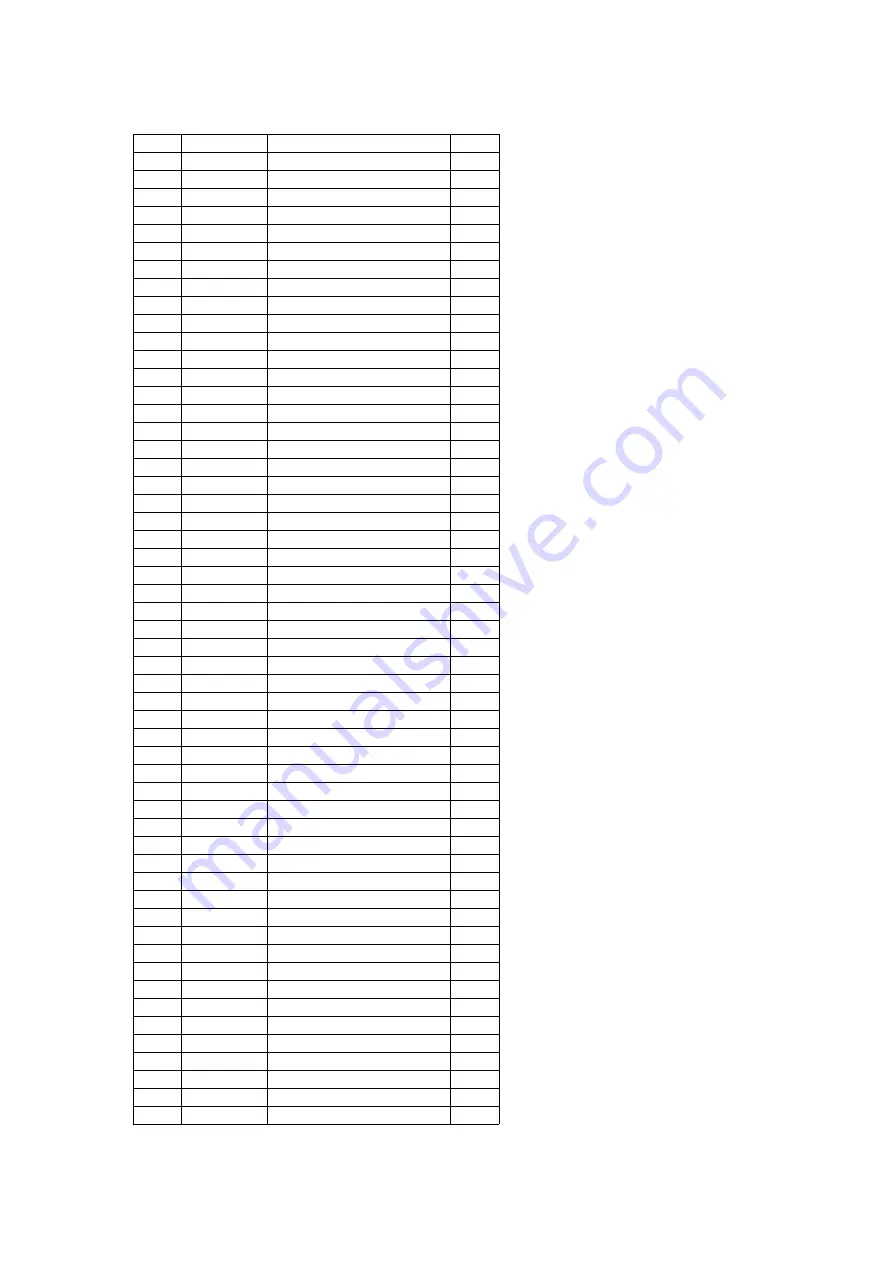
Ref. No.
Part No.
Part Name & Description
Remarks
R1067
ERJ3GEY0R00
0-ohm Jumper
R1070
ERJ3GEYJ100
10 / J / 1/16W
R1071
ERJ3GEYJ100
10 / J / 1/16W
R1072
ERJ3GEYJ470
47 / J / 1/16W
R1073
ERJ3GEYJ470
47 / J / 1/16W
R1074
ERJ3GEYJ470
47 / J / 1/16W
R1075
ERJ3GEYJ470
47 / J / 1/16W
R1076
ERJ3GEYJ470
47 / J / 1/16W
R1077
ERJ3GEYJ470
47 / J / 1/16W
R1080
ERJ3GEYJ471
470 / J / 1/16W
R1081
ERJ3GEYJ471
470 / J / 1/16W
R1086
ERJ3GEYJ101
100 / J / 1/16W
R1087
ERJ3GEYJ101
100 / J / 1/16W
R1088
ERJ3GEYJ471
470 / J / 1/16W
R1089
ERJ3GEYJ471
470 / J / 1/16W
R1091
ERJ3GEY0R00
0-ohm Jumper
R1092
ERJ3EKF3001
3.0k / F / 1/10W
R1093
ERJ3EKF3600
360 / F / 1/10W
R1094
ERJ3EKF1001V 1.0k / F / 1/10W
R1095
ERJ3EKF1001V 1.0k / F / 1/10W
R1096
ERJ3GEY0R00
0-ohm Jumper
R1097
ERJ3GEY0R00
0-ohm Jumper
R1098
ERJ3GEY0R00
0-ohm Jumper
R1099
ERJ3GEY0R00
0-ohm Jumper
R1100
ERJ3GEY0R00
0-ohm Jumper
R1101
ERJ3GEY0R00
0-ohm Jumper
R1102
ERJ3GEYJ470
47 / J / 1/16W
R1103
ERJ3GEYJ470
47 / J / 1/16W
R1104
ERJ3GEYJ470
47 / J / 1/16W
R1105
ERJ3GEYJ470
47 / J / 1/16W
R1106
ERJ3GEY0R00
0-ohm Jumper
R1107
ERJ3GEY0R00
0-ohm Jumper
R1108
ERJ3GEY0R00
0-ohm Jumper
R1109
ERJ3GEY0R00
0-ohm Jumper
R1110
ERJ3GEYJ100
10 / J / 1/16W
R1111
ERJ3GEYJ100
10 / J / 1/16W
R1114
ERJ3GEY0R00
0-ohm Jumper
R1115
ERJ3GEY0R00
0-ohm Jumper
R1118
ERJ3GEYJ100
10 / J / 1/16W
R1119
ERJ3GEYJ100
10 / J / 1/16W
R1120
ERJ3GEYJ470
47 / J / 1/16W
R1121
ERJ3GEYJ470
47 / J / 1/16W
R1122
ERJ3GEYJ470
47 / J / 1/16W
R1123
ERJ3GEYJ470
47 / J / 1/16W
R1124
ERJ3GEYJ470
47 / J / 1/16W
R1125
ERJ3GEYJ470
47 / J / 1/16W
R1128
ERJ3GEYJ471
470 / J / 1/16W
R1129
ERJ3GEYJ471
470 / J / 1/16W
R1134
ERJ3GEYJ101
100 / J / 1/16W
R1135
ERJ3GEYJ101
100 / J / 1/16W
R1136
ERJ3GEYJ471
470 / J / 1/16W
R1137
ERJ3GEYJ471
470 / J / 1/16W
R1138
ERJ3GEYJ103
10k / J / 1/16W
R1139
ERJ3GEYJ220
22 / J / 1/16W
185
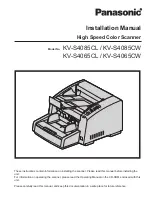
Summary of Contents for KV-SS905C
Page 1: ...ORDER NO KM70108670C0 G14 High Speed Color Scanner KV SS905C 1 1 ...
Page 6: ...4 INSTALLATION 4 1 Minimum Space Requirements 6 ...
Page 8: ...8 ...
Page 15: ...2 Tighten all the screws 15 ...
Page 42: ...42 ...
Page 46: ...46 ...
Page 51: ...51 ...
Page 52: ...52 ...
Page 55: ...3 Use your fingers to pull the Retard Roller Door toward you 55 ...
Page 58: ...7 Close the Retard Roller Door 58 ...
Page 59: ...8 Close the Front Door Note Push down the Front Door slowly until it clicks into place 59 ...
Page 61: ...3 Using your fingers open the Retard Roller Cover 61 ...
Page 62: ...4 Pull and remove the Retard Pad in the direction of the arrow 62 ...
Page 64: ...7 Close the Retard Roller Cover 64 ...
Page 66: ...8 DISASSEMBLY INSTRUCTIONS 8 1 Disassembly Flowchart 66 ...
Page 69: ...69 ...
Page 77: ...8 2 9 Back Door Cover 1 Remove the 2 screws 77 ...
Page 78: ...2 Spread the 2 claws of right and left both sides toward the outside 78 ...
Page 84: ...6 Remove the 4 screws B and remove the Board Box Power Box 84 ...
Page 85: ...85 ...
Page 87: ...4 Remove the 2 screws B from the Hopper Motor with plate to remove the Hopper Motor 87 ...
Page 94: ...3 Pull the Lamp Modules out of the Scanner 94 ...
Page 96: ...5 Remove screws 96 ...
Page 97: ...6 Remove the Lamp Holder covers on the Lamp Modules 97 ...
Page 98: ...7 Remove the Lamps from the Lamp Modules in the direction of the arrow 98 ...
Page 106: ...5 Lift the Conveyor Bottom 4 and pull out toward the front of the unit to remove 106 ...
Page 107: ...6 Unhook the Drive Rollers from the notching hole of chassis and remove it 107 ...
Page 109: ...4 Unhook the Conveyor Rollers from the notching hole of chassis and remove it 109 ...
Page 115: ...8 4 3 I F Board 1 Remove 4 screws 2 Pull out the I F Board in the direction of the arrow 115 ...
Page 120: ...4 Remove the 2 screws B and Conveyor Upper 5 120 ...
Page 122: ...8 Remove the screw E and remove the Exit Rear Sensor 122 ...
Page 137: ...4 Remove the 2 screws from FAN 1 137 ...
Page 139: ...5 Remove the 2 screws B from FAN 2 139 ...
Page 169: ...13 2 I F Board SCSI Board 169 ...
Page 170: ...13 3 MOTHER Board 13 4 DRIVE Board 170 ...
Page 237: ...16 1 2 I F Board SCSI Board 237 ...
Page 238: ...16 1 3 MOTHER Board 16 1 4 DRIVE Board 16 1 5 PANEL SENSOR Boards 238 ...
Page 370: ......
Page 371: ......
Page 372: ......
Page 373: ......
Page 374: ......
Page 375: ......
Page 376: ......
Page 377: ......
Page 378: ......
Page 379: ......
Page 380: ......
Page 381: ......
Page 382: ......
Page 383: ......
Page 384: ......
Page 385: ......
Page 386: ......
Page 387: ......
Page 388: ......
Page 389: ......
Page 390: ......
Page 391: ......
Page 392: ......
Page 393: ......
Page 394: ......
Page 395: ......
Page 396: ......
Page 397: ......
Page 398: ......
Page 399: ......
Page 400: ......
Page 401: ......
Page 402: ......
Page 403: ......
Page 404: ......
Page 405: ......
Page 406: ......
Page 407: ......
Page 408: ......
Page 409: ......
Page 410: ......
Page 411: ......
Page 412: ......
Page 413: ......
Page 414: ......
Page 415: ......
Page 416: ......


