3. Telephone
25
2
Press
{
SET
}
.
L
“
CALL LIST ERASE
”
will be displayed.
3
Press
{
SET
}
.
L
To cancel erasing, press
{
STOP
}
, then
{
MENU
}
.
4
Press
{
SET
}
.
5
Press
{
STOP
}
to exit.
3.6.2 Erasing specific caller information
1
Press
{
CALLER ID
}
.
2
Press
{A}
or
{B}
repeatedly to display the desired
item.
3
Press
{
<
}
.
L
To cancel erasing, press
{
STOP
}
2 times.
4
Press
{
SET
}
.
L
To erase other items, repeat steps 2 to 4.
5
Press
{
STOP
}
to exit.
3.7 Storing caller information into
the phonebook / one-touch dial
Important:
L
This feature is not available if the caller
information does not include a telephone
number.
3.7.1 Into the phonebook
1
Press
{
CALLER ID
}
.
2
Press
{A}
or
{B}
repeatedly to display the desired
item.
3
Press
{
MENU
}
.
4
Press
{
>
}
.
L
If you do not need to edit the name, skip to step
6.
5
If a name is required, enter up to 16 characters for
the name (page 18).
6
Press
{
SET
}
.
L
If the number requires editing, see page 24.
7
Press
{
SET
}
.
Note:
L
You can confirm the stored items in the phonebook
by printing the telephone number list (page 63).
L
To edit a name, see page 21.
L
If caller information does not include the caller’s
name, enter the name manually. See the instructions
on page 21.
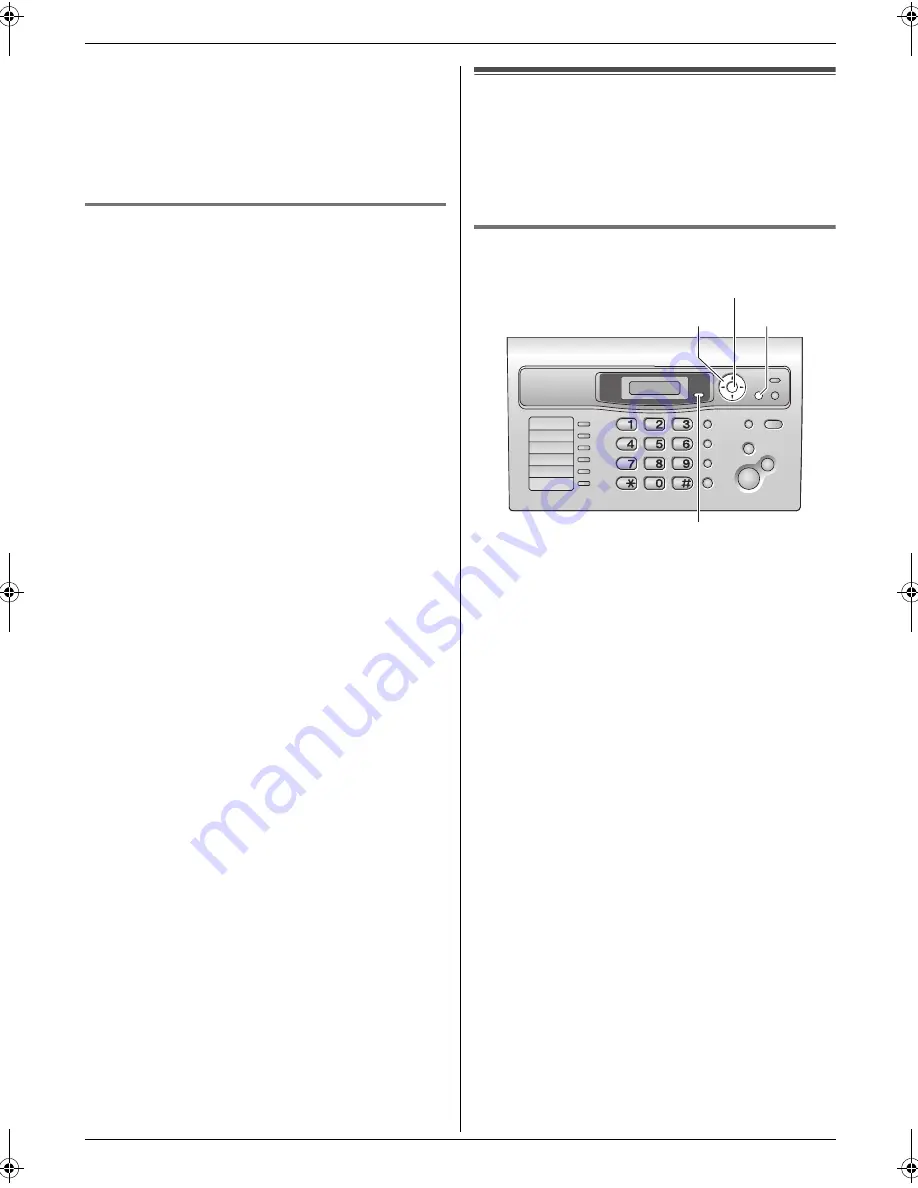
{
SET
}
{
>
}{A}{B}
{
CALLER ID
}
{
MENU
}
FL313HK-PFQX2630ZA-en.book Page 25 Tuesday, August 29, 2006 10:19 AM


