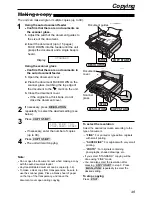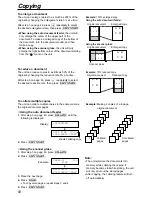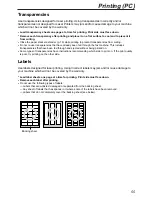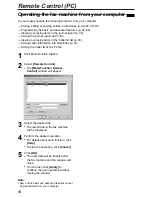
Features Summary
63
To select “ON” and enter ID:
1. Press
p
.
2. Press
(
or
)
and select this
feature.
3. Press
+
or
-
to select “ON”.
4. Press
w
.
5. Enter your ID from 1 to 5 digits,
using 0–9,
:
and #.
6. Press
w
.
7. Press
p
.
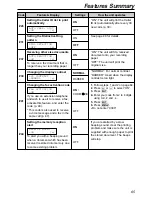
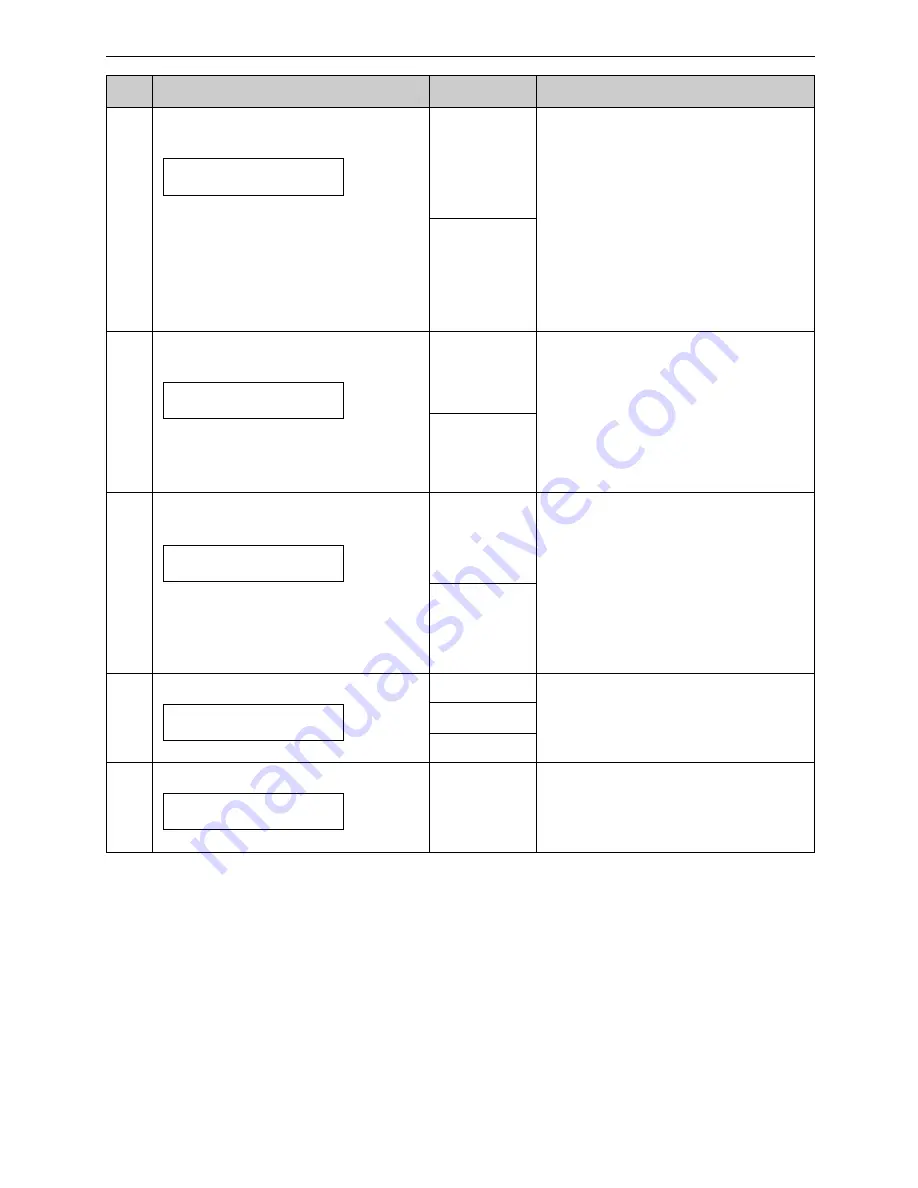
Code
Feature & Display
Settings
How the unit operates
You can select the ringer pattern.
The selected ringer pattern will
sound during setting.
#17
Setting the ringer pattern
RINGER PATTERN
=A
[±]
#15
Selecting the cable type to
connect to the PC
If you use Multi-Function Station,
change the setting depending on
the cable connected to your
computer.
PC INTERFACE
=PARALLEL
[±]
PARALLEL
USB
“PARALLEL”: IEEE1284 compliant
parallel cable
“USB”: USB cable
●
When the setting is changed, the
fax machine adjusts to new
setting. Please wait.
ON / ID=11
OFF
#12
Securing the remote operation
for the answering machine
If you are using the unit with an
answering machine, activate this
feature, and set the remote
activation ID to secure the remote
operation for the answering
machine.
REMOTE TAM ACT.
=OFF
[±]
A, B, C
#13
Setting the dialling mode
(For Australian users only)
If you cannot dial, change the
setting depending on your
telephone line service.
DIALLING MODE
=TONE
[±]
TONE
“TONE”: For tone dial service.
“PULSE”: For rotary pulse dial
service.
PULSE
“LETTER”: Letter size paper
“A4”: A4 size paper
“LEGAL”: Legal size paper
#16
Setting the recording paper size
PAPER SIZE
=A4
[±]
LETTER
A4
LEGAL
Summary of Contents for KX-FLB756AL
Page 87: ...87 ...

