3. Telephone
46
L
After checking
“
×
2
”
to
“
×
9
”
will be replaced
with a “
,
”.
To stop viewing
Press
{
STOP
}
after step 2.
To edit a telephone number before calling
back/storing
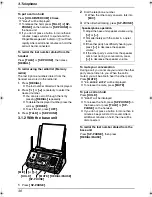
Press
{*}
repeatedly after step 2. Each time
you press
{*}
, the telephone number will be
changed as follows:
1
Local telephone number only (area code
omitted)
2
Area code – Local telephone number
3
1 – Area code – Local telephone number (“1”
added)
L
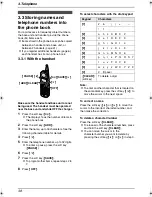
To return a call, press
{
SP-PHONE
}
.
L
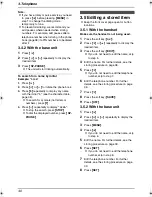
To store the number in the phone book, follow
from step 3 of the base unit storing procedure
on page 48.
Note:
L
The unit provides an auto edit feature for
Caller ID numbers. For details, see page 46.
3.10 Caller ID number auto
edit feature
Once you call back an edited number, this unit
can automatically edit incoming phone numbers
from the same area code each time you receive
a call. For example, it can ignore the area code of
calls originating from your area code, so that you
can call these numbers using caller information
without dialing the area code.
To activate this feature, you must edit a caller
information by selecting pattern
1
,
2
or
3
(page 45, 46), then make a call to that number.
After that, calls from numbers in that area code
will be edited automatically. The handset and
base unit can remember up to 4 area codes each
to be edited according to patterns
1
and
2
.
When more than 5 area codes are edited, older
area codes are reset to pattern
3
. Phone
numbers from the 4 most recently edited area
codes will be automatically edited.
This feature can be turned ON using either the
handset or the base unit. The default setting is
ON.
3.10.1 Turning ON the Caller ID
number auto edit feature
L
Keep the front cover page open for button
locations.
With the handset
Make sure the handset is not being used.
1
Press
{
MENU
}
.
2
Scroll to
“
Initial setting
”
by pressing
{v}
or
{e}
, then press the soft key
(
{
SELECT
}
).
3
Scroll to
“
Caller ID edit
”
by pressing
{v}
or
{e}
, then press the soft key
(
{
SELECT
}
).
4
Press
{v}
or
{e}
to select
“
On
”
.
5
Press the soft key (
{
SAVE
}
).
6
Press
{
OFF
}
.
With the base unit
1
Press
{
MENU
}
.
2
Press
{#}
, then
{
7
}{
5
}
.
3
Press
{A}
or
{B}
repeatedly to select
“
ON
”
.
4
Press
{
SET
}
.
5
Press
{
MENU
}
.
FPG391_en.book Page 46 Friday, July 16, 2004 5:38 PM

