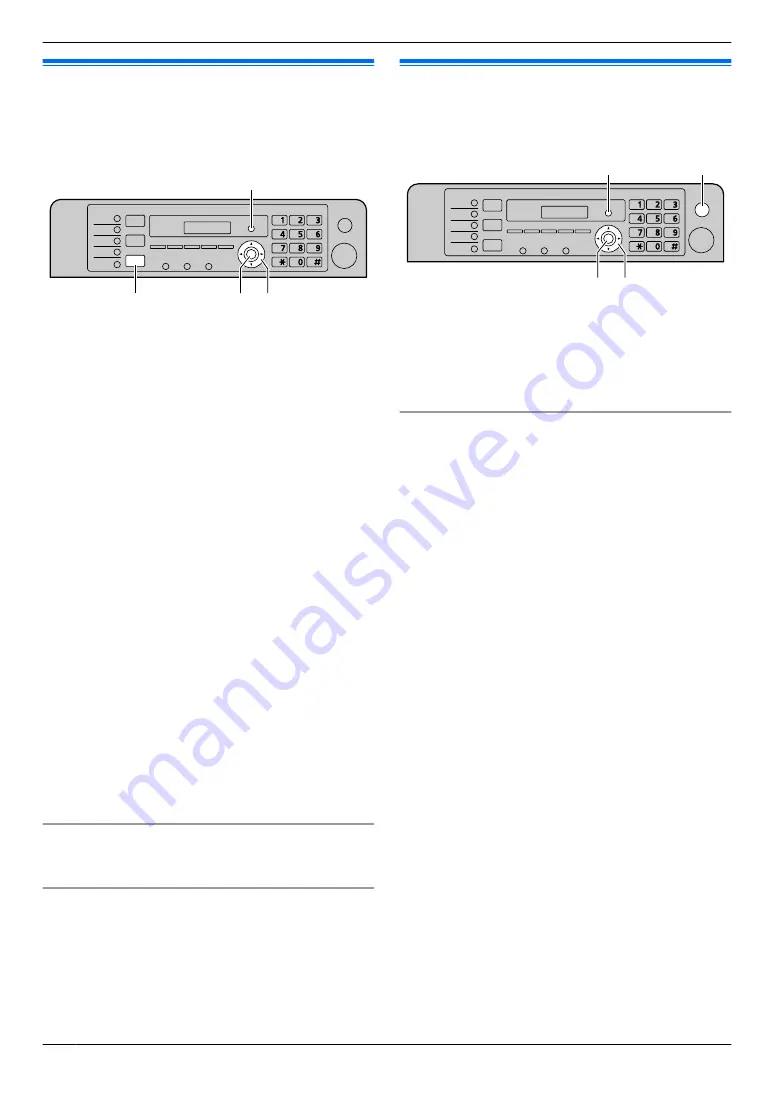
2.8 Date and time
We recommend you to set the date and time. The other
party will receive your unit’s date and time as the header
information.
MFNMEN
M
Set
N
M
Menu
N
M
Fax
N
1
M
Menu
N
A
MBNM
1
NM
0
NM
1
N
A
M
Set
N
2
Enter the current date/month/year by selecting 2
digits for each.
Example: 03 August, 2010
M
0
NM
3
N
M
0
NM
8
N
M
1
NM
0
N
3
Enter the current hour/minute by selecting 2 digits for
each.
Example: 10:15 PM (12 hour clock format)
1.
M
1
NM
0
N
M
1
NM
5
N
2.
Press
MGN
repeatedly to select
“
PM
”
.
Press
MGN
repeatedly to select
“
AM
”
or
“
PM
”
, or
24-hour time entry.
4
M
Set
N
5
Press
M
Menu
N
to exit.
Note:
R
To check the current date and time setting, press
M
Fax
N
to temporarily change the unit to the fax mode.
R
Your unit’s date and time will be used as the header
information for the following:
– When sending as an attached file to an email
destination directly from this unit (Scan to email
address) (page 31).
– When sending faxes (page 41).
R
If the date and time is not set correctly, the other party
will receive an incorrect date and time as their
header. This may confuse the other party.
To correct a mistake
Press
MFN
or
MEN
to move the cursor to the incorrect
number, and make the correction.
If you have subscribed to a Caller ID service
The date and time will be automatically set according to
the received caller information.
R
To use this feature, make sure the time adjustment
is set to
“
AUTO
”
R
If the time has not previously been set, Caller ID will
not adjust the clock.
2.9 Your logo
You can program your logo (name, company name, etc.)
so that it appears on the top of each page sent.
MFNMEN
M
Set
N
M
Stop
N
M
Menu
N
1
M
Menu
N
A
MBNM
1
NM
0
NM
2
N
A
M
Set
N
2
Enter your logo, up to 30 characters (see page 72
for character entry).
A
M
Set
N
3
Press
M
Menu
N
to exit.
To correct a mistake
Press
MFN
or
MEN
to move the cursor to the incorrect
character, and make the correction.
R
To erase all characters, press and hold
M
Stop
N
.
22
2. Preparation


