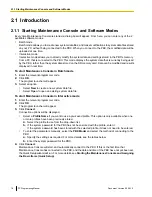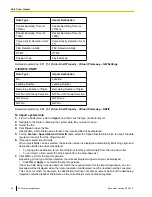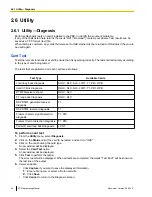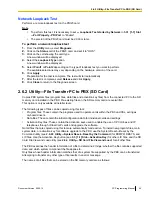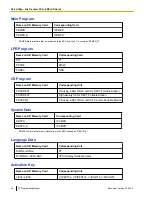
would prefer to choose from among pre-saved profiles instead, see
2.2.7 Program launcher—Connect—
for more details about creating profiles.
To connect to the PBX by RS-232C
1.
From the program launcher, select
Connect
.
The Login window will be displayed.
2.
Select a connection option.
•
Select a
Profile Name
if you want to use a pre-saved profile. This option is only available when one
or more profiles have been previously stored.
a.
Select the profile to use from the drop-down list.
b.
If the system password for the PBX has not been stored with the profile, enter it.
If the system password has been stored with the selected profile, it does not need to be entered.
•
To enter the parameters manually, select the
PBX Model
and confirm that the
RS-232C
radio button
is selected.
a.
Specify the settings as required. For more details, see the table below.
b.
Enter the system password for the PBX.
3.
Click
Connect
.
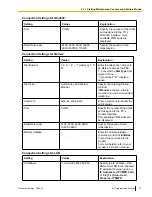
Connection Settings for RS-232C
Setting
Values
Explanation
Port
COMx
Specify the number of the COM port
assigned to the PC’s RS-232C interface.
Only available COM ports are displayed.
Baud Rate
(bps)
2400, 4800, 9600,
19200, 38400,
57600, 115200
Specify the speed of data transmission.
2.2.4 Program launcher—Connect—USB
Connects to the PBX in Interactive mode through a USB port (USB Module) attached to the KX-DT300 series
or KX-T7600 series DPT.
To connect to the PBX by USB
1.
From the program launcher, select
Connect
.
The Login window will be displayed.
2.
Select a connection option.
•
Select a
Profile Name
if you want to use a pre-saved profile.
a.
Select the profile to use from the drop-down list.
b.
If the system password for the PBX has not been stored with the profile, enter it.
If the system password has been stored with the selected profile, it does not need to be entered.
•
To enter the parameters manually, select the
PBX Model
and confirm that the
USB
radio button is
selected.
a.
Enter the system password for the PBX.
3.
Click
Connect
.
2.2.5 Program launcher—Connect—LAN
Connects to the PBX in Interactive mode through the Local Area Network interface of the PBX.
Document Version 2009-12
PC Programming Manual
31
2.2.5 Program launcher—Connect—LAN
Summary of Contents for KX-NCP500
Page 71: ...Section 3 1 Configuration Document Version 2009 12 PC Programming Manual 71 ...
Page 74: ... 3 4 1 Virtual Cards 74 PC Programming Manual Document Version 2009 12 3 1 1 1 Slot ...
Page 313: ...Section 4 2 System Document Version 2009 12 PC Programming Manual 313 ...
Page 450: ...450 PC Programming Manual Document Version 2009 12 4 21 2 11 2 Audio Gain Card ...
Page 451: ...Section 5 3 Group Document Version 2009 12 PC Programming Manual 451 ...
Page 533: ...Section 6 4 Extension Document Version 2009 12 PC Programming Manual 533 ...
Page 701: ...Section 7 5 Optional Device Document Version 2009 12 PC Programming Manual 701 ...
Page 731: ...Section 8 6 Feature Document Version 2009 12 PC Programming Manual 731 ...
Page 744: ...744 PC Programming Manual Document Version 2009 12 8 6 6 6 Tenant ...
Page 745: ...Section 9 7 TRS Document Version 2009 12 PC Programming Manual 745 ...
Page 753: ...Section 10 8 ARS Document Version 2009 12 PC Programming Manual 753 ...
Page 766: ...766 PC Programming Manual Document Version 2009 12 10 8 8 7 Authorization Code for TRG ...
Page 767: ...Section 11 9 Private Network Document Version 2009 12 PC Programming Manual 767 ...
Page 780: ...780 PC Programming Manual Document Version 2009 12 11 4 9 4 NDSS Key Table ...
Page 781: ...Section 12 10 CO Incoming Call Document Version 2009 12 PC Programming Manual 781 ...
Page 807: ...Section 13 11 Maintenance Document Version 2009 12 PC Programming Manual 807 ...
Page 847: ...Section 14 Appendix Document Version 2009 12 PC Programming Manual 847 ...


