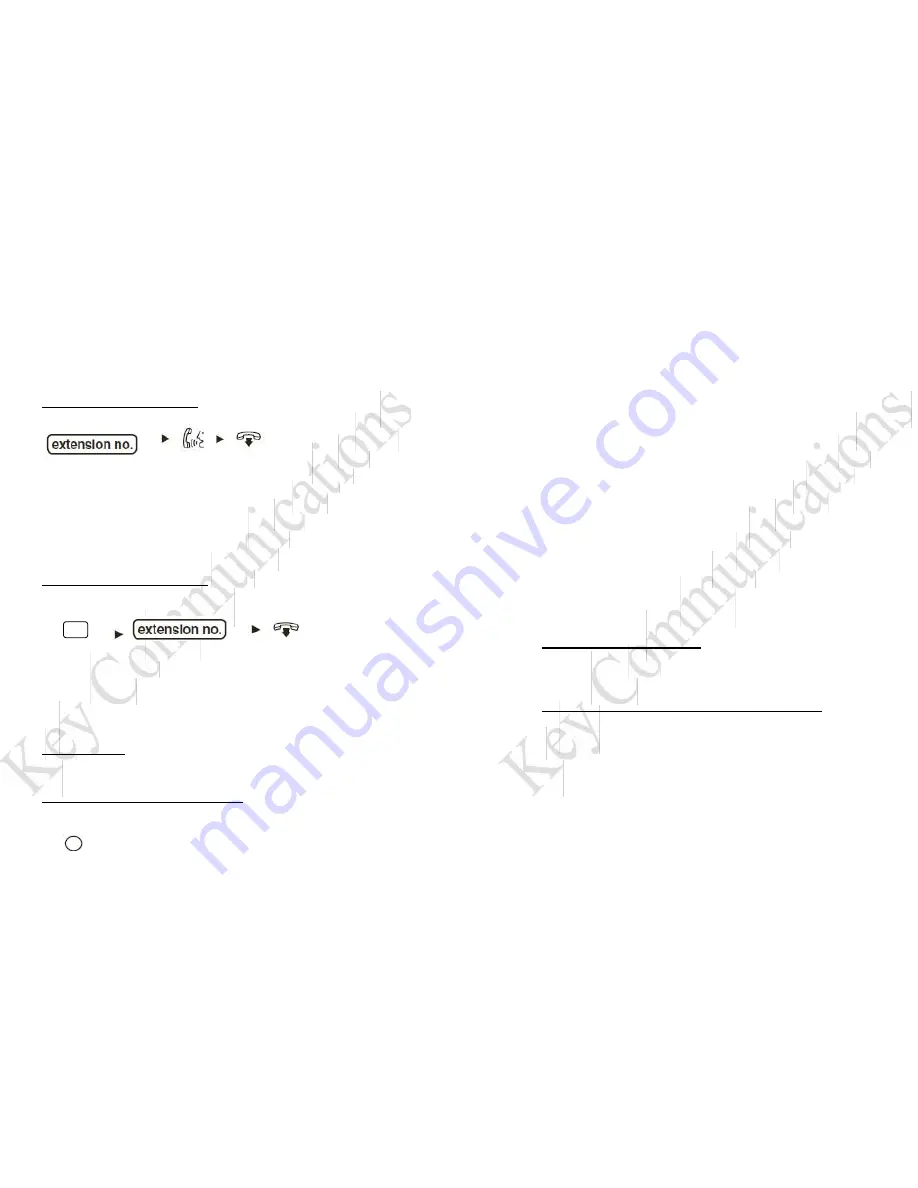
* - NOTE: You can also press the pre-programmed button
for the extension you want to transfer to rather than dialing
the extension number.
Announced Call Transfer:
With the calling party live on the line
–
(*)
This will let you announce the calling party to the extension
user, when you hang up the two parties will be connected.
* - NOTE: You can also press the pre-programmed button
for the extension you want to call rather than dialing the
extension number.
Transfer to Voice Mail Box:
With the calling party live on the line
–
Voicemail
(*)
This will send the calling party direct to the mailbox
without ringing the telephone.
* - NOTE: You can also press the pre-programmed button
for the extension you want to transfer to rather than dialing
the extension number.
Auto Answer:
This feature key controls how intercom calls are received at
your extension.
To change the Auto Answer setting:
When your phone is idle (leave the handset in the cradle)
–
AUTO ANS
Settings are as follows:
1. The voice mail will prompt you to record a
“No Answer”
greeting message. Other greetings can be recorded
manually later. For detail
s, refer to the “Manual
Configuration”
directions in the next section of this User
Guide.
2. Record your greeting message after the tone.
Suggested greeting:
“Hello, you have reached the desk of (state
name). I am not
available to take your call at this time. Please leave your
name, telephone number and a message after the tone and I
will return your call as soon as possible. Thank
you”.
3. Press 1 (one) to end recording.
4. Follow the prompts as necessary:
1 (one) to review the recording
2 (two) to accept the recording
3 (three) to record the message again
4 (four) to add to the recording
* (star key) to delete the recording and exit
voice mail
Confirming Your Settings:
1. Press 1 (one) to confirm your settings.
2. Hang up… YOU ARE DONE!
Initial Mailbox Setup
–
Manual Configuration:
If you do not have the System Tutorial start automatically when
you enter your mailbox, you can access the settings manually by
following these steps.
1. Setting, Changing or deleting your password:
– Press the “My Mailbox” k
ey
–
Press 3 (three) for Mailbox Management
–
Press 2 (two) for Set Password
–
Enter the desired password followed by # (pound key). Or to
delete the password, press # (pound key) only.
–
Press 2 (two) to accept.


