


14
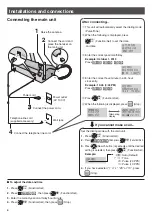
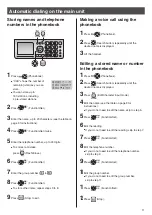
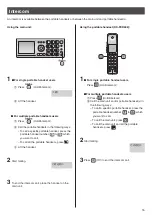
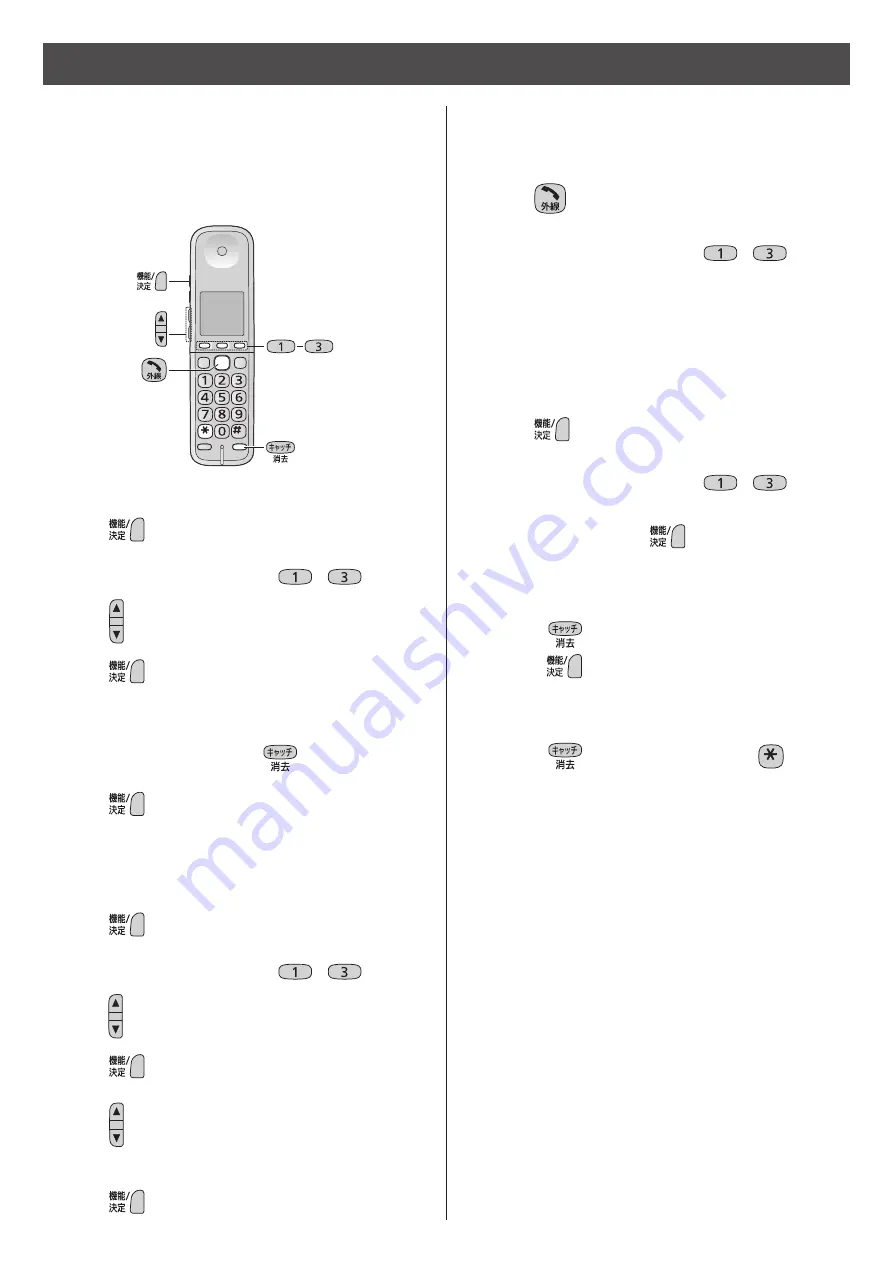
Storing names and telephone
numbers in the one-touch dialer
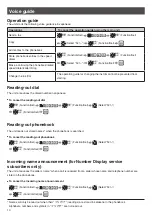
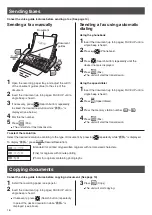
Making a voice call using the
one-touch dialer
1
Press
(Talk).
2
Press the one-touch dial button (
–
).
You can also make a call by pressing the one-touch
dial button first.
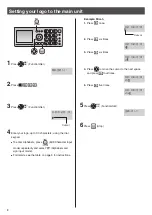
Erasing a stored name and
number in the one-touch dialer
1
Press
(Function/Set).
2
Press the one-touch dial button (
–
).
To check the telephone number when registerd from
the phonebook, press
(Function/Set).
3
When entered a telephone number and
registered it
Press
(Flash/Erase) for about 2 seconds, then
press
(Function/Set).
When selected a telephone number from the
phonebook and registered it
Press
(Flash/Erase), then press
.
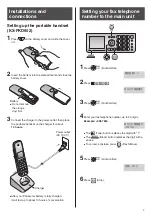
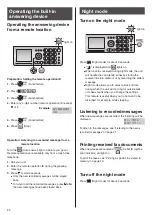
How to select a telephone number from the
phonebook and register it
1
Press
(Function/Set).
2
Press the one-touch dial button (
–
).
3
Press repeatedly until “
電話帳で選ぶ
” is displayed.
4
Press
(Function/Set).
5
Press to select the desired name from the
phonebook.
6
Press
(Function/Set).
You can store up to 3 telephone numbers and/or
phonebook entries as the one-touch dialer.
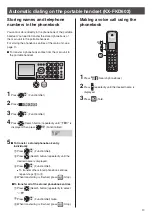
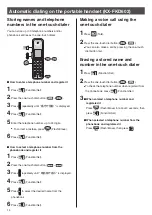
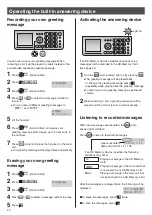
Automatic dialing on the portable handset (KX-FKD602)
How to enter a telephone number and register it
1
Press
(Function/Set).
2
Press the one-touch dial button (
–
).
3
Press repeatedly until “
番号で登録
” is displayed.
4
Press
(Function/Set).
5
Enter the telephone number, up to 24 digits.
To correct a mistake, press
(Flash/Erase).
6
Press
(Function/Set).


