5 cm
6
Things You Should Know
N
N
N
Recharge
When the RECHARGE indicator flashes or the unit beeps
intermittently, place the handset on the base unit for about
9 hours to recharge the battery.
Battery information
After your Panasonic battery is fully charged:
• The battery operating time may be shortened depending on usage
conditions and ambient temperature.
•
As preventative maintenance, clean the handset and the base unit
charge contacts with a soft, dry cloth once a month. Clean more
often if the unit is subject to grease, dust or humidity.
Otherwise
the battery may not charge properly.
• If the battery is fully charged, you do not have to place the handset on
the base unit until the RECHARGE indicator flashes. This will maximise
the battery life.
• The battery cannot be overcharged.
To replace the battery:
Press the notch on the cover firmly and slide it as indicated by
the arrow. Replace the old battery with new one (1-C). Close the
cover and charge for about 9 hours.
6-A Battery
Operation
Operating time
While in use (TALK)
Up to about 7 hours
While not in use (Standby)
Up to about 120 hours
Battery replacement:
If you cleaned the charge contacts and fully charged the
battery, but after a few telephone calls, the RECHARGE
indicator flashes, the battery needs to be replaced. Replace the
battery with a new Panasonic P-P301 (KX-A36A) battery. See
section 1-C, step 3. When replacing the battery, programmed
information may be erased. Reprogram if necessary.
RECHARGE
Indicator
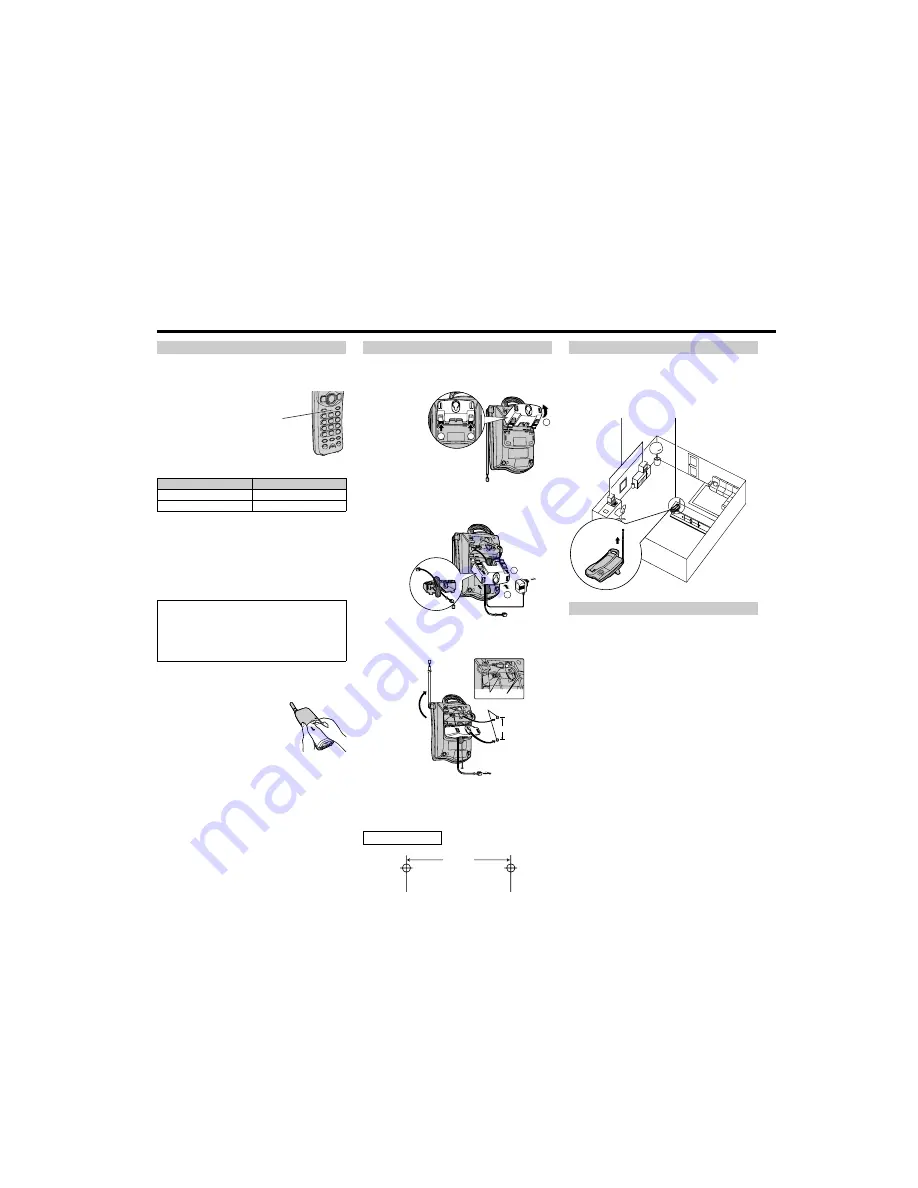
This unit can be mounted on a wall.
1
Press the tabs in the direction of the arrows (
1
), then remove
the wall/desk stand (
2
).
2
Connect the AC adaptor. Tuck the telephone line cord inside
the wall/desk stand, then push it in the direction of the arrows
(
1
and
2
).
• The word “UP WALL” should face upward.
3
Connect the telephone line cord. Install screws using the wall
template below. Mount the unit, then slide down.
• Extend the antenna fully.
• Fasten the cords to prevent it from being disconnected.
6-B Wall Mounting
1
1
2
1
2
To Power
Outlet
For Australia
To Telephone Plug
and Socket
OR
For New Zealand
To Single-Line
Telephone Jack
Screws (not included)
Hooks
5 cm
Calls are transmitted between the base unit and the handset
using wireless radio waves.
For maximum distance and noise-
free operation,
we recommend the following:
Base unit
Power Supply:
AC Adaptor (230 – 240 V AC,
50/60 Hz)
Power Consumption:
Standby:
Approx. 5 W
Maximum: Approx. 7 W
Frequency:
30 MHz – 39 MHz
Dimensions (H x W x D):
Approx. 90 mm x 125 mm x 210 mm
Mass (Weight):
Approx. 260
g
Handset
Power Supply:
Ni-Cd battery (3.6 V, 300 mAh)
Frequency:
30 MHz – 39 MHz
Dimensions (H x W x D):
Approx. 260 mm x 55 mm x 45 mm
Mass (Weight):
Approx. 170
g
Security Codes:
1,000,000
Operating Environment:
5 °C – 40 °C
Specifications are subject to change without notice.
6-C Base Unit Location
6-D Specifications
Away from electrical appliances
such as a TV, radio or
personal computer.
In a HIGH and CENTRAL
location with no obstructions
such as walls.
Extend
fully.
Wall Template


