


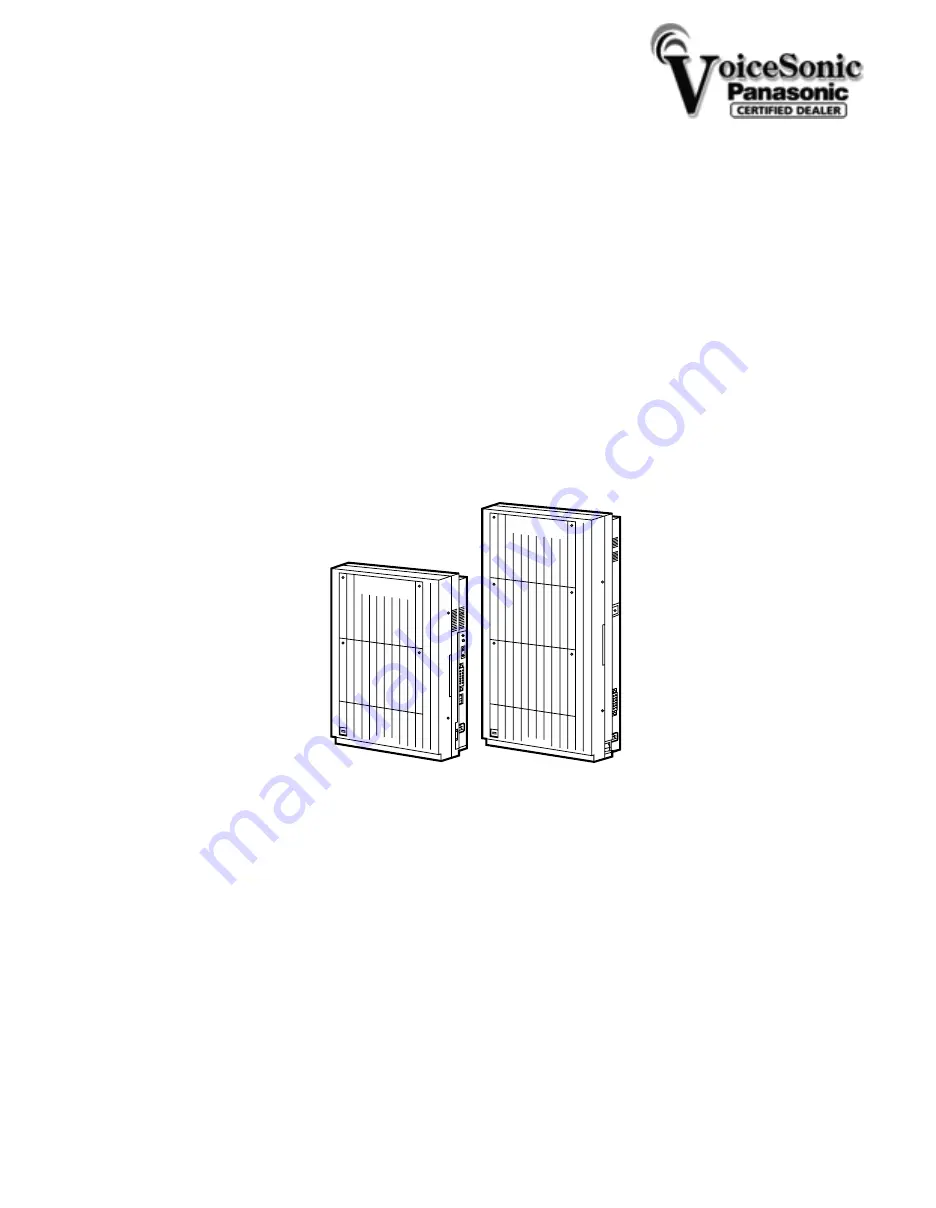
Digital Super Hybrid System
Installation Manual
D1232
DIGITAL SUPER HYBRID SYSTEM
Panasonic
Panasonic
D816
DIGITAL SUPER HYBRID SYSTEM
Please read this manual before connecting the
Digital Super Hybrid System
Panasonic KX-TD816 / KX-TD1232
KX-TD816
Summary of Contents for KX-TD1232
Page 50: ......
Page 76: ......
Page 77: ......
Page 374: ...Section 5 List This section lists tone ring tone and default values of system programming ...
Page 389: ...Patlasonic Digital Super Hybrid system IUC TD816 1 KX TD1232 1 Installation Manual Addendum ...
Page 476: ......


