3.3 Data Management
62
Programming Guide
3.3
Data Management
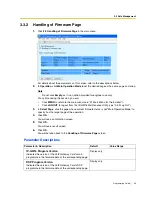
The upload and update operations of the firmware data are closely related. First follow the procedure
as described in "3.3.1 Upload of Firmware Data" to upload new firmware data to the VoIP Gateway
Card, and then go on to "3.3.2 Handling of Firmware Page" to update the card with the newly
uploaded firmware data.
3.3.1
Upload of Firmware Data
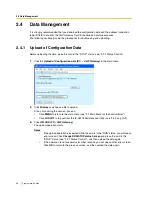
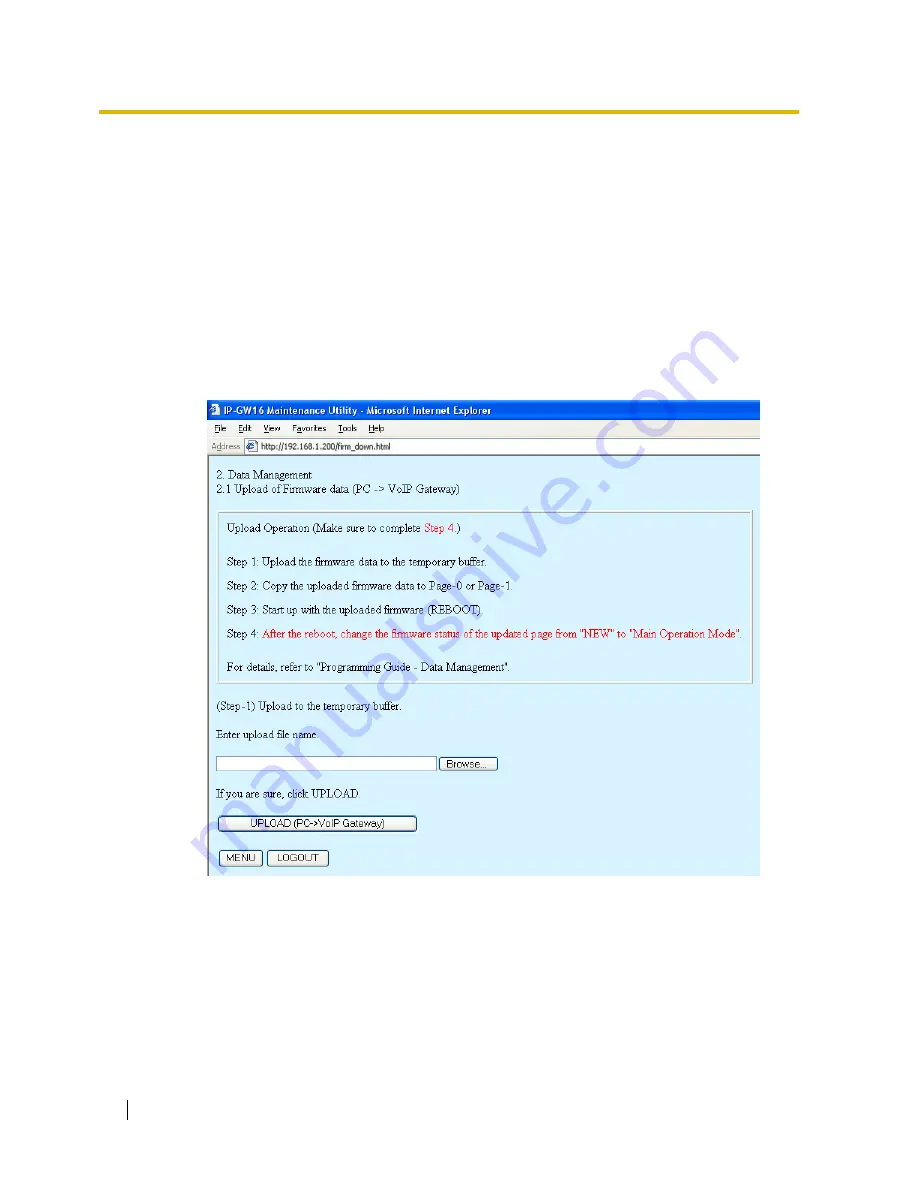
Before uploading the data, place the card in the "STOP" status (see "3.2.1 Status Control").
1.
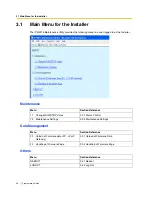
Click
2.1 Upload of Firmware data (PC
→
VoIP Gateway)
in the main menu.
2.
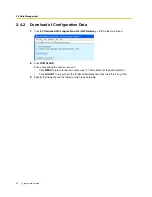
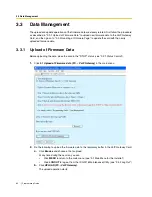
Do the following to upload the firmware data to the temporary buffer in the VoIP Gateway Card:
a.
Click
Browse
and choose a file to upload.
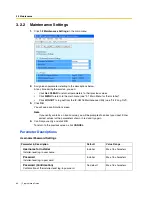
At any time during the session, you can:
•
Click
MENU
to return to the main menu (see "3.1 Main Menu for the Installer").
•
Click
LOGOUT
to log out from the IP-GW16 Maintenance Utility (see "3.4.2 Log Out").
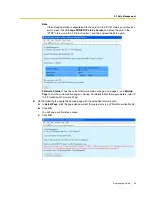
b.
Click
UPLOAD (PC
→
VoIP Gateway)
.
The upload operation starts.
Summary of Contents for KX-TDA0490
Page 4: ...4 Getting Started ...
Page 20: ...2 2 Cable Connection 20 Getting Started ...
Page 45: ...Getting Started 45 Appendix A Guidance for VoIP Installation ...
Page 55: ...Getting Started 55 Appendix B Alternative Numbering Plan Example ...
Page 63: ...Getting Started 63 Appendix C Initialisation of the VoIP Gateway Card ...
Page 66: ...C1 Initialising the VoIP Gateway Card 66 Getting Started ...
Page 67: ...Getting Started 67 Appendix D Using the KX TDA0490 and KX TDA0480 in One Network ...
Page 69: ...D1 Considerations in Installation Getting Started 69 ...
Page 76: ...1 1 Starting the IP GW16 Maintenance Utility 6 Programming Guide ...
Page 126: ...2 5 Others 56 Programming Guide ...
Page 139: ...Programming Guide 69 Index ...

