3.3 Data Management
64
Programming Guide
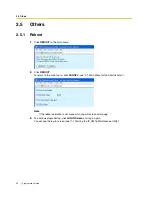
4.
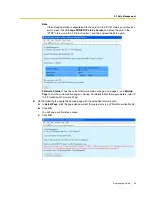
Click
REBOOT
to start up the card with the updated page.
You will see a reboot confirmation screen.
5.
Click
REBOOT
again.
Notice
Please note that rebooting the card does not finish the upload operation. The startup page
will be updated only temporarily for confirmation purposes.
6.
Click
Login Screen
to continue the upload operation.
The card has rebooted with the new firmware data temporarily so that you can confirm the result
of the upload operation.
At this point, the firmware status of the updated page is "NEW". To complete the upload
operation, you must proceed to the next step and change the status to "Main Operation Mode".
(If you do not, the card will start up with the old firmware data after the next reboot.)
7.
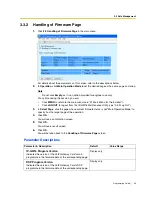
Switch the firmware status of the updated page from "NEW" to "Main Operation Mode", referring
to "3.3.2 Handling of Firmware Page".
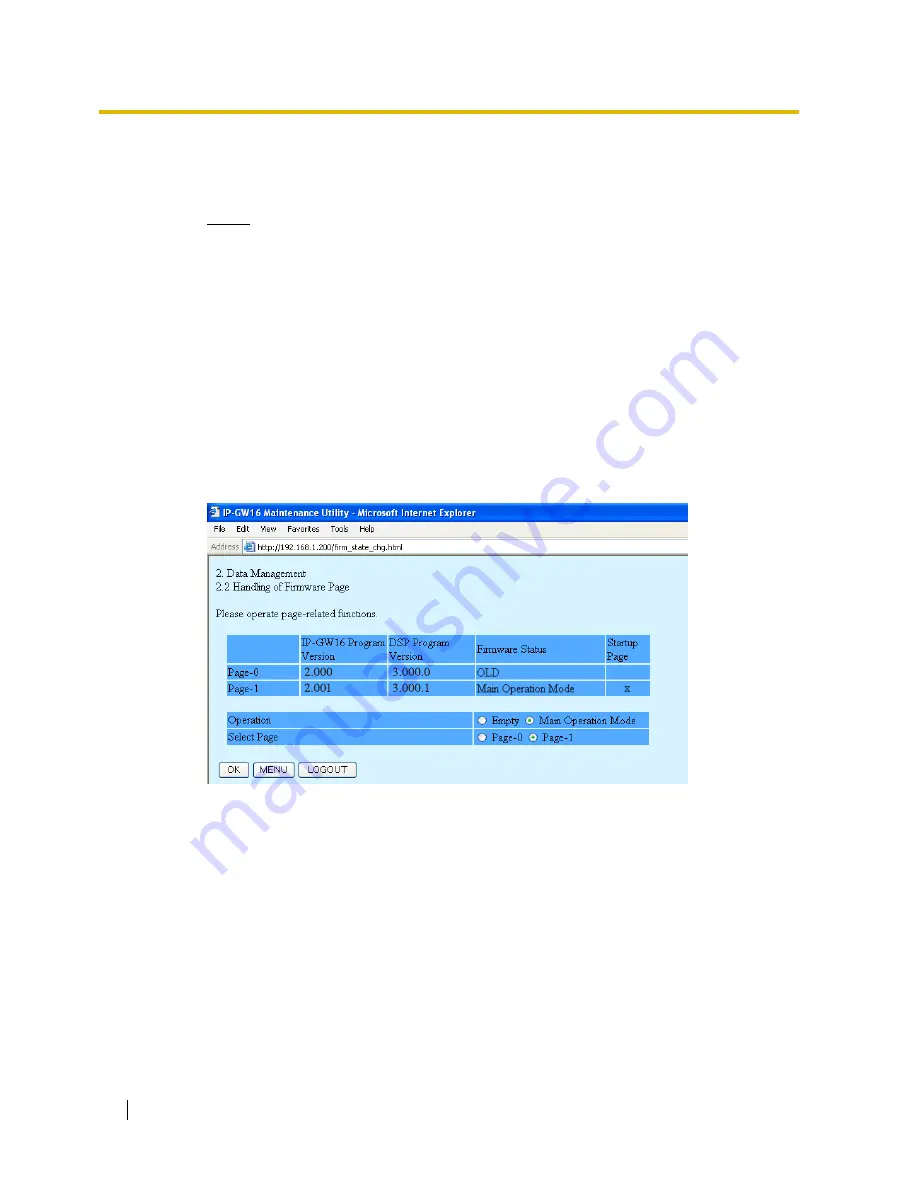
The following is an example of the screen where the updated page has been set to "Main
Operation Mode". To set the updated page as the active page on startup, you must apply this
setting.
Summary of Contents for KX-TDA0490
Page 4: ...4 Getting Started ...
Page 20: ...2 2 Cable Connection 20 Getting Started ...
Page 45: ...Getting Started 45 Appendix A Guidance for VoIP Installation ...
Page 55: ...Getting Started 55 Appendix B Alternative Numbering Plan Example ...
Page 63: ...Getting Started 63 Appendix C Initialisation of the VoIP Gateway Card ...
Page 66: ...C1 Initialising the VoIP Gateway Card 66 Getting Started ...
Page 67: ...Getting Started 67 Appendix D Using the KX TDA0490 and KX TDA0480 in One Network ...
Page 69: ...D1 Considerations in Installation Getting Started 69 ...
Page 76: ...1 1 Starting the IP GW16 Maintenance Utility 6 Programming Guide ...
Page 126: ...2 5 Others 56 Programming Guide ...
Page 139: ...Programming Guide 69 Index ...

