

Preparation
11
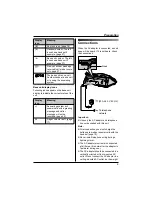
Note:
L
When
7
flashes, recharge the handset
batteries.
7
will continue to flash until
the batteries have been charged for at
least 15 minutes.
L
If the handset is turned off, it will be turned
on automatically when it is placed on the
base unit.
Battery life
After your Panasonic batteries are fully
charged, you can expect the following
performance:
Ni-MH batteries (700 mAh)
Note:
L
Actual battery performance depends on a
combination of how often the handset is in
use (talking) and how often it is not in use
(standby).
L
Battery operating time may be shortened
over time depending on usage conditions
and ambient temperature.
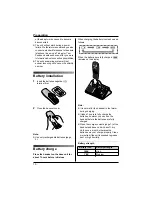
Battery replacement
If
7
flashes even after the handset
batteries have been charged for 7 hours, the
batteries must be replaced.
Important:
L
We recommend the use of Panasonic
rechargeable batteries noted on page 5. If
you install non-rechargeable batteries and
start charging, the batteries may leak
electrolyte.
L
Do not mix old and new batteries.
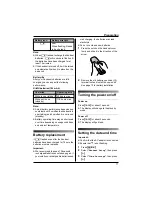
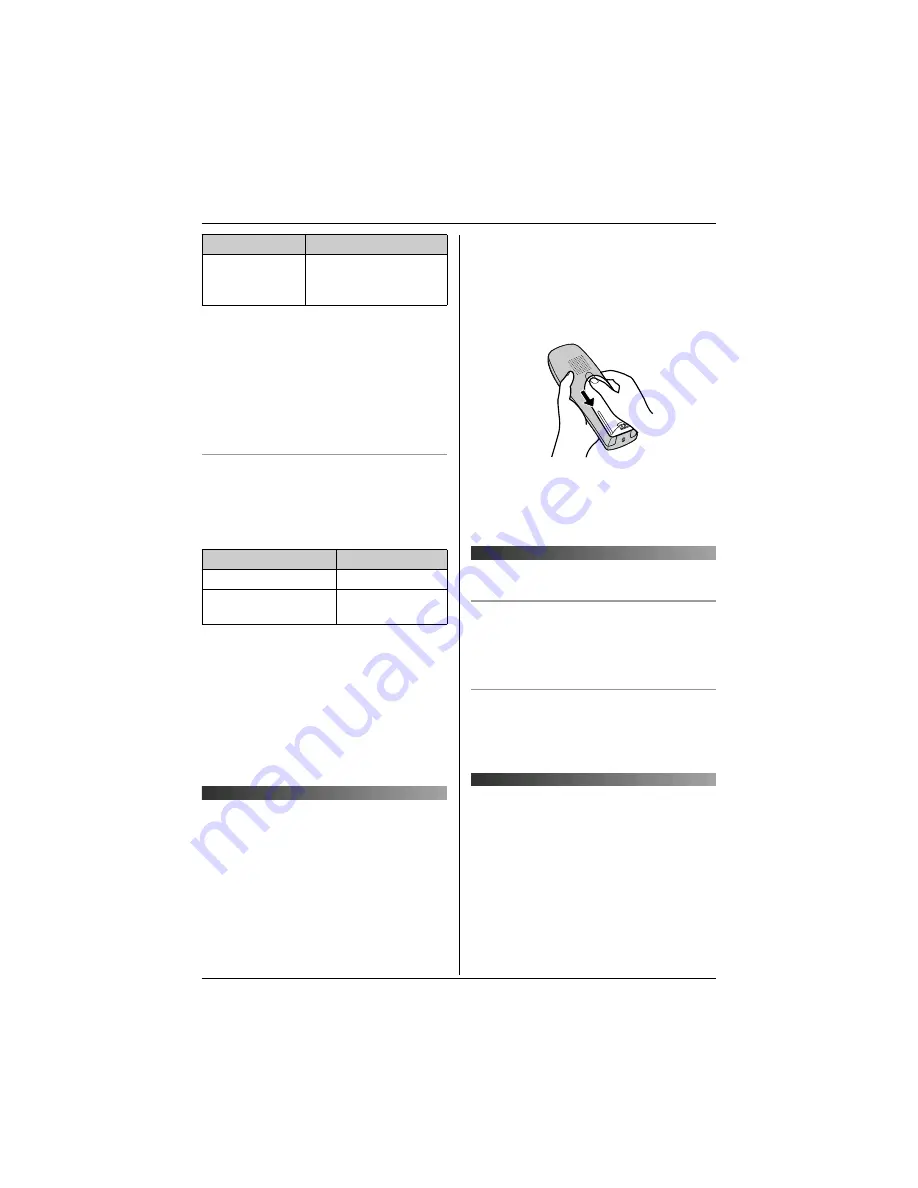
1
Press the notch on the handset cover
firmly and slide it in the direction of the
arrow.
2
Remove the old batteries positive (
S
)
terminal first and install the new ones.
See page 10 for battery installation.
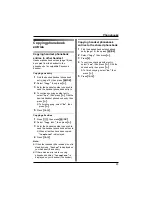
Turning the power on/off
Power on
Press
{ih}
for about 1 second.
L
The display will change to the standby
mode.
Power off
Press
{ih}
for about 2 seconds.
L
The display will go blank.
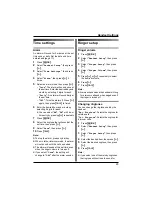
Setting the date and time
Important:
L
Confirm that the AC adaptor is connected.
L
Ensure that
w
is not flashing.
1
Press
{j
/OK
}
.
2
Select
“
Handset Setup
”
, then press
{>}
.
3
Select
“
Time Settings
”
, then press
{>}
.
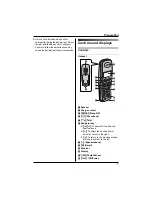
7
Low
When flashing: Needs
to be charged.
Operation
Operating time
While in use (talking)
20 hours max.
While not in use
(standby)
170 hours max.
Battery icon
Battery strength


