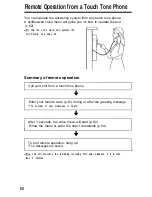
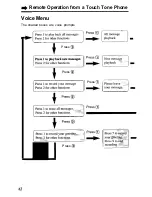
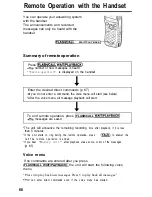
Remote Operation from a Touch Tone Phone
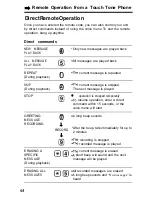
Direct Remote Operation
Once you have entered the remote code, you can also control your unit
by direct commands instead of using the voice menu To end the remote
operation, hang up anytime
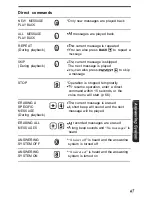
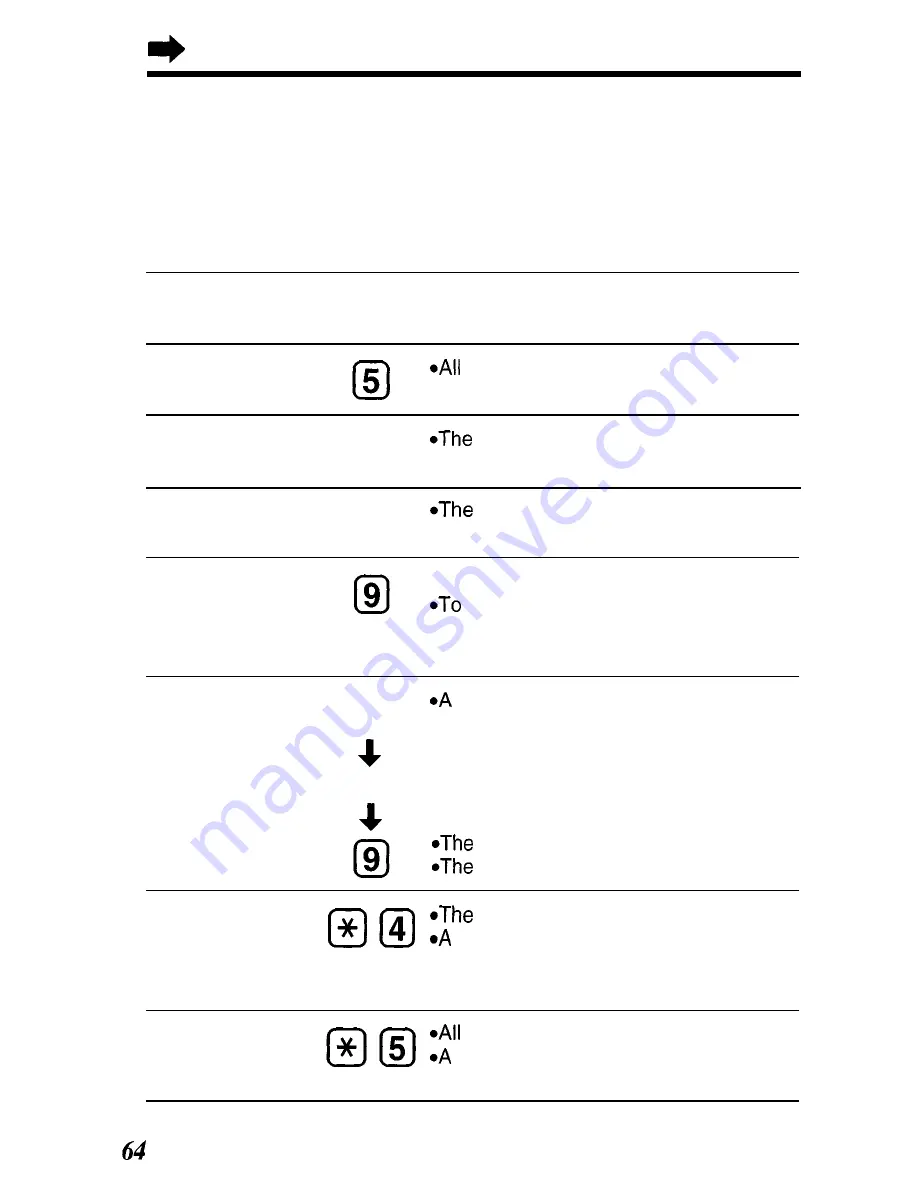
Direct commands
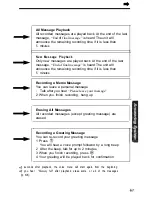
NEW MESSAGE
0
4
*Only new messages are played back
PLAY BACK
ALL MESSAGE
PLAY BACK
messages are played back
REPEAT
0
1
current message is repeated
(During playback)
SKIP
0
2
current message is skipped
(During playback)
The next message is played
STOP
l
operation is stopped temporarily
resume operation, enter a direct
command within 15 seconds, or the
voice menu will start
GREETING
M E S S A G E
0
7
RECORDING
RECORD
long beep sounds
*After the beep, talk immediately for up to
2 minutes
recording is stopped
recorded message is played
ERASING A
current message is erased
SPECIFIC
short beep will sound and the next
M E S S A G E
message will be played
(During playback)
ERASING ALL
M E S S A G E S
recorded messages are erased
long beep sounds and
“No messages”
is
heard


