


Preparation
For assistance, please visit http://www.panasonic.com/consumersupport
17
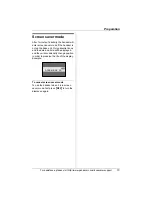
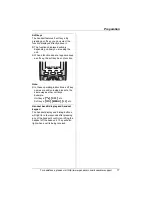
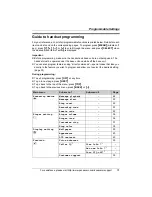
Soft keys
The handset features 3 soft keys. By
pressing a soft key, you can select the
function displayed directly above it.
L
The functions displayed will vary
depending on how you are using the
unit.
L
When a function does not appear above
a soft key, the soft key has no function.
Note:
L
In these operating instructions, soft key
names are written inside brackets, the
same way as other unit keys.
Example:
Unit keys:
{C}
,
{
OFF
}
, etc.
Soft keys:
{
CID
}
,
{
MENU
}
,
{
C
}
, etc.
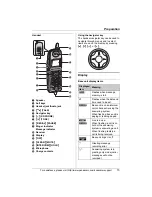
Handset backlit display and handset
keypad
The handset display and dialing buttons
will light for a few seconds after pressing
any of the handset’s controls or lifting the
handset off the base unit. They will also
light when a call is being received.
Summary of Contents for KX-TG5456
Page 74: ...74 Notes ...
Page 75: ...75 Notes ...


