background image

Getting Started

6

For assistance, please visit http://www.panasonic.com/help

Note when setting up

Note for connections

L

The AC adaptor must remain 
connected at all times. (It is normal for 
the adaptor to feel warm during use.)

L

The AC adaptor should be connected 
to a vertically oriented or floor-
mounted AC outlet. Do not connect 
the AC adaptor to a ceiling-mounted 
AC outlet, as the weight of the adaptor 
may cause it to become disconnected.

During a power failure

The unit will not work during a power 
failure. We recommend connecting a 
corded-type telephone (without AC 
adaptor) to the same telephone line or to 
the same telephone line jack using a 
Panasonic T-adaptor (page xx). 
Emergency power can be supplied to the 
unit by connecting a Panasonic battery 
back-up power supply noted on page xx.

Note for battery installation

L

Use the supplied rechargeable 
batteries. For replacement, we 
recommend using the Panasonic 
rechargeable batteries noted on page 
3.

L

Wipe the battery ends (

S

T

) with a 

dry cloth.

L

Avoid touching the battery ends (

S

T

) or the unit contacts.

Note for battery charge

L

It is normal for the handset to feel 
warm during charging.

L

Clean the charge contacts of the 
handset, base unit, and charger with a 
soft and dry cloth once a month. Clean 
more often if the unit is exposed to 
grease, dust, or high humidity.

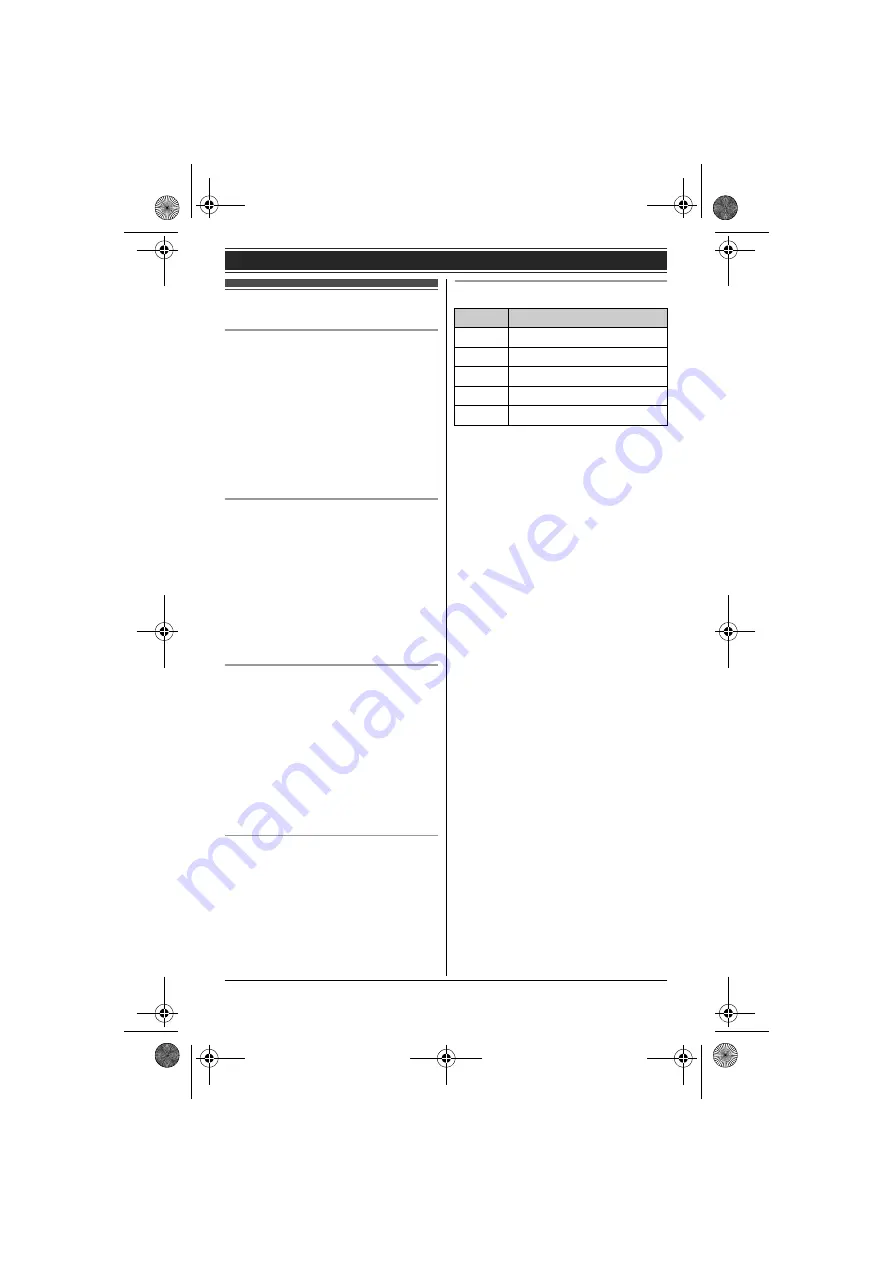
Battery level

Icon

Battery level

&

High

(

Medium

)

Low

0

)

4

Needs charging.

0

Empty

TG658x(e).book  Page 6  Friday, December 18, 2009  9:02 AM

Summary of Contents for KX-TG6581

Page 1: ...riate service offered by your service provider telephone company For assistance visit our Web site http www panasonic com help for customers in the U S A or Puerto Rico Operating Instructions Model shown is KX TG6582 Expandable Digital Cordless Answering System Model No KX TG6582 KX TG6583 KX TG6584 TG658x e book Page 1 Friday December 18 2009 9 02 AM Temporary Confidential KX TG6581 KX TG6582 KX ...

Page 2: ...n accident L Do not allow the AC adaptor or telephone line cord to be excessively pulled bent or placed under heavy objects Operating safeguards L Unplug the product from power outlets before cleaning Do not use liquid or aerosol cleaners L Do not disassemble the product L Do not spill liquids detergents cleansers etc onto the telephone line cord plug or allow it to become wet at all This may caus...

Page 3: ...ink or laundry tub in a wet basement or near a swimming pool 2 Avoid using a telephone other than a cordless type during an electrical storm There may be a remote risk of electric shock from lightning 3 Do not use the telephone to report a gas leak in the vicinity of the leak 4 Use only the power cord and batteries indicated in this manual Do not dispose of batteries in a fire They may explode Che...

Page 4: ...nce Move away from the electrical appliances Routine care L Wipe the outer surface of the product with a soft moist cloth L Do not use benzine thinner or any abrasive powder Other information CAUTION Risk of explosion if battery is replaced by an incorrect type Dispose of used batteries according to the instructions Notice for product disposal transfer or return L This product can store your priva...

Page 5: ... R03 size L Do NOT use Alkaline Manganese Ni Cd batteries L Confirm correct polarities S T Battery charge Charge for about 7 hours L When the batteries are fully charged the charge indicator goes off and Fully charged is displayed DSL ADSL filter Click Press plug firmly 120 V AC 60 Hz To single line telephone jack RJ11C Click Correct Wrong Hook 120 V AC 60 Hz Hooks Rechargeable Ni MH ONLY Confirm ...

Page 6: ...phone line jack using a Panasonic T adaptor page xx Emergency power can be supplied to the unit by connecting a Panasonic battery back up power supply noted on page xx Note for battery installation L Use the supplied rechargeable batteries For replacement we recommend using the Panasonic rechargeable batteries noted on page 3 L Wipe the battery ends S T with a dry cloth L Avoid touching the batter...

Page 7: ...or K Charge contacts L Microphone M Dial keypad TONE N REDIAL PAUSE O HOLD P SP PHONE Speakerphone SP PHONE indicator Q Microphone R FLASH CALL WAIT S MUTE T CONF Conference U MEMO V Bracket 1 1 The base unit has an unremovable bracket for desk or wall mounting To mount on a wall see page xx Handset A Charge indicator Ringer indicator Message indicator A H I J N OP R S T U V K L M B F G C D E Q B ...

Page 8: ...eiver I Display J OFF K FLASH CALL WAIT L Microphone M Charge contacts Control type A Soft keys The handset features 3 soft keys By pressing a soft key you can select the feature shown directly above it on the display B Navigator key V or Scroll through various lists and items VOL Volume or V Adjust the receiver or speaker volume while talking CID Caller ID View the caller list REDIAL View the red...

Page 9: ...ellular phone 1 Handset MENU i For CELL 1 6 2 4 1 For CELL 2 6 2 4 2 2 Your cellular phone While the CELL 1 or 2 indicator is flashing red follow the instructions of your cellular phone to enter the registration mode L Depending on your cellular phone it may ask you to enter the base unit PIN default 0000 3 Handset Wait until a long beep sounds L It may take more than 10 seconds to complete regist...

Page 10: ...the phone number To make a landline call SP PHONE i Dial the phone number 2 When the other party answers speak into the microphone L Speak alternately with the other party 3 When you finish talking press SP PHONE Answering calls using the base unit 1 Press SP PHONE when the unit rings L You can also answer the cellular call by pressing CELL 1 or CELL 2 2 Speak into the microphone 3 When you finish...

Page 11: ...alls Registering a headset Important L Make sure that the Bluetooth headset is not connected to any other Bluetooth device 1 Your headset Set your headset to registration mode L Refer to the headset operating instructions 2 Handset MENU i 6 2 1 3 V Add new device i SELECT 4 Enter your headset PIN L Typically default PIN is 0000 Refer to the headset operating instructions 5 Press OK then wait until...

Page 12: ...ly into the microphone 2 minutes max 4 Press STOP to stop recording 5 OFF Listening to messages using the base unit When new messages have been recorded the message indicator on the base unit flashes Press 6 L If new messages have been recorded the base unit plays back new messages L If there are no new messages the base unit plays back all messages TG658x e book Page 12 Friday December 18 2009 9 ...

Page 13: ...the telephone company will notify the customer as soon as possible Also you will be advised of your right to file a complaint with the FCC if you believe it is necessary The telephone company may make changes in its facilities equipment operations or procedures that could affect the operation of the equipment If this happens the telephone company will provide advance notice in order for you to mak...

Page 14: ...aged to try to correct the interference by one or more of the following measures Reorient or relocate the receiving antenna Increase the separation between the equipment and receiver Connect the equipment into an outlet on a circuit different from that to which the receiver is connected Consult the dealer or an experienced radio TV technician for help Some cordless telephones operate at frequencie...

Page 15: ...d 2010 Serial No Date of purchase found on the bottom of the base unit Name and address of dealer 1 Reconnect AC adaptor to the base unit 2 Check if telephone line cord is connected 3 Use rechargeable Ni MH batteries Alkaline Manganese Ni Cd batteries CANNOT be used 4 Read troubleshooting page in the Operating Instructions If your product is not working properly IMPORTANT Visit our Web site http w...

Reviews: