Y
Programming using the Handset
30
Document Version 2011-03
3
{
OFF
}
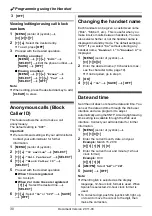
Viewing/editing/erasing call block
numbers
1
{
MENU
}
(center of joystick)
i
{#}{
2
}{
1
}{
7
}
2
{V}
/
{^}
: Select the desired entry.
L
To exit, press
{
OFF
}
.
3
Proceed with the desired operation.
■
Editing a number:
{
MENU
}
i
{V}
/
{^}
:
“
Edit
”
i
{
SELECT
}
i
Edit the phone number.
i
{
SAVE
}
i
{
OFF
}
■
Erasing a number:
{
MENU
}
i
{V}
/
{^}
:
“
Erase
”
i
{
SELECT
}
i
{V}
/
{^}
:
“
Yes
”
i
{
SELECT
}
i
{
OFF
}
Note:
L
When editing, press the desired dial key to add,
{
CLEAR
}
to erase.
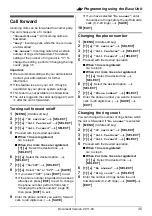
Anonymous calls (Block
Caller ID)
This feature allows the unit to make a call
anonymously.
The default setting is
“
Off
”
.
Important:
L
We recommend setting with your administrator.
Contact your administrator for further
information.
1
{
MENU
}
(center of joystick)
2
{V}
/
{^}
:
“
IP service
”
i
{
SELECT
}
3
{V}
/
{^}
:
“
Call features
”
i
{
SELECT
}
4
{V}
/
{^}
:
“
Block Caller ID
”
i
{
SELECT
}
5
Proceed with the desired operation.
■
When 1 line is registered:
Go to step 6.
■
When 2 or more lines are registered:
{V}
/
{^}
: Select the desired line.
i
{
SELECT
}
6
{V}
/
{^}
: Select
“
On
”
or
“
Off
”
.
i
{
SAVE
}
i
{
OFF
}
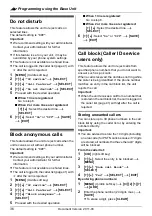
Changing the handset name
Each handset can be given a customized name
(“Bob”, “Kitchen”, etc.). This is useful when you
make intercom calls between handsets. You can
also select whether or not the handset name is
displayed in standby mode. The default setting is
“
Off
”
. If you select
“
On
”
without entering any
handset name,
“
Handset 1
”
to
“
Handset 6
”
is
displayed.
1
{
MENU
}
(center of joystick)
i
{#}{
1
}{
0
}{
4
}
2
Enter the desired name (10 characters max.;
see the character table, page 19).
L
If not required, go to step 3.
3
{
OK
}
4
{V}
/
{^}
:
“
On
”
i
{
SAVE
}
i
{
OFF
}
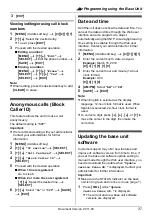
Date and time
Set if the unit does not show the date and time. You
can set the date and time through the Web user
interface and also program it to adjust
automatically using the SNTP. Also daylight saving
time setting is available through the Web user
interface. Contact your administrator for further
information.
1
{
MENU
}
(center of joystick)
i
{#}{
1
}{
0
}{
1
}
2
Enter the current month, date, and year.
Example:
March 15, 2010
{
0
}{
3
}
{
1
}{
5
}
{
1
}{
0
}
3
Enter the current hour and minute (12-hour
clock format).
Example:
9:30
{
0
}{
9
}
{
3
}{
0
}
4
{
AM/PM
}
: Select
“
AM
”
or
“
PM
”
.
5
{
SAVE
}
i
{
OFF
}
Note:
L
When English is selected as the display
language, 12-hour clock format is used. When
Spanish is selected, 24-hour clock format is
used.
L
To correct a digit, push the joystick left, right, up,
or down to move the cursor to the digit, then
make the correction.

