


66
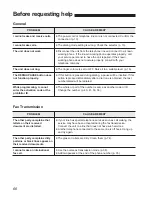
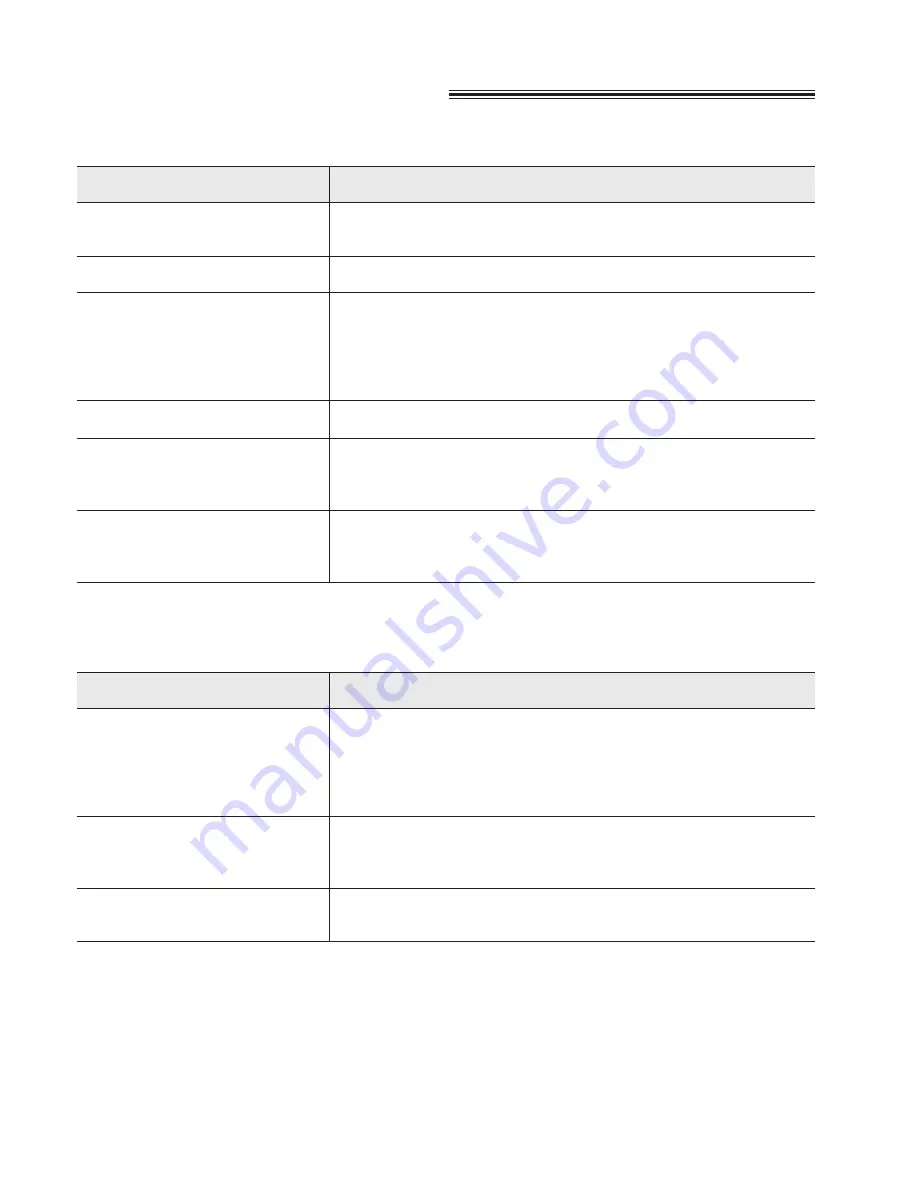
Before requesting help
¡
The power cord or telephone line cord is not connected. Confirm the
connection (p. 13).
¡
The dialing mode setting is wrong. Check the selector (p. 13).
¡
Disconnect the unit from the telephone line and connect to a known
working phone. If the known working phone operates properly, call
your service personnel to have the unit repaired. If the known
working phone does not operate properly, consult with your
telephone company.
¡
The ringer volume is set to OFF. Raise it to a suitable level (p. 16).
¡
If this button is pressed during dialing, a pause will be inserted. If this
button is pressed immediately after a dial tone is obtained, the last
number dialed will be redialed.
¡
The whole or part of the number is same as another code or ID.
Change the number (p. 40, 41, 50, 56).
I cannot make and receive calls.
I cannot make calls.
The unit does not work.
The unit does not ring.
The REDIAL/PAUSE button does
not function properly.
While programming, I cannot
enter the activation code or the
prohibitor ID.
Fax Transmission
The other party complains that
letters on their received
document are distorted.
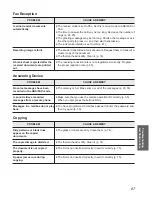
The other party complains dirty
patterns or black lines appear on
their received documents.
I cannot make an international
fax call.
¡
If your line has special telephone services such as call waiting, the
service may have been activated during the fax transmission.
Connect the unit to a line that does not have such services.
¡
Another telephone connected to the same line is off hook. Hang up
and try again.
¡
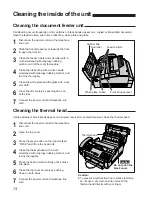
The glass or rollers are dirty. Clean them (p. 74).
¡
Use the overseas transmission mode (p. 38).
¡
Add two pauses at the end of the phone number (p. 35).
CAUSE & REMEDY
PROBLEM
General
CAUSE & REMEDY
PROBLEM


