9 Character object
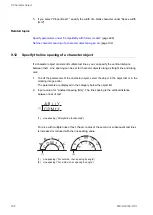
• For character objects along an arc, specify values for “Center X-position [mm]” and
“Center Y-position [mm]”, the arc's center.
A B
i j Y
(X, Y)
(1)
(1) “Arc outside, char. spacing by angle”, “Arc outside, char. spacing by length”
• Alternatively, select the object in the marking image editor and drag it to a new location.
Related topics
9.9
Rotate a character object
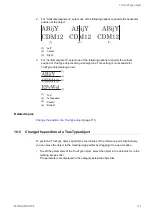
To rotate a character object, set a rotation center and specify a rotation angle. Alternatively,
use the circular arrow symbol in the marking image editor.
• To edit the parameters of the character object, select the object in the object list or in the
marking image editor.
The parameters are displayed in the category below the object list.
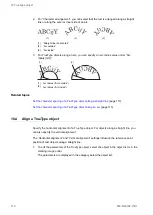
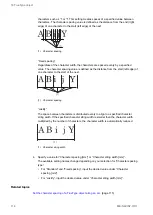
• Specify the rotation center. Depending on whether your object is arranged along a line or
an arc, specify values for “X-position [mm]” and “Y-position [mm]” or “Center X-position
[mm]” and “Center Y-position [mm]”, the arc's center.
For objects along a straight line, the rotation center varies depending on your “Horizontal
alignment” and “Vertical alignment” setting.
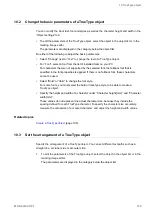
• If your object is arranged along a straight line, enter a value for “Rotation angle [°]” to
rotate it. Enter a positive value for counterclockwise rotation and a negative value for
clockwise rotation.
(1)
(2)
(3)
(1) Rotation angle ( “Horizontal alignment” > “Left”)
(2) Rotation angle (“Horizontal alignment” > “Right”)
(3) Rotation angle (“Horizontal alignment” > “Center”
ME-NAVIS2-OP-1
99


