76
3-2-3 Shift to remote mode
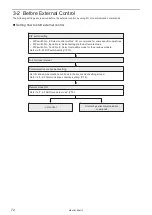
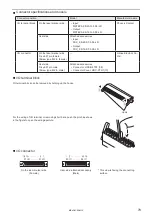
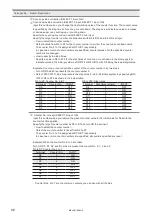
To control the laser marker externally using I/O or serial communication commands, set the operation mode to the remote
mode in one of the following methods.
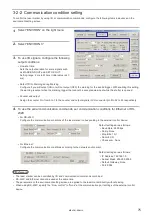
Select the method to switch to the remote mode by setting the DIP switch on the rear side of the controller.
Use the remote switch on the front of the controller.
Turn ON the remote mode switch on the front of the controller.
Turn OFF the DIP switch No. 5.
Refer to “3-2-1 DIP switch setting” (P.73).
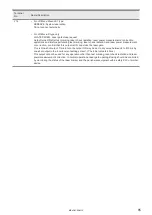
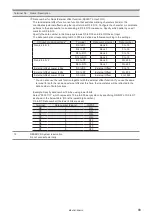
Use input signal of X5 “REMOTE IN” on I/O terminal.
Turn ON the remote mode input (X5) of the I/O terminal on the rear of the controller.
X5: REMOTE IN
Turn ON the DIP switch No. 5.
Refer to “3-2-1 DIP switch setting” (P.73).
ンㄆㄇㄆㄓㄆㄏㄆ
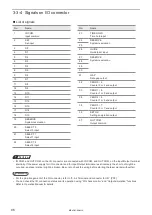
• When DIP switch No. 5 is ON, the remote switch on the controller is not available.
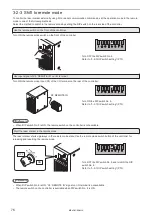
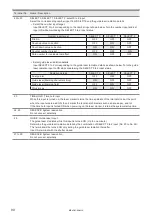
Start the laser marker in the remote mode
The laser marker starts up always in the remote mode state. Use the remote mode switch button of the controller for
releasing and resetting the remote mode.
ヱヰヸユ
ン
ON
OFF
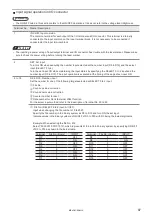
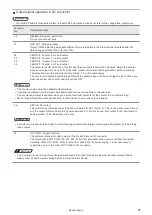
Turn OFF the DIP switch No. 5 and turn ON the DIP
switch No. 6.
Refer to “3-2-1 DIP switch setting” (P.73).
ンㄆㄇㄆㄓㄆㄏㄆ
• When DIP switch No. 6 is ON, “X5: REMOTE IN” signal on I/O terminal is not available.
• The remote switch on the controller is available when DIP switch No. 6 is ON.
ME-LPM-SSM-10
Summary of Contents for LP-M Series
Page 16: ...16 MEMO ME LPM SSM 10...
Page 27: ...27 Chapter 1 Specification ME LPM SSM 10...
Page 37: ...37 Chapter 2 Preparation ME LPM SSM 10...
Page 69: ...Chapter 3 Connection for External Control ME LPM SSM 10...
Page 128: ...Chapter 4 Maintenance ME LPM SSM 10...
Page 148: ...Troubleshooting ME LPM SSM 10...
Page 169: ...Index ME LPM SSM 10...
Page 172: ...172 MEMO No 9000 0066 34V ME LPM SSM 10...
Page 173: ...No 9000 0066 34V...

