102
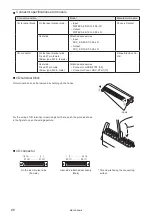
3-4 Connecting I/O Terminals
WARNING
• Make sure that the power is turned OFF at wiring.
3-4-1 Factory default wiring
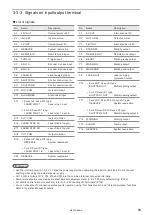
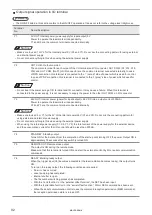
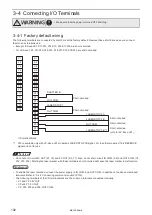
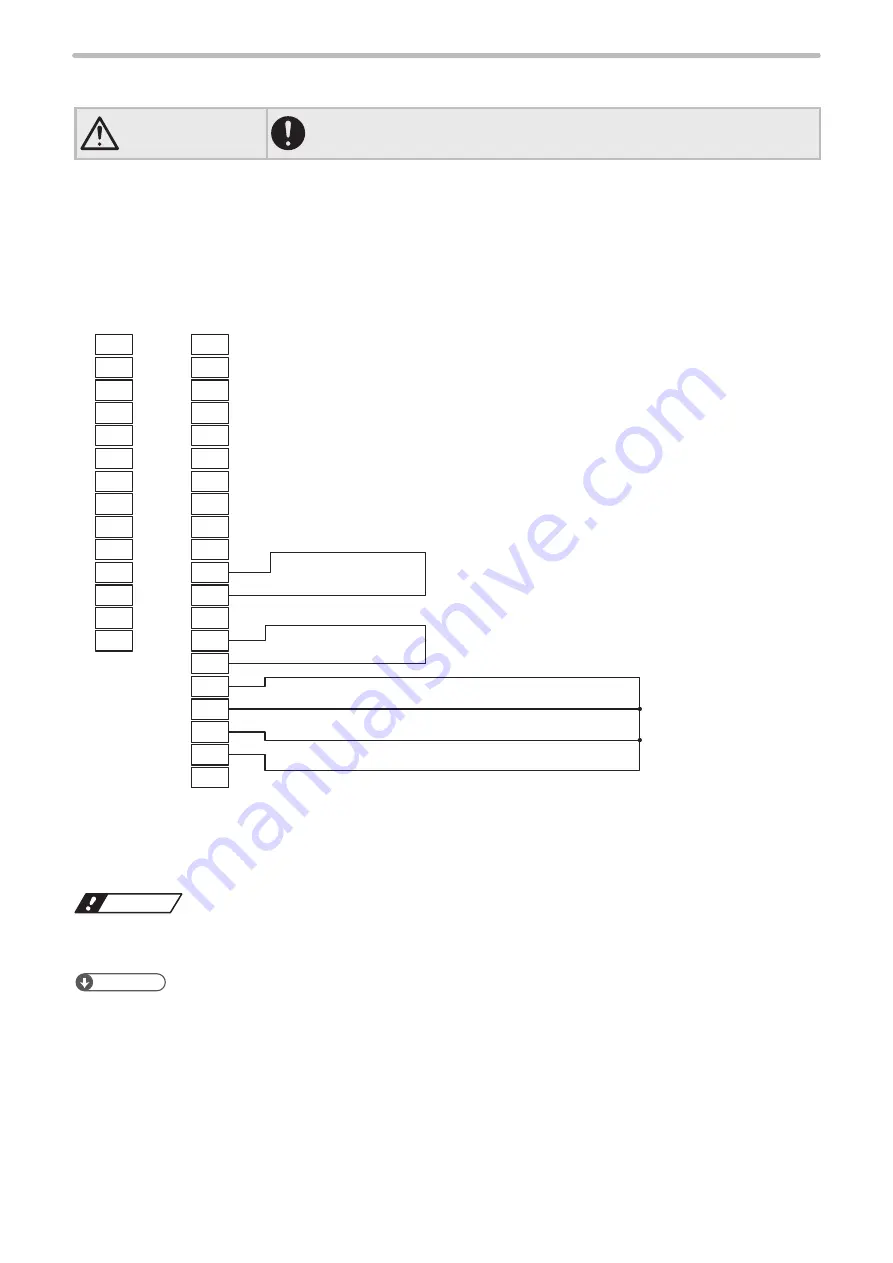
The following terminals are connected by short bars at the factory default. Remove these short bars when you connect
them to an external device.
• Except LP-Sxxx-LS1: X11-X12, X14-X15, X16-X17-X18 are short-circuited.
• For LP-Sxxx-LS1: X11-X12, X14-X15, X16-X17-X18, X18-X19 are short-circuited.
SHUTTER B
LASER STOP 1
OUT COM.
OUT COM.
LASER STOP 2A
LASER STOP 2B
OUT COM.
LASER STOP 1B *1
X1
X2
X3
X4
X5
X6
X7
X8
X9
X10
X11
X12
X13
X14
X15
X16
X17
X18
X19
X20
Y1
Y2
Y3
Y4
Y5
Y6
Y7
Y8
Y9
Y10
Y11
Y12
Y13
Y14
Short-circuited
Short-circuited
Short-circuited
Short-circuited
Short-circuited
(only for LP-Sxxx-LS1)
I/O terminal block
*1 : X19 is available only with LP-Sxxx-LS1 models as LASER STOP 1B signal. For the other models, X19 is RESERVE
signal and not for use.
ワㄐㄕㄊㄆ
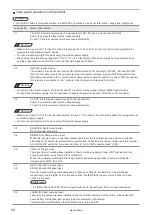
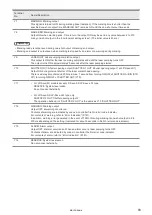
• Do not short-circuit 24V OUT (X1, Y3) and 0V OUT (X3, Y1). Also, do not short-circuit IN COM. (X2) and OUT COM. (Y2,
X12, X15, X18). Starting the laser marker with these terminals short-circuited will cause the laser marker to malfunction.
ンㄆㄇㄆㄓㄆㄏㄆ
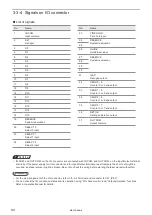
• To enable the laser radiation, connect the power supply to IN COM. and OUT COM. in addition to the above mentioned
terminals. Refer to “3-4-2 Connecting common terminals” (P.103).
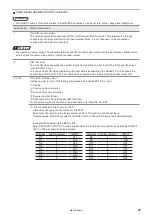
• The following terminals of the I/O terminal block are the common terminals connected internally.
• X1 and Y3: 24V OUT
• X3 and Y1: 0V OUT
• Y2, X12, X15 and X18: OUT COM.
ME-LPS-SSM-8
Summary of Contents for LP-S Series
Page 15: ...15 MEMO ME LPS SSM 8 ...
Page 26: ...26 Chapter 1 Specification ME LPS SSM 8 ...
Page 41: ...41 Chapter 2 Preparation ME LPS SSM 8 ...
Page 78: ...Chapter 3 Connection for External Control ME LPS SSM 8 ...
Page 126: ...Chapter 4 Maintenance ME LPS SSM 8 ...
Page 148: ...Troubleshooting ME LPS SSM 8 ...
Page 169: ...Index ME LPS SSM 8 ...
Page 172: ...172 MEMO No 9000 0066 16V ME LPS SSM 8 ...
Page 173: ...No 9000 0066 16V ...

