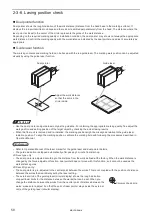
60
3.
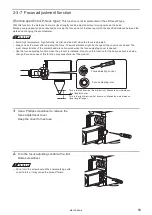
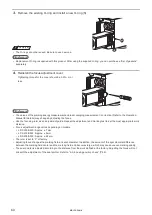
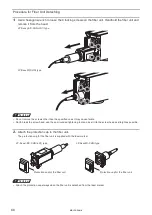
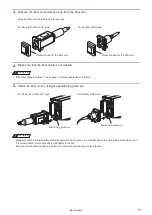
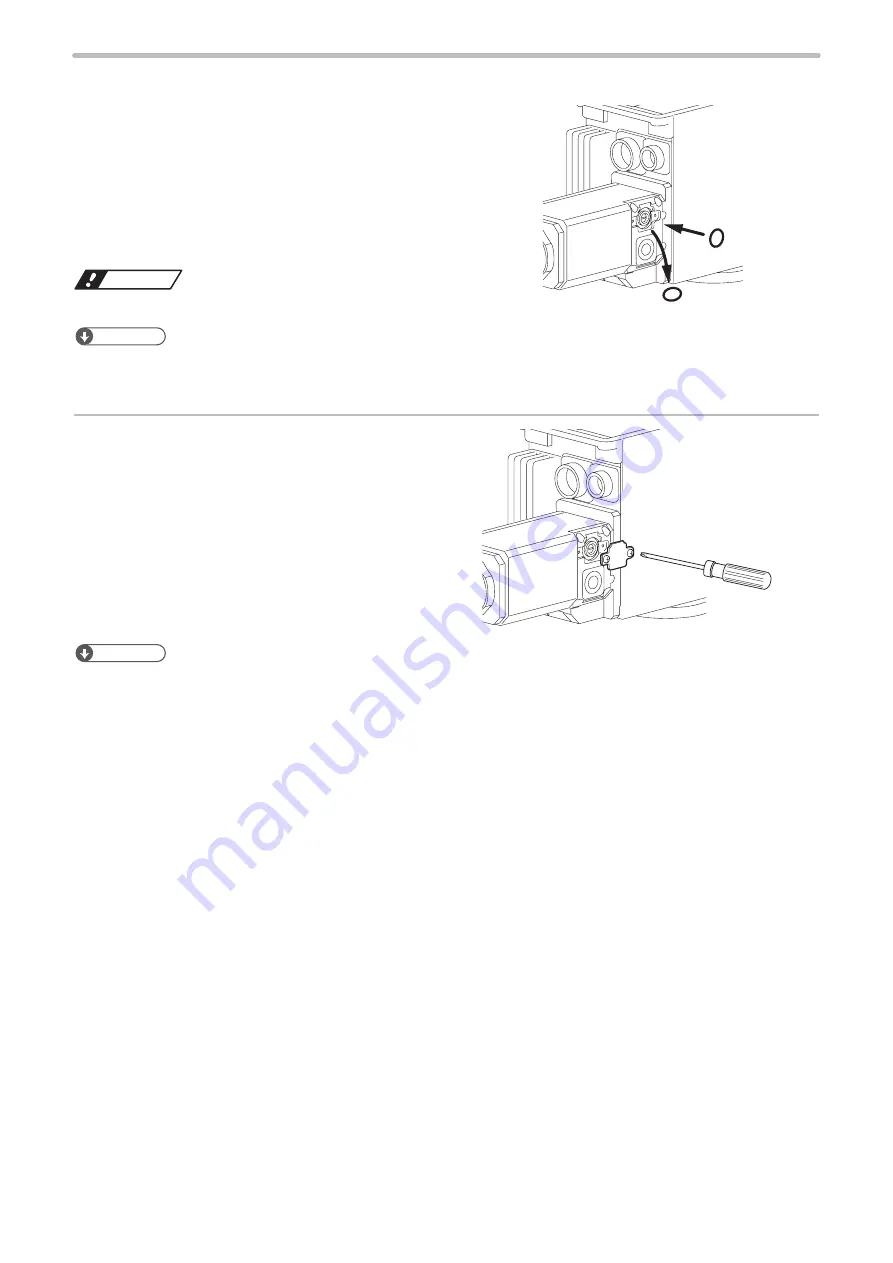
Remove the existing O-ring and install a new O-ring (S).
ワㄐㄕㄊㄆ
• The O-ring cannot be reused. Be sure to use new one.
ンㄆㄇㄆㄓㄆㄏㄆ
• Replacement O-ring is supplied with this product. After using the supplied O-ring, you can purchase a “Set of gaskets”
separately.
4.
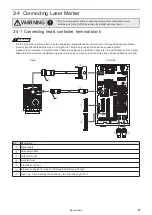
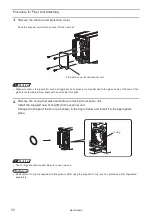
Reinstall the focus adjustment cover.
Tightening torque for the cover should be 0.3N • m or
less.
ンㄆㄇㄆㄓㄆㄏㄆ
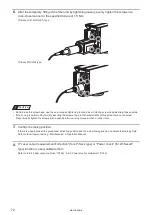
• The values of the marking energy measurement and laser pumping measurement / correction (Refer to the Operation
Manual for details) may change by adjusting the focus.
• Use the focusing ruler as an adjustment guide. Repeat the adjustment and marking test to set the most appropriate work
distance.
• Focus adjustment range varies depending on models.
• LP-S200/S500: Approx. ± 7 mm
• LP-S202/S502: Approx. ± 3 mm
• LP-S205/S505: Approx. ± 24 mm
• The ruler is set to “0” at factory.
• Adjusting focus changes the marking field and spot diameter. In addition, the amount of the spot diameter difference
between the marking field center and the marking field end becomes large, which may cause uneven marking quality.
• The dual pointer is adjusted according to the distance from the work defined at the factory. Adjusting the focus will not
link with the adjustment of the dual pointer. Refer to “2-3-6 Lasing position check” (P.58).
ME-LPS-SSM-8
Summary of Contents for LP-S Series
Page 15: ...15 MEMO ME LPS SSM 8 ...
Page 26: ...26 Chapter 1 Specification ME LPS SSM 8 ...
Page 41: ...41 Chapter 2 Preparation ME LPS SSM 8 ...
Page 78: ...Chapter 3 Connection for External Control ME LPS SSM 8 ...
Page 126: ...Chapter 4 Maintenance ME LPS SSM 8 ...
Page 148: ...Troubleshooting ME LPS SSM 8 ...
Page 169: ...Index ME LPS SSM 8 ...
Page 172: ...172 MEMO No 9000 0066 16V ME LPS SSM 8 ...
Page 173: ...No 9000 0066 16V ...

