27
Troubleshooting
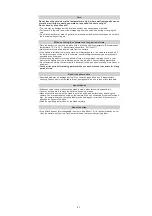
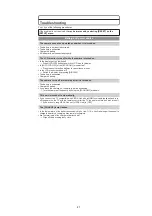
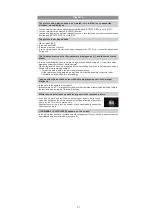
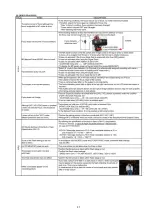
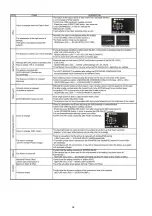
First, try out the following procedures.
s
The battery is not inserted correctly.
s
The battery is exhausted.
s
Charge the battery.
s
AC adapter is not connected properly.
s
Is the display set to Viewfinder?
Press [LVF/LCD] button to switch to LCD monitor display.
s
Is [AUTO LCD OFF] of the [ECONOMY] mode active?
Press the shutter button halfway to cancel these modes.
s
Is the LCD monitor switched off?
Switch the display by pressing [DISPLAY].
s
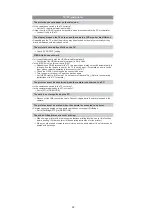
The battery is exhausted.
s
Charge the battery.
s
The battery is exhausted.
s
Charge the battery.
s
If you leave the camera on, the battery will be exhausted.
Turn the camera off frequently by using the [ECONOMY] mode etc.
s
If you connect to a TV compatible with VIERA Link with a HDMI mini cable (optional) and turn
off the power on the TV with the remote control for the TV, the power on this unit also turns off.
If you are not using VIERA Link, set [VIERA Link] to [OFF].
s
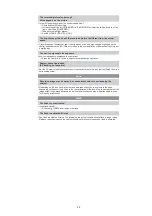
Is the temperature of the battery excessively high or low? If it is, it will take longer than usual to
charge the battery or charging may remain incomplete.
s
Are the terminals of the charger or battery dirty?
Wipe off the dirt using a dry cloth.
If the problem is not resolved,
it may be improved by selecting [RESET] on the
[SETUP] menu
.
Battery and power source
The camera cannot be operated even when it is turned on.
The LCD monitor turns off while the camera is turned on.
The camera turns off immediately after it is turned on.
This unit is turned off automatically.
The [CHARGE] lamp flashes.
Summary of Contents for Lumix DMC-G1KEB
Page 13: ...13 4 Specifications ...
Page 36: ...36 7 Troubleshooting Guide ...
Page 37: ...37 ...
Page 38: ...38 ...
Page 42: ...42 9 Disassembly and Assembly Instructions 9 1 Disassembly Flow Chart 9 2 PCB Location ...
Page 44: ...44 9 3 1 Removal of the Rear Case Unit Fig D1 Fig D2 ...
Page 45: ...45 9 3 2 Removal of the Top Case Unit Fig D3 9 3 3 Removal of the LVF Unit Fig D4 ...
Page 46: ...46 9 3 4 Removal of the Main P C B Fig D5 9 3 5 Removal of the Front Case Unit Fig D6 ...
Page 50: ...50 Fig D15 9 3 12 Removal of the LCD TFT Unit Fig D16 ...
Page 52: ...52 ...
Page 55: ...55 11 Maintenance ...
Page 56: ...56 ...


