31
s
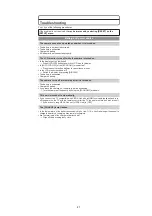
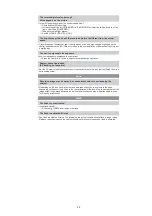
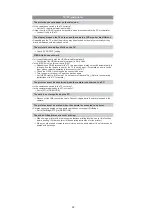
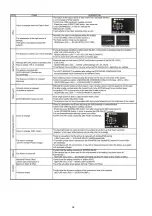
You can display the pictures without being rotated when [ROTATE DISP.] is set to [OFF].
s
You can rotate pictures with the [ROTATE] function.
s
You can only display the pictures rotated if you use a lens that supports the direction detection
function and [ROTATE DISP.] is set to [ON].
s
Did you press [
]?
s
Is the card inserted?
s
Is there a picture on the card?
s
Is this a picture whose file name has been changed in the PC? If it is, it cannot be played back
by this unit.
s
Is this a non-standard picture, a picture which has been edited using a PC or a picture which
was taken by another make of digital camera?
s
Did you remove the battery immediately after picture-taking or did you take the picture using a
battery with a low remaining charge?
Format the data to delete the pictures mentioned above.
(Other pictures will be deleted as well and it will not be possible to restore them.
Therefore, check well before formatting.)
s
Is the clock in the camera set properly?
s
Images edited on a PC or images recorded on other cameras might display a different date to
the recorded date during the Calendar Playback.
s
Is it a picture that has been recorded with other equipment? In such cases, these pictures may
be displayed with a deteriorated picture quality.
Playback
The picture being played back is not rotated, or is rotated in an unexpected
direction, when displayed.
The picture is not played back.
The folder number and the file number are displayed as [—] and the screen turns
black.
Images with different date as recorded date are played back in the Calendar
Playback.
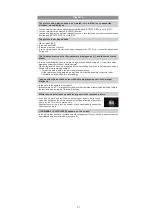
White round spots like soap bubbles appear on the recorded picture.
s
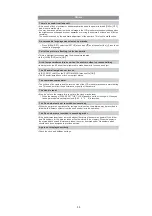
If you take a picture with the flash in a dark place or indoors, white round
spots may appear on the picture caused by the flash reflecting of particles of
dust in the air. This is not a malfunction.
A characteristic of this is that the number of round spots and their position
differ in every picture.
[THUMBNAIL IS DISPLAYED] appears on the screen.
Summary of Contents for Lumix DMC-G1KEB
Page 13: ...13 4 Specifications ...
Page 36: ...36 7 Troubleshooting Guide ...
Page 37: ...37 ...
Page 38: ...38 ...
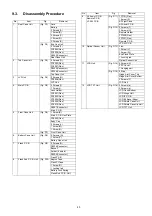
Page 42: ...42 9 Disassembly and Assembly Instructions 9 1 Disassembly Flow Chart 9 2 PCB Location ...
Page 44: ...44 9 3 1 Removal of the Rear Case Unit Fig D1 Fig D2 ...
Page 45: ...45 9 3 2 Removal of the Top Case Unit Fig D3 9 3 3 Removal of the LVF Unit Fig D4 ...
Page 46: ...46 9 3 4 Removal of the Main P C B Fig D5 9 3 5 Removal of the Front Case Unit Fig D6 ...
Page 50: ...50 Fig D15 9 3 12 Removal of the LCD TFT Unit Fig D16 ...
Page 52: ...52 ...
Page 55: ...55 11 Maintenance ...
Page 56: ...56 ...

