


24
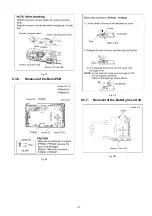
8.3.8.
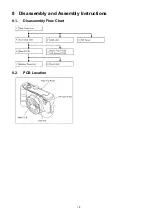
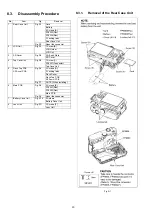
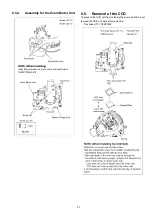
Removal of the Lens Unit
Fig. D11
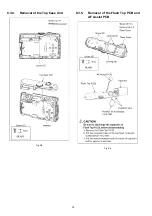
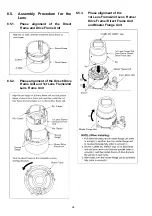
NOTE: (When Assembling)
Be sure to confirm the following points when assembling.
• The Screw is tightened enough.
• Assembling conditions are fine. (No distortion, no illegal-
space.)
• No dust and/or dirt on every Lens surfaces.
• LCD image is fine. (No dust and dirt on it, and no gradient
images.)
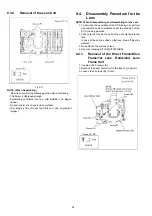
8.4.
Disassembly Procedure for the
Lens
NOTE: When Disassembling and Assembling for the Lens
1. To minimize the possibility of the CCD being dirt, perform
disassemble and/or assemble under the condition of the
CCD is being mounted.
2. Take care that the dust and dirt are not entered into the
lens.
In case of the dust is putted on the lens, blow off them by
airbrush.
3. Do not touch the surface of lens.
4. Use lens cleaning KIT (BK)(VFK1900BK).
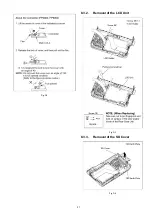
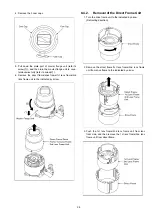
8.4.1.
Removal of the Direct Frame/Drive
Frame/1st Lens Frame/2nd Lens
Frame Unit
1. Unscrew the 2 screws (A).
2. Remove the Zoom Motor Unit to the lock (A) (2 points).
3. Loosen the 3 screws (B) (1 turn).


