

Summary of Contents for MC-CG523K147-AE
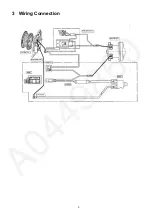
Page 3: ...3 3 Wiring Connection ...
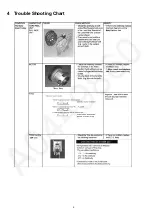
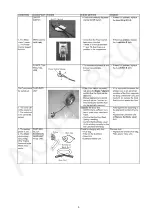
Page 4: ...4 4 Trouble Shooting Chart ...
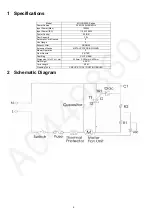
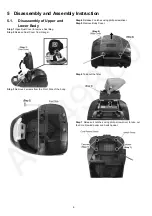
Page 5: ...5 ...
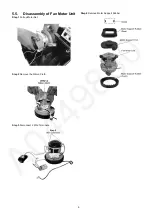
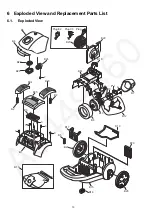
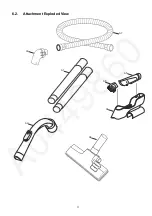
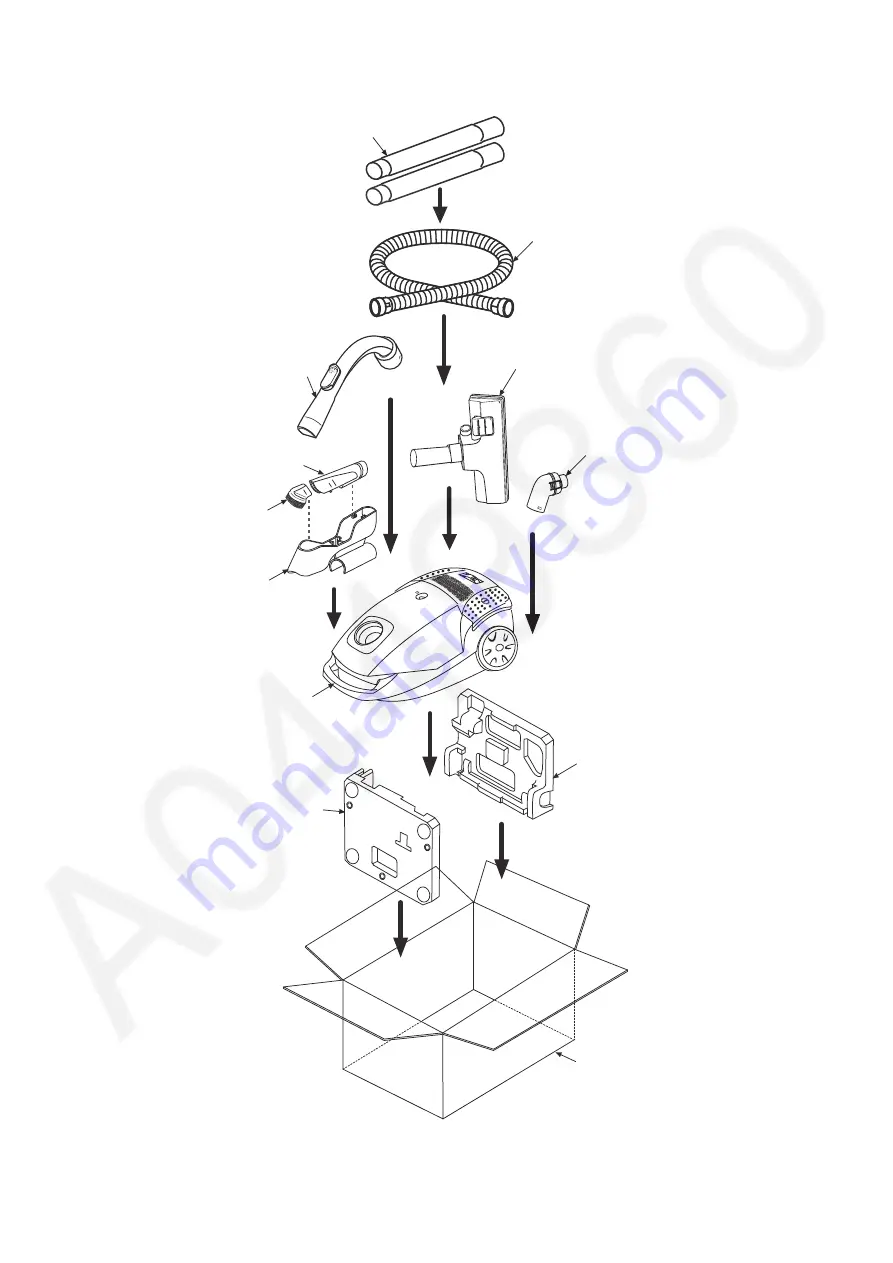
Page 11: ...11 6 2 Attachment Exploded View A7 A8 A5 A4 A6 A2 A3 A1 ...
The Panasonic MC-CG523K147-AE Service Manual is available for free download on our website. This comprehensive manual provides detailed instructions and troubleshooting tips for utilizing the features of this remarkable product, ensuring optimal performance and longevity. Don't miss out on this valuable resource - visit 88.208.23.73:8080 to get your manual now!
Page 3: ...3 3 Wiring Connection ...
Page 4: ...4 4 Trouble Shooting Chart ...
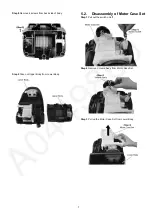
Page 5: ...5 ...
Page 11: ...11 6 2 Attachment Exploded View A7 A8 A5 A4 A6 A2 A3 A1 ...


