

– 7 –
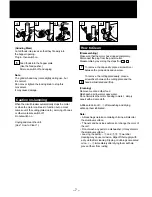
How to Clean
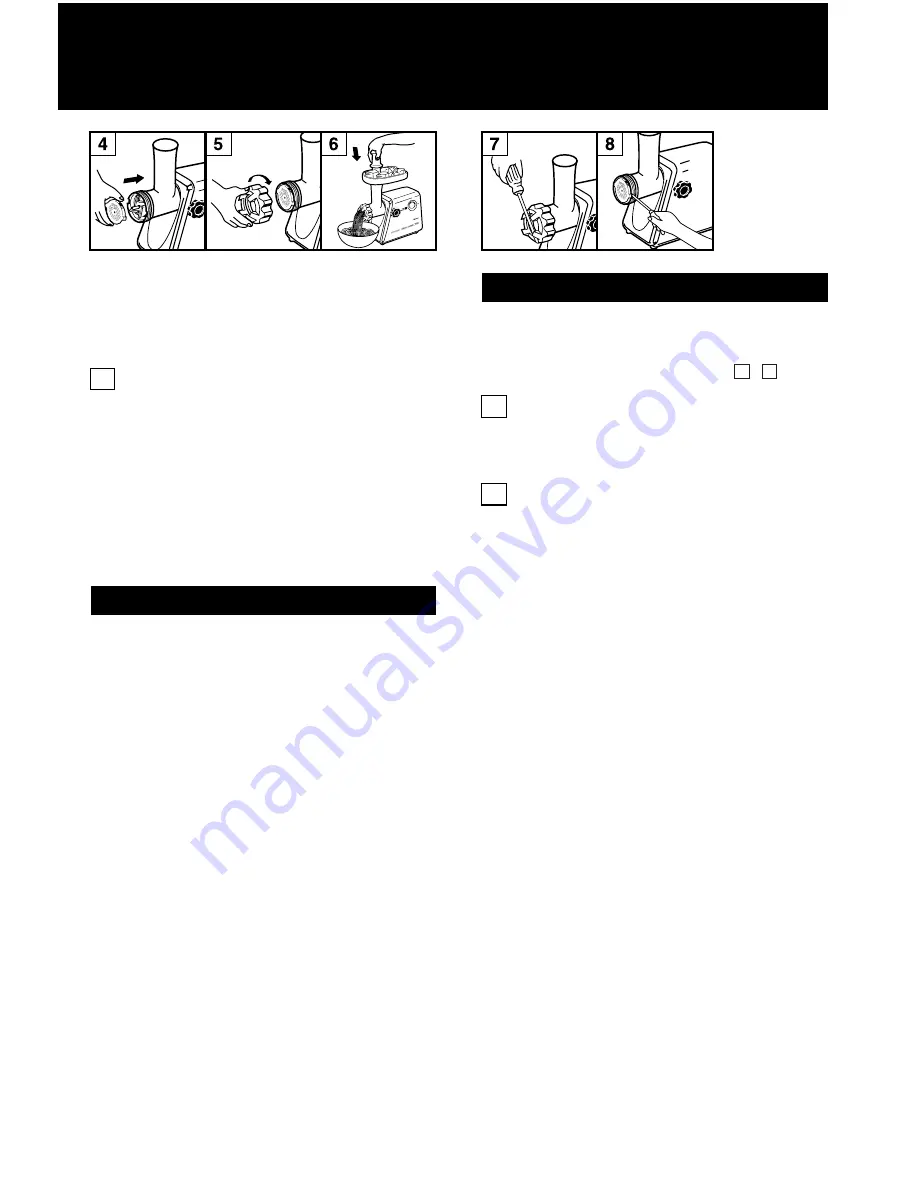
6
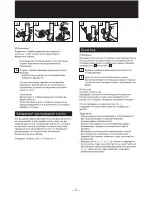
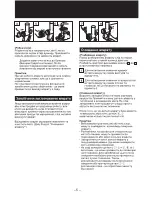
(Grinding Meat)
Cut all foods into pieces so that they fit easily into
the hopper opening.
Plug in, then switch on.
Feed foods into the hopper plate.
(Use the food pusher.)
After use, switch off and unplug.
Note:
The grinder head may rotate slightly during use, but
it is normal.
Do not over tighten the locking knob to stop this
movement.
It may cause damage.
When the circuit breaker automatically stops the motor
or when the motor continues to function but no meat
comes out of the cutting plate due to jamming of bones
or other materials, switch off.
Do not switch on.
Unplug and clean the unit.
(See "How to Clean".)
Caution on Jamming
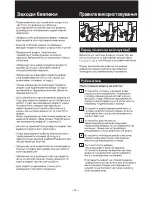
(Disassembling)
Make sure that the motor has stopped completely.
Disconnect the plug from the power outlet.
Disassemble by reversing the steps from 5 - 1 .
To remove the cap easily, place a screwdriver
between the protrusions and unscrew.
To remove the cutting plate easily, place a
screwdriver between the cutting plate and the
head as illustrated and lift up.
(Cleaning)
Remove meat and other food.
Wash each part in warm soapy water.
Do not immerse the motor housing in water; simply
wipe it with a damp cloth.
A little salad oil on
h
,
i
after washing and drying
will keep them lubricated.
Note:
• A bleaching solutuion containing chlorine will discolor
the aluminum surface.
• Thinners and benzines will crack or change the color of
the unit.
• Do not wash any parts in a dishwasher. (It may discolor
the aluminum surface.)
• Leaving the parts
j
~
l
and
f
,
g
,
m
wet after
cleaning may cause corrosion. Wipe off thoroughly with
a dry cloth after cleaning. Dipping or rubbing some salad
oil on
j
~
l
immediately after drying them will help
prevent them from rusting.
7
8


