NN-CT867MBPQ NN-CT857WBPQ
21
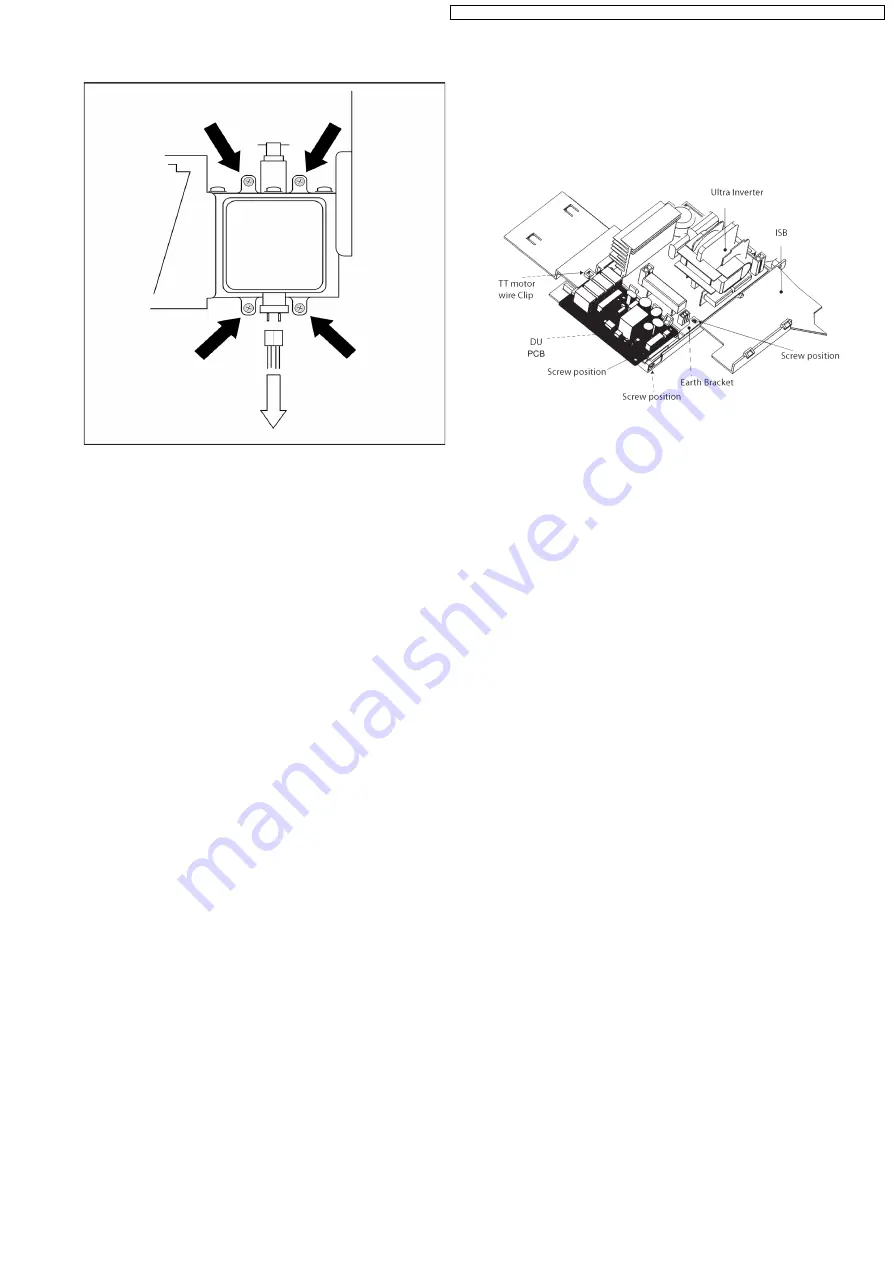
10.2. Inverter power supply (U)
1. Discharge the high voltage capacitors
2. Unplug the H.V. Lead wires from the magnetron
3. Remove the connector CN701 and CN702 from the
inverter PCB
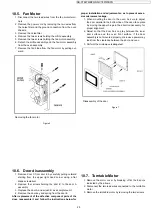
4. Remove the two screws holding the inverter base to the
chassis (See figure 3)
5. Remove the one screw holding the inverter earth wire to
the oven chassis.
6. Carefully remove the inverter PCB and support base from
the oven.
7. Remove the air guide E by un-clipping the catch hooks
8. Remove the four screws holding the PCB to the inverter
support base.
Caution when replacing the inverter power supply (U)
1. Make sure that grounding plate is in place
2. Securely tighten the grounding screw through the side of
the chassis (Base).
3. Securely connect the 3 lead wire connectors
4. Make sure that the heat sink has enough space (gap)
from the oven. Take care not to touch any lead wire to the
aluminium heat sink because it is hot.
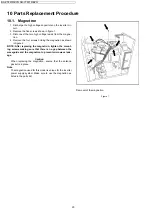
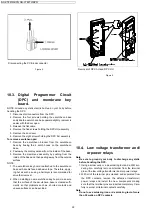
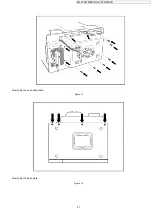
Screws to remove the magnetron
Figure 2
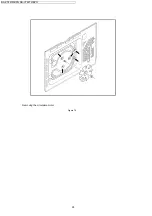
Removal of the inverter PCB
Figure 3
Summary of Contents for NN-CT857WBPQ
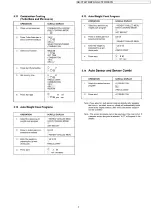
Page 4: ...NN CT867MBPQ NN CT857WBPQ 4 4 Control Panel ...
Page 5: ...NN CT867MBPQ NN CT857WBPQ 5 5 Operation And Digital Programmer Circuit Test Procedure ...
Page 6: ...NN CT867MBPQ NN CT857WBPQ 6 ...
Page 7: ...NN CT867MBPQ NN CT857WBPQ 7 ...
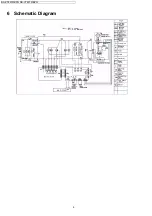
Page 8: ...NN CT867MBPQ NN CT857WBPQ 8 6 Schematic Diagram ...
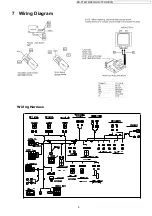
Page 9: ...NN CT867MBPQ NN CT857WBPQ 9 7 Wiring Diagram Wiring Harness ...
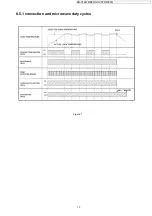
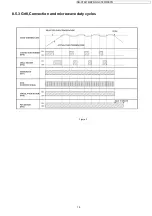
Page 13: ...NN CT867MBPQ NN CT857WBPQ 13 8 5 1 convection and microwave duty cycles Figure 1 ...
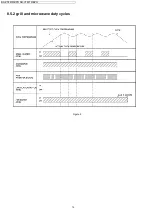
Page 14: ...NN CT867MBPQ NN CT857WBPQ 14 8 5 2 grill and microwave duty cycles Figure 2 ...
Page 15: ...NN CT867MBPQ NN CT857WBPQ 15 Figure 3 8 5 3 Grill Convection and microwave duty cycles ...
Page 28: ...NN CT867MBPQ NN CT857WBPQ 28 Removing the circulation motor Figure 16 ...
Page 32: ...NN CT867MBPQ NN CT857WBPQ 32 13 Troubleshooting Guide ...

