13
Operation & Hints
12
Operation & Hints
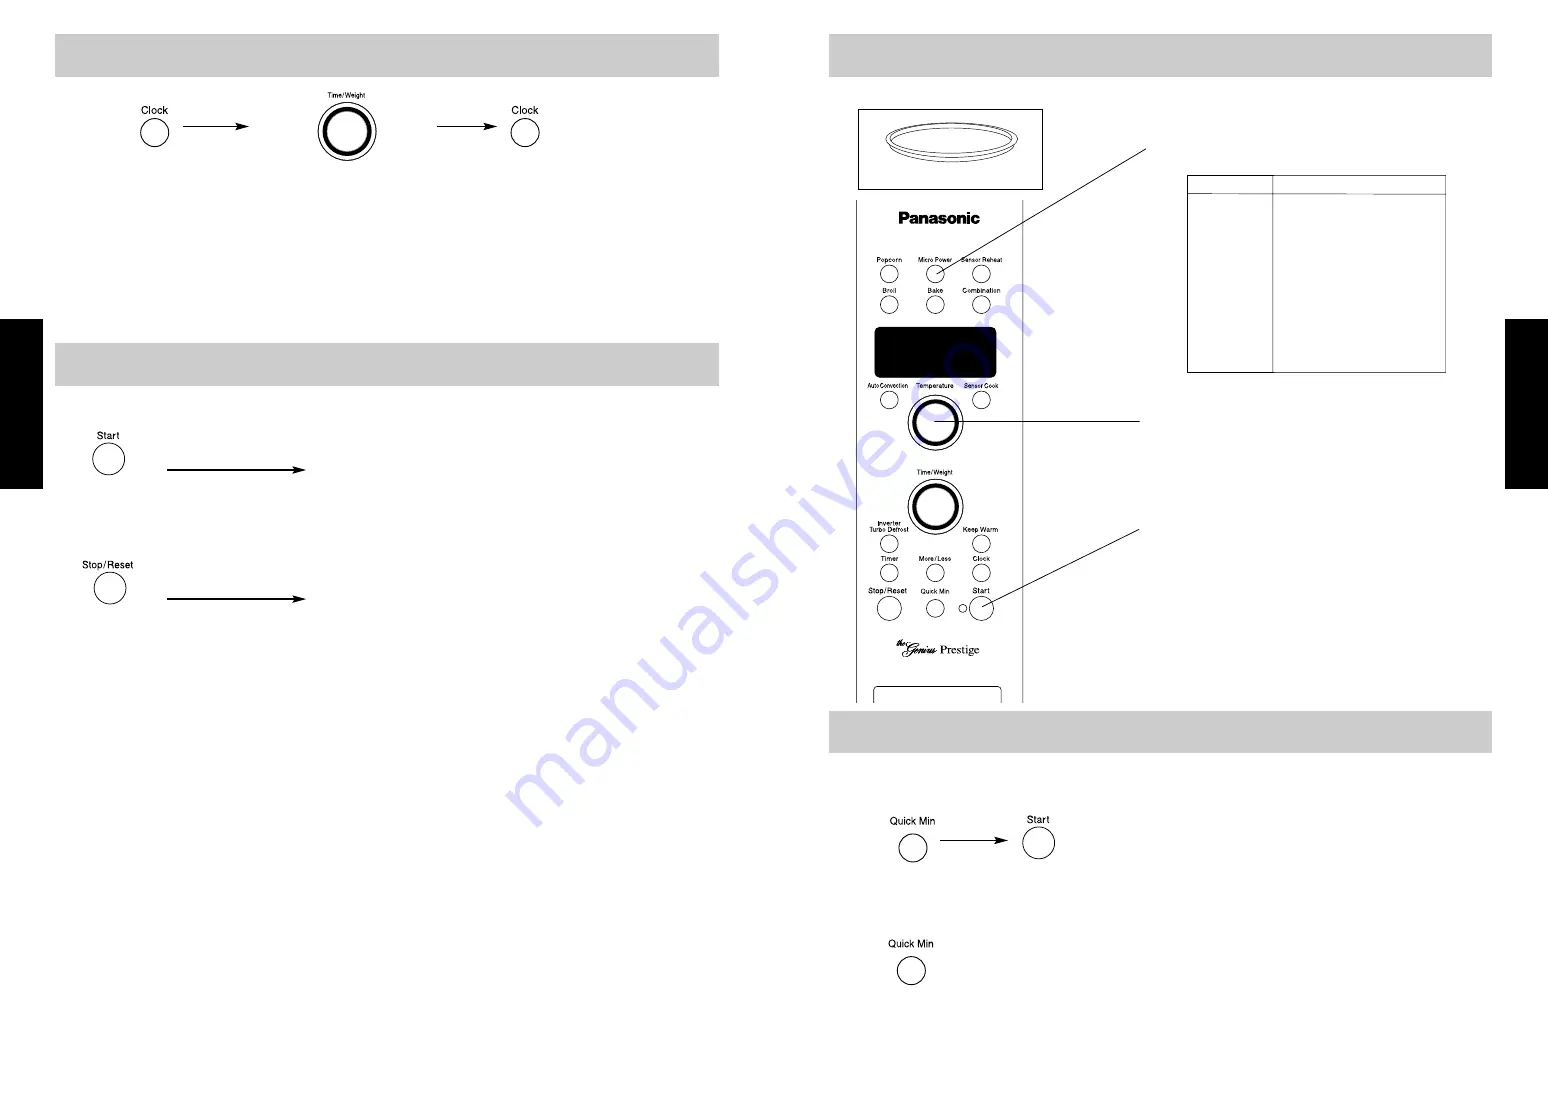
To Set Clock
Micro Power and Time Setting
Use of Accessory:
1
Select Power Level
3
Press
☛
Cooking will starts. The time in the
Menu
Action Screen Display
will begin to count
down.
To recall
the selected power level, press
Micro
Power
pad.
For 2 or 3 stage cooking,
Repeat above steps 1 and 2 before pressing
Start
Pad.
Ceramic Tray
2
Set Cooking Time
(P10
➔
up to 30 minutes
Others
➔
up to 1 hour 30 minutes)
Press
once
twice
3 times
4 times
5 times
6 times
7 times
8 times
9 times
10 times
Power Level
P10 (HIGH)
P9
P8
P7 (MEDIUM-HIGH)
P6 (MEDIUM)
P5
P4
P3 (MEDIUM-LOW)
P2
P1 (LOW)
To Use Quick Min Pad
To Set Cooking Time:
Set cooking time (up to
10 taps/minutes).
Press.
☛
Cooking will start
on
P10
power.
To Add Extra Cooking Time:
Press to add extra cooking time (up to 10
taps) during cooking.
☛
Cooking time changes to include extra time and
continues to count down in the
Menu Action
Screen Display
.
NOTE:
1. You can use other power levels or other cooking
modes, select the desired power level or cooking
mode before setting the cooking time.
2. After setting the time by
Quick Min
Pad, You
cannot use the Number Pads, and vice versa.
NOTE:
You can add cooking time for all features with power
and time settings.
This feature helps you in programming your oven without pressing the Number Pads and allows you to add
extra cooking time easily.
NOTE
1. You can use the oven without setting the clock.
2. There is no a.m. or p.m. settings. Clock is a 12 hour display.
3. To reset the time of day, repeat steps above.
4. The clock will retain time setting only when plugged into power source.
Enter time of day.
Using Time/Weight Select Dial.
Press.
Press.
To Use Child Safety Lock
Using this system will make the oven controls inoperable; however, the door will open.
Press Start Pad
three times.
Time of day will disappear and “LOCK” will appear
on the screen. Actual time will not be lost.
Press Stop/Reset Pad
three times.
Time of day will reappear on the screen.
To cancel “LOCK”:


