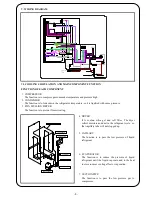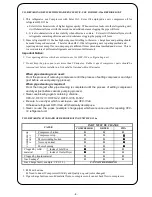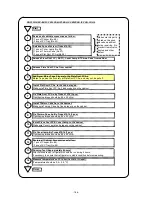
2. PREPARATION
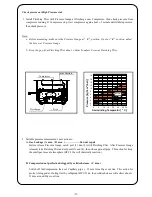
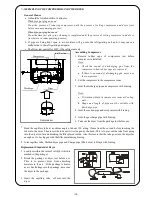
1. Remove Cover Protector from Compressor
2. Replace Starting Relay.
3. Replace Over Load Protector (OLP).
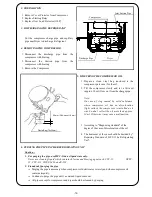
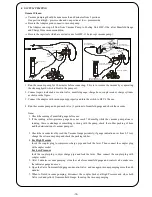
3. DISCHARGING THE REFRIGERANT
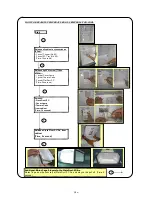
4. REMOVING THE COMPRESSOR
1.
2.
3.
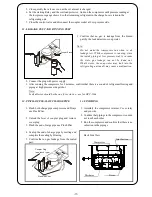
5. MEMERIKSA OLI COMPRESSOR
CHECKING THE COMPRESSOR OIL
1.
2.
Note:
3.
4.
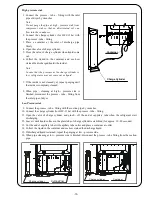
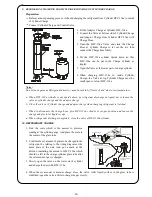
6. PURGING THE PIPE IN THE REFRIGERATING UNIT
Caution :
1. For purging the pipe, use HFC-134a as liquid state only.
2. Standard of purging the pipe
Continue to purge the pipe until no stained liquid come out.
All pipes except for compressor and dryer should be cleaned by purging.
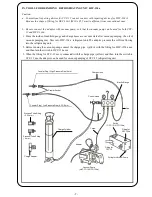
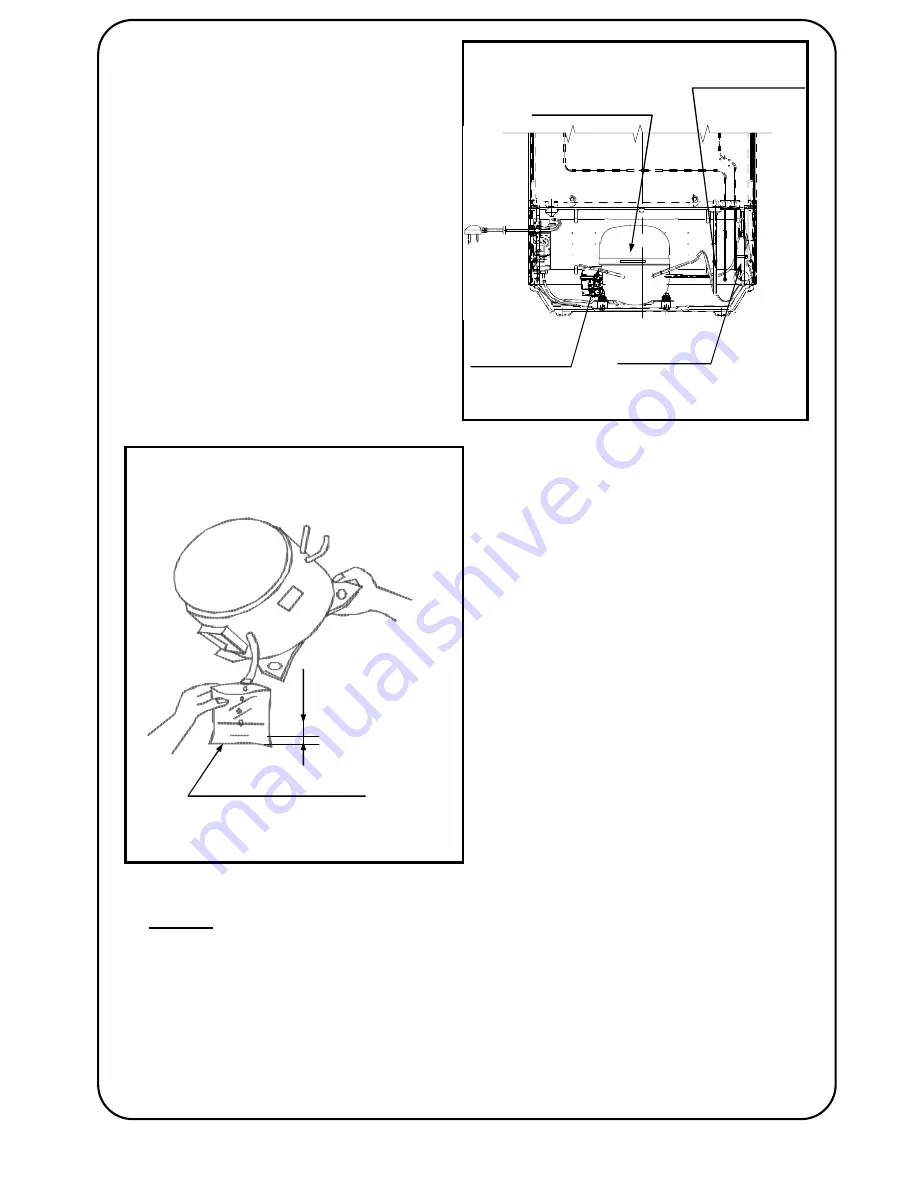
Prepare a clean vinyl bag (enclosed in the
compressor part case ) for the oil.
Cut the compreesor sharge pipe and capillary
pipe near Dryer to discharge Refrigerant.
Disconnect
the
Suction
pipe
from
the
compressor with brazing
Disconnect
the
discharge
pipe
from
the
compressor with brazing.
Remove the Compressor.
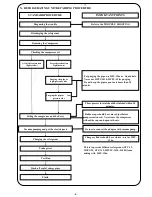
Tilt the compressor slowly and let a little oil
(approx. 10 ml) flow out from the charge pipe.
On case of clog caused by solid substance,
whwn compressor oil has no discoloration
(light yellow) the compressor is installed as it
was. So don't collect the oil more than approx.
10 ml. Otherwise it may case a malfunction.
Purging the pipe is necessary when compressor oil deteriorates severely and when compressor oil
contains impurity.
According to "Diagnosing standard" of the
degree of the case of discoloration of the oil.
The treatment of the case should be decided by "
Repairing Standard of HFC-134a Refrigerating
Unit".
Never use cleaning liquid which contain chlorine and blowing agent such CFC-12,
HCFC-
22, CFC-113, HCFC-141b and R-502.
Dryer
Discharge Pipe
Compressor
Joint Suction Pipe
Suction
20 mm (Oil Amount 10 mm)
Plastic Bag (70x50mm)
-12-
Summary of Contents for NR-B203G-S7
Page 10: ... 9 ...
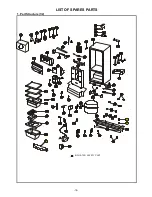
Page 22: ...1 Part Structure 1 2 LIST OF SPARES PARTS INDICATED SAFETY PART 52 90 91 19 ...
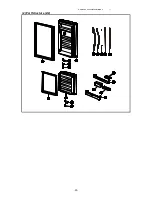
Page 23: ...PMIRF0806022AI 1 2 Part Structure 2 2 20 ...
Page 26: ... 22 ...


