38
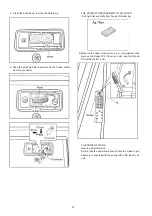
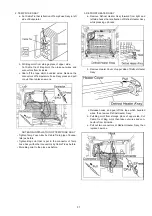
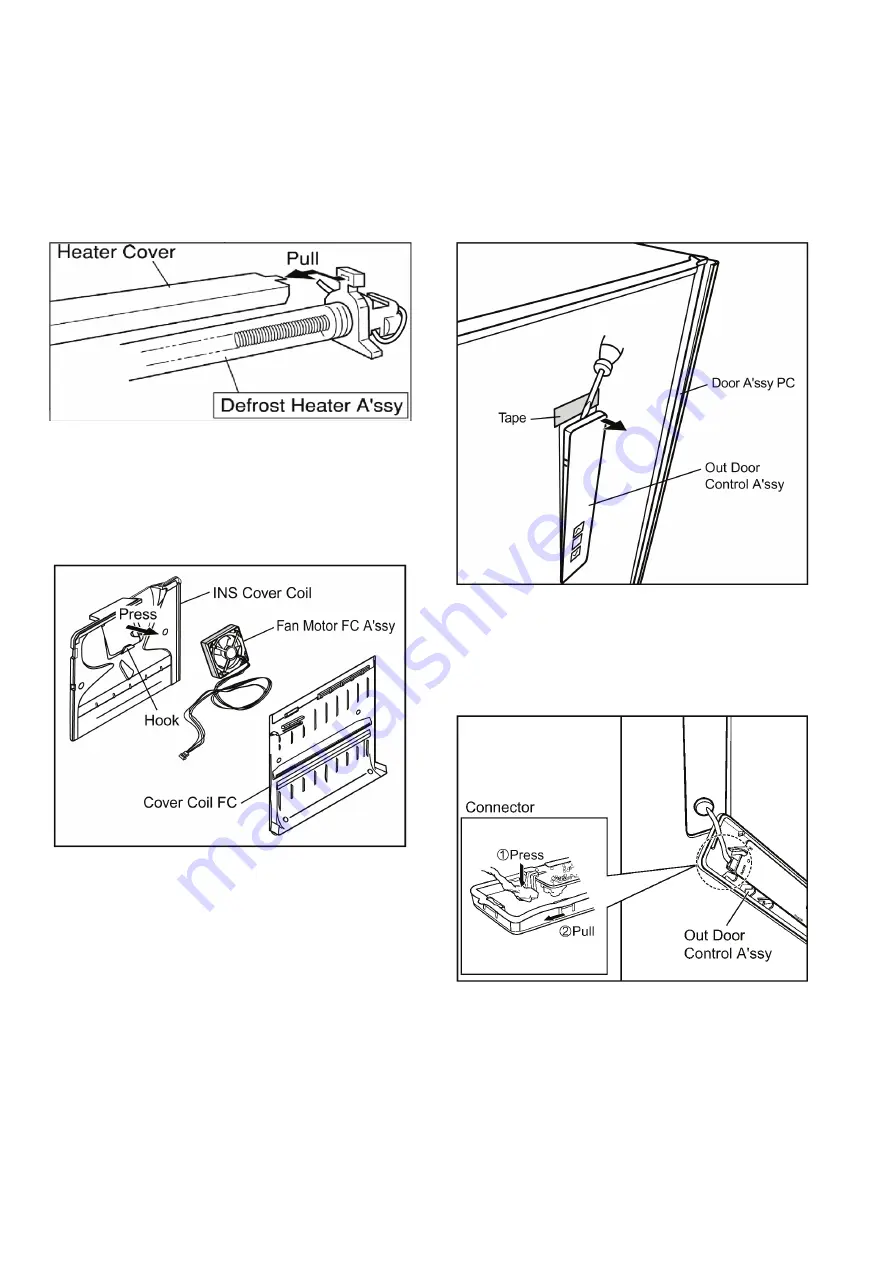
NOTES ON INSTALLATION OF DEFROST HEATER A’SSY
• Install Heater Cover in rubber cap securely.
• Arrange the lead wires, set them to the wire hooks.
• Tighten Bag Joint that is put in the connector of Defrost
Heater A’ssy with other connectors by Cable Tie as before.
• Store Bag Joint to the place as before.
• When setting Defrost Heater A'ssy, have to set wires as
before.
-You can see the figure bellow.
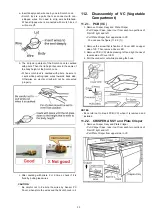
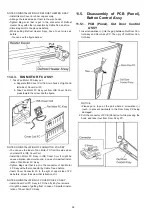
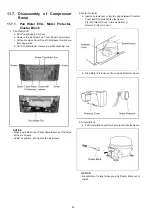
11.4.3. FAN MOTOR FC A’SSY
1. Take Fan Motor FC A’ssy out.
a. Separate INS Cover Coil from two hooks of right and
left side of Cover Coil FC.
b. Take Fan Motor FC A’ssy out from INS Cover Coil to
press toward the arrow like the figure.
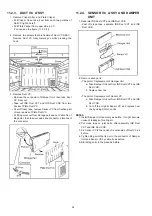
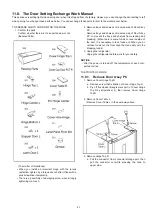
NOTES ON INSTALLATION OF FAN MOTOR FC A'SSY
• You can see the label of Fan Motor FC from this side when
you install it in INS Cover Coil.
• Install Fan Motor FC A’ssy in INS Cover Coil. It might be
cause vibration, abnormal sound, in case of imperfect instal-
lation of Fan Motor FC A’ssy.
• Tighten Bag Joint that is put in the connector of Fan Motor
FC A’ssy with other connector by Cable Tie as before.
• Insert Cover Connector FC in the right of upper side of FC
as before, screw the screw that is fixation of it.
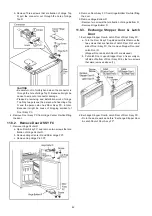
NOTES ON INSTALLATION OF COVER COIL FC A’SSY
• Install Cover Coil FC A’ssy in FC, then fix it by four screws.
• It might be cause of getting frost, in case of imperfect instal-
lation of Cover Coil FC A’ssy.
11.5. Disassembly of PCB (Panel),
Button Control A’ssy
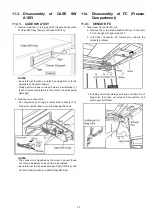
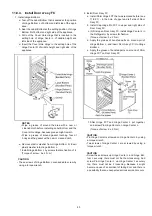
11.5.1. PCB (Panel), Out Door Control
A’SSY
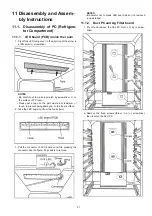
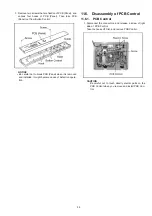
1. Insert screwdriver (-) into the gap between Out Door Con-
trol A’ssy and Door A’ssy PC. Then pry off Out Door Con-
trol A’ssy.
NOTICE
• Please put a tape on the part where a screwdriver (-)
touch, to prevent paintwork in the Door A’ssy PC being
damaged.
2. Pull the connector of PCB (Panel) out while pressing the
hook, and take it out from Door A’ssy PC.
Summary of Contents for NR-B32FX3
Page 6: ...6 3 General Introduction 3 1 Flow of Refrigerant And Air ...
Page 7: ...7 4 Features 4 1 Features 4 1 1 High Efficiency Cabinet ...
Page 8: ...8 4 1 2 Storage Solution ...
Page 9: ...9 4 1 3 Refrigerator Compartment 4 1 4 Hygiene Active and Multi Airflow ...
Page 10: ...10 4 1 5 Vegetable Case 4 1 6 Vitamin Safe ...
Page 11: ...11 4 1 7 Hygiene Active ...
Page 18: ...18 6 2 Components ...
Page 19: ...19 7 Installation Instructions 7 1 Installation Instructions ...
Page 20: ...20 ...
Page 21: ...21 7 2 Setting the temperature ...
Page 22: ...22 7 3 Using the handy functions ...
Page 27: ...27 10 Troubleshooting Guide 10 1 FC and PC not cooling at all Compressor does not run ...
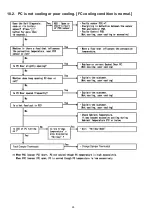
Page 28: ...28 10 2 PC is not cooling or poor cooling FC cooling condition is normal ...
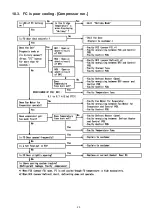
Page 29: ...29 10 3 FC is poor cooling Compressor run ...
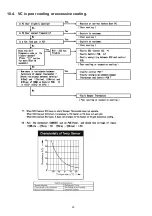
Page 30: ...30 10 4 VC is poor cooling or excessive cooling ...
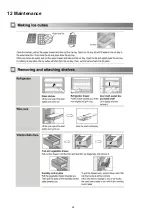
Page 48: ...48 12 Maintenance ...
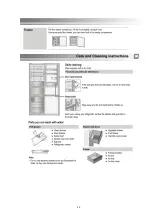
Page 49: ...49 ...
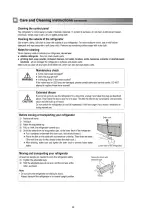
Page 50: ...50 ...
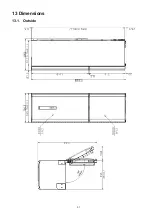
Page 51: ...51 13 Dimensions 13 1 Outside ...
Page 52: ...52 13 2 Inside ...

